Send us a message
FERNS
Unlike flowering plants, ferns reproduce by means of spores rather than seeds. The spores form within spore cases (sporangia) that are usually massed together in dense clusters known as sori; in some species the sori are further covered by a thin, protective membrane called an indusium. In most of our fern species, the sori develop in distinctive shapes and patterns on the undersides of the fronds; some species have sori on almost all fronds or parts of fronds, while others have separate, but otherwise rather similar, fertile fronds (with sori) and sterile fronds (without sori). Less commonly, the sori are formed on entirely different, non-leafy, fertile fronds or on distinct, non-vegetative, fertile portions of otherwise sterile fronds.
When ripe, the sporangia burst open and expel the microscopic spores which are then carried away by the slightest air currents. Spores that land in a sufficiently moist place develop into a gametophyte (also called a prothallus) within which the male and female organs then form. When mature, the male organs (antheridia) release sperm which swim through moist surfaces to reach the female organs (archegonia) containing the eggs. The archegonia are thought to exude chemical attractants or deterrents, which result in sperms moving preferentially towards gametophytes from a different plant and away from those from the same parent plant; self-fertilization does, nevertheless, sometimes happen. Once fertilized, the egg begins to divide and grow into a new, leafy, and familiar-looking fern plant (the sporophyte). The length of time needed to develop from spore to new, young sporophyte varies enormously, depending on weather and site conditions as well as species; under ideal conditions about 3 to 4 months is probably typical.
There are at least 4 species of ferns native to E. Canada that are known to be capable of using other, vegetative, means of reproduction:
- Cystopteris bulbifera, in addition to producing spores that follow the typical reproductive cycle, also produces small bulblets that drop from the fronds and grow directly into new plants
- Asplenium rhizophyllum, in addition to producing normal spores, also frequently develops new plants from the tips of its long, arching fronds
- Pellaea atropurpurea and Pellaea glabella both produce spores that develop into gametophytes capable of directly producing new plants (sporophytes) without the need for a sexual phase in between. In other words, germination is a direct, one-stage process, equivalent to growing from seed.
COLLECTING FERN SPORES
All the general guidelines, procedures, and cautions outlined for collecting the fruits and seeds of flowering plants (see Guidelines and Methodology Section) should also be followed when collecting fern spores. In addition, the following should be kept in mind when collecting from ferns:
- Do not remove more than 1 or 2 spore-bearing fronds from any one plant so as not to stress the plant unduly (fertile fronds also have vegetative functions in many fern species)
- Always try to collect spores from a few to several different plants so as to ensure a good mix of spores from different parents is available for the subsequent reproductive/germination phase.
 Just as for the seeds of most flowering plants, fern fronds should be collected only after the spores have completed ripening, shortly before or during the dispersal phase. The actual collection process is very straightforward, simply requiring the careful picking of fronds or parts of fronds carrying mature sporangia and placing them in a suitable plastic or paper bag. Often much more difficult, however, is getting the timing right: collect too soon and the immature spores will not be released or viable, too late and none will be left. Because the spores are microscopically small, they cannot be directly observed in situ in order to judge ripeness in the same way as the seeds of most flowering plants, so ripeness and appropriate collection time must be determined for each species based on a combination of up to 4 other indicators:
- (i) expected time of ripening, based on previous observations for the same sites and species (spore ripening/release times given in the individual species notes can be used as an initial guide for this)
- (ii) appearance of the sori and/or sporangia as they change from their initial, immature whitish or light-green colouration to their typical deep-green, yellow, rust, mid- to dark-brown, or near-black colours at maturity (refer to the notes for individual species for information on the typical colour of mature sori and/or sporangia in each case); in many species the sori also become more raised from the frond surface and the indusium begins to split or shrivel as ripening proceeds; also, in species lacking sori, the individual sporangia are often large enough to observe actual splitting (and accompanying colour change) with the naked eye
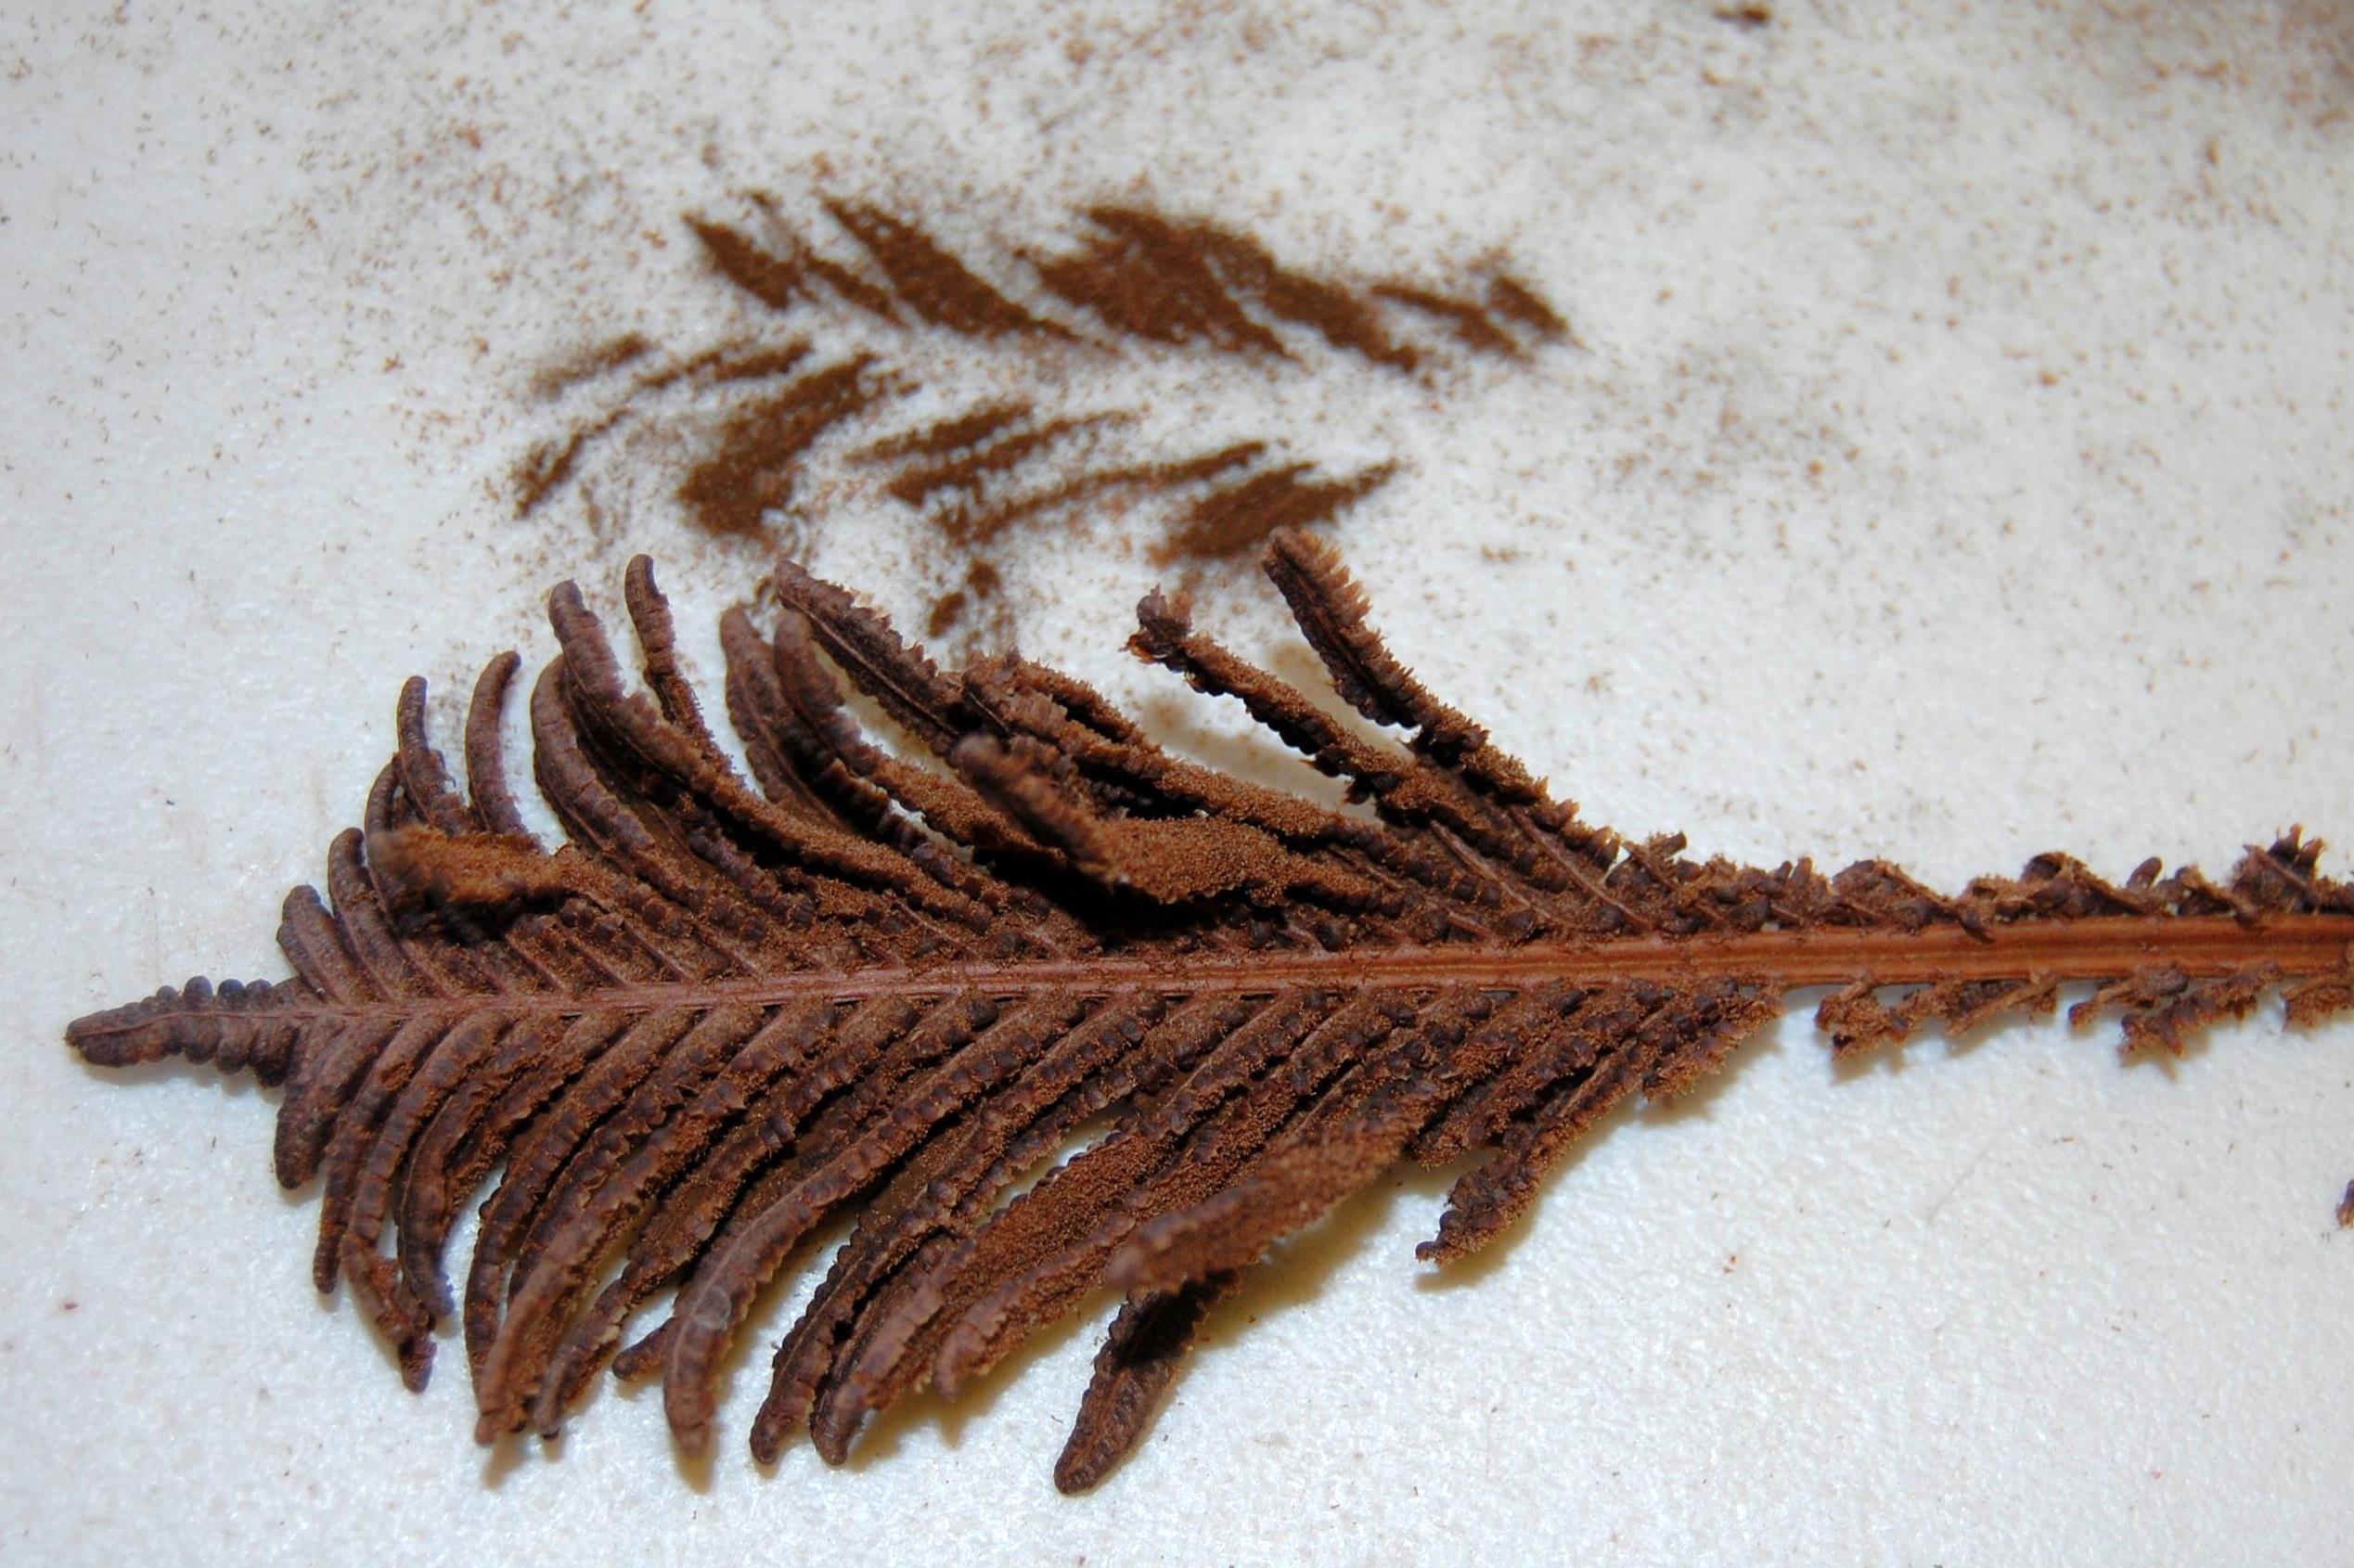
- (iii) on a warm, dry day clouds of spores can sometimes be seen wafting from the plants in response to any slight disturbance; this, of course, is a guarantee of spore maturity and correct collection time, but is not a sufficiently frequently-observed event to be relied upon exclusively; on a more moist, cloudy day a similar effect can sometimes be induced by placing a frond or two on a sheet of white paper in a warm, dry spot such as a car dashboard for several minutes - if present, ripe spores may be released and deposited on the paper in a pattern corresponding to the pattern of sori on the underside of the fronds
- (iv) the feel of ripe spores on hands and fingers is, in our experience, the most consistent and reliable method of detecting the presence of ripe spores, but unfortunately the one needing the most practice or experience to get it right; when enough ripe spores get onto hands and fingers they create a feeling best described as like very slightly coarse talcum powder; to get a good sense for this unique feeling, it is recommended to practice on material that is clearly (based on all the other indicators) releasing ripe spores, and then to routinely apply this test by gently rubbing hands past the sori on several (putatively mature) fronds as a final check before all subsequent collections; the most important caveat is to not confuse the feel of ripe spores with the somewhat rougher, grainy feel of broken pieces of the indusia or sporangia walls which can often be present, especially after spore release has occurred.
There is usually a reasonably large 'window' for spore collection from any given fern species because of variation in maturity and release times between individual sori and sporangia on any given frond, between fronds on the same plant, between plants, and between sites.
HANDLING FERN SPORES
Drying
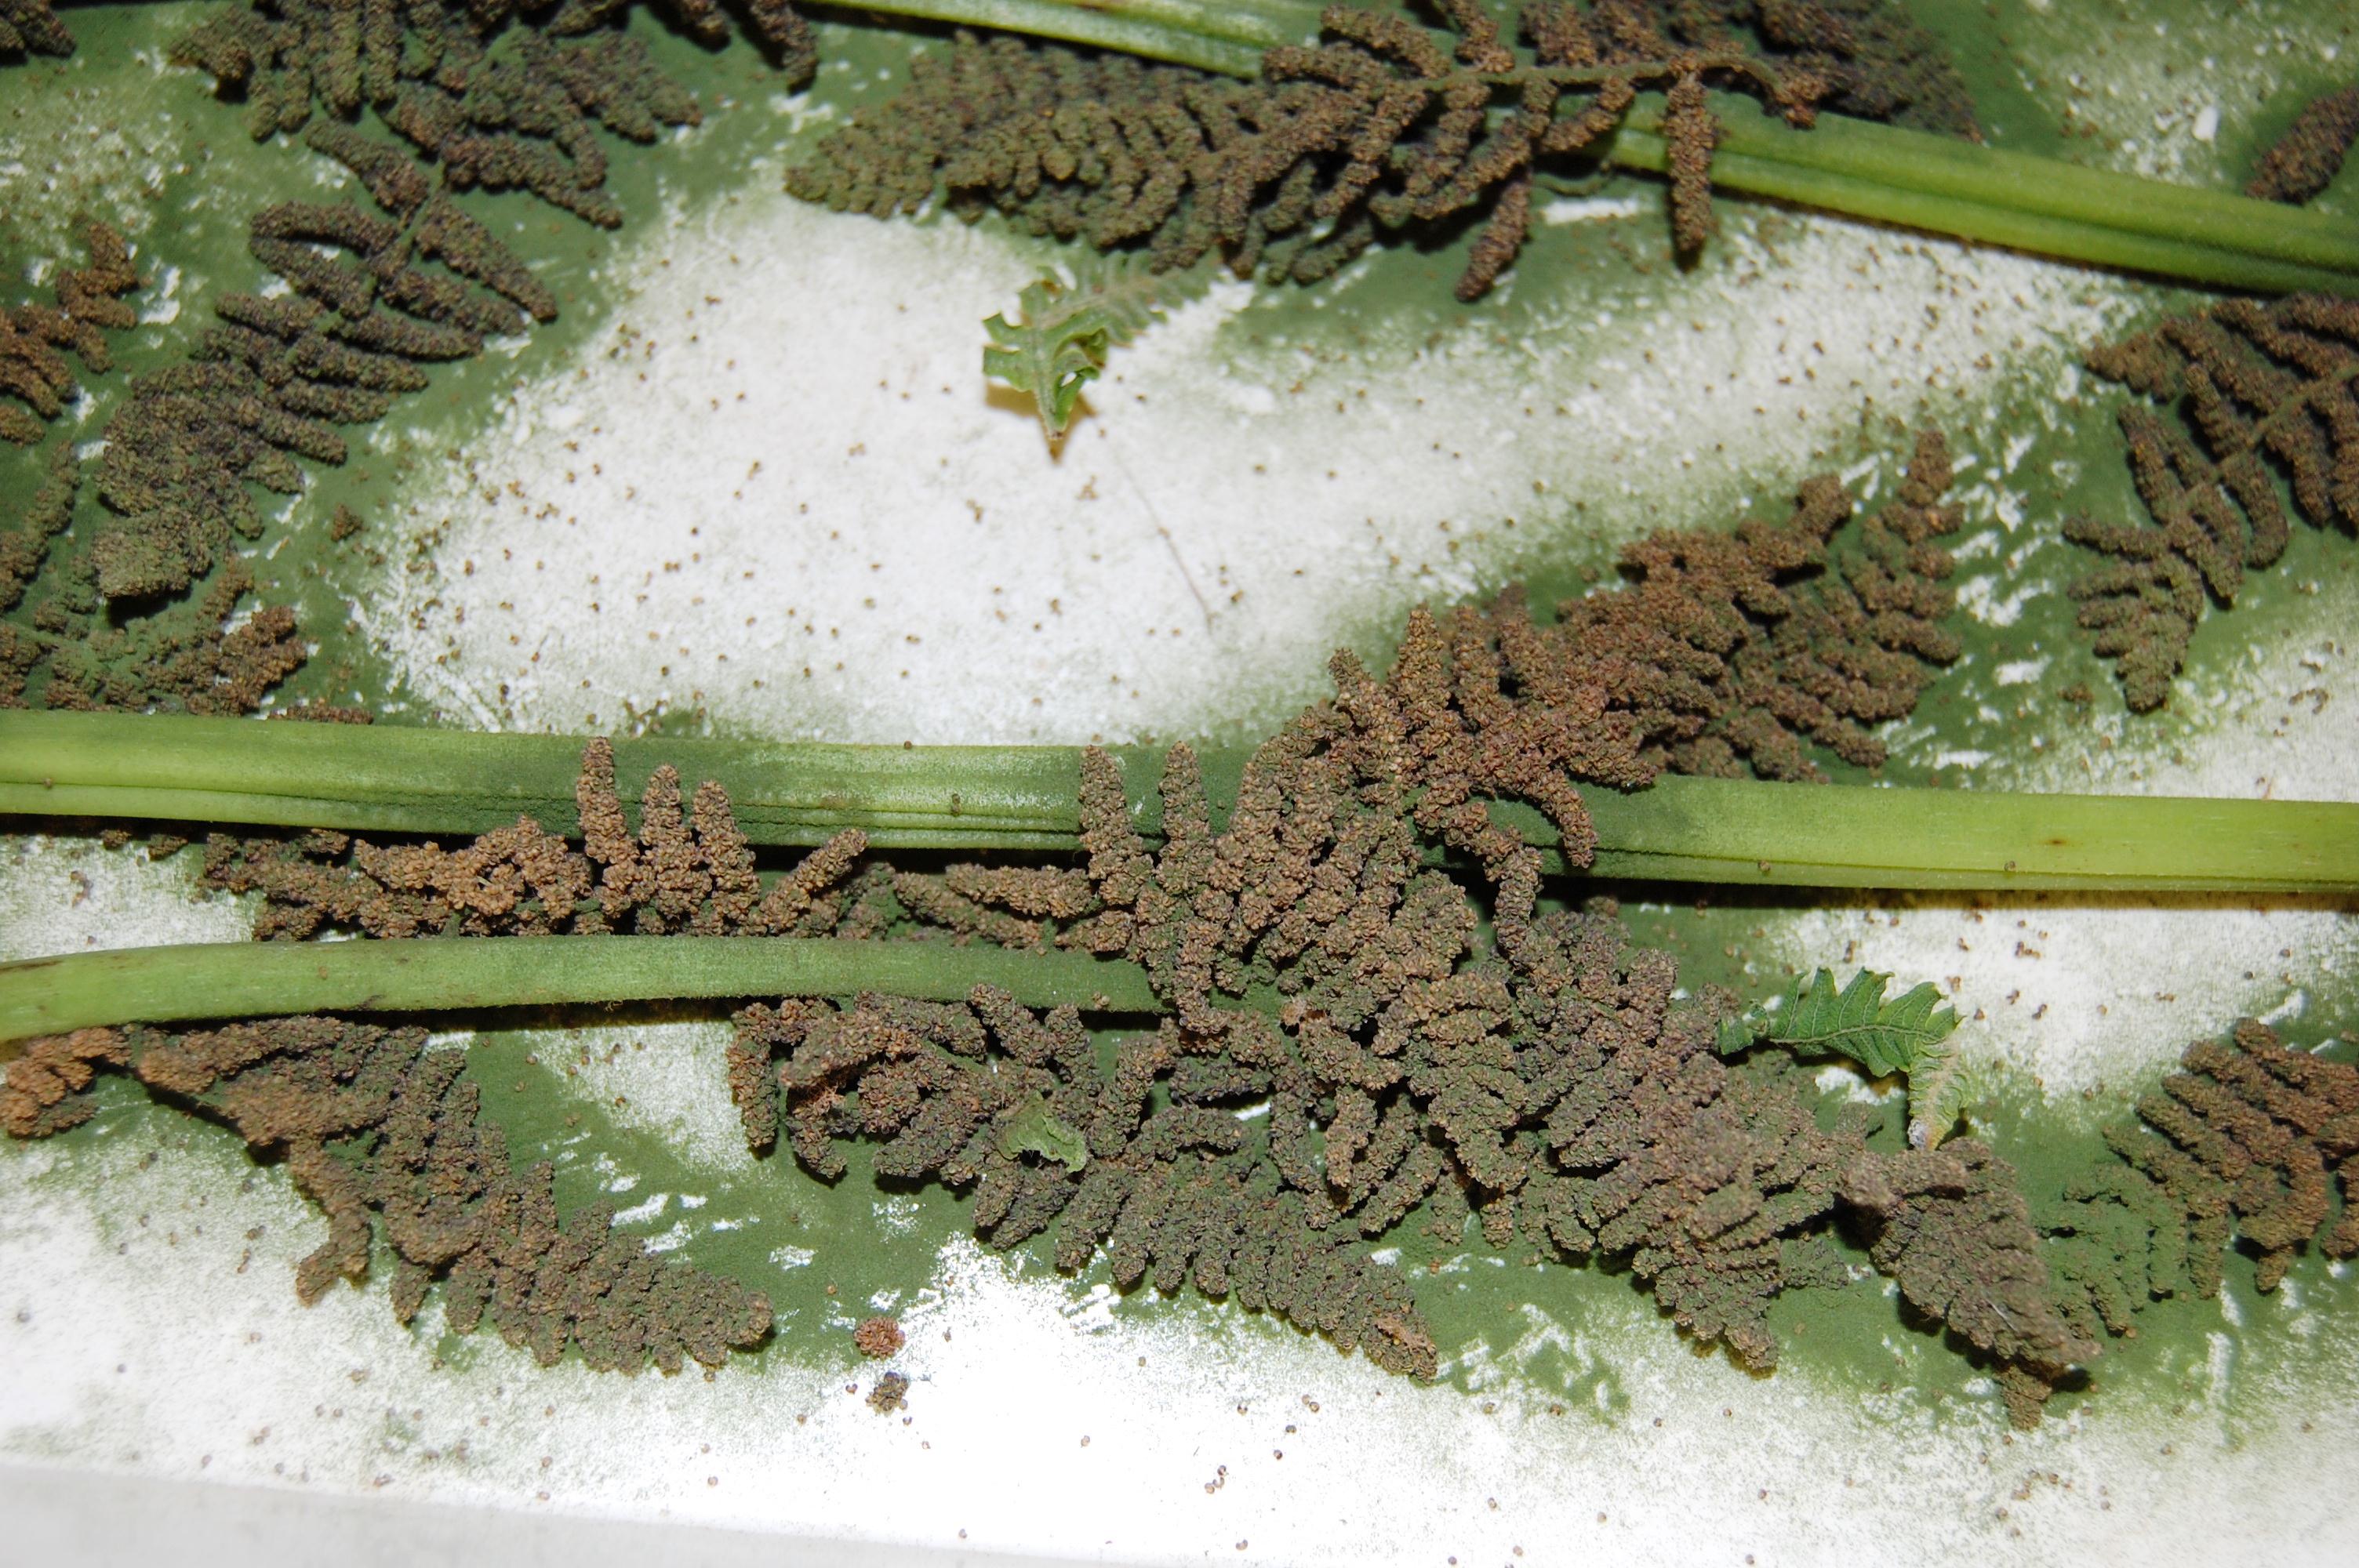
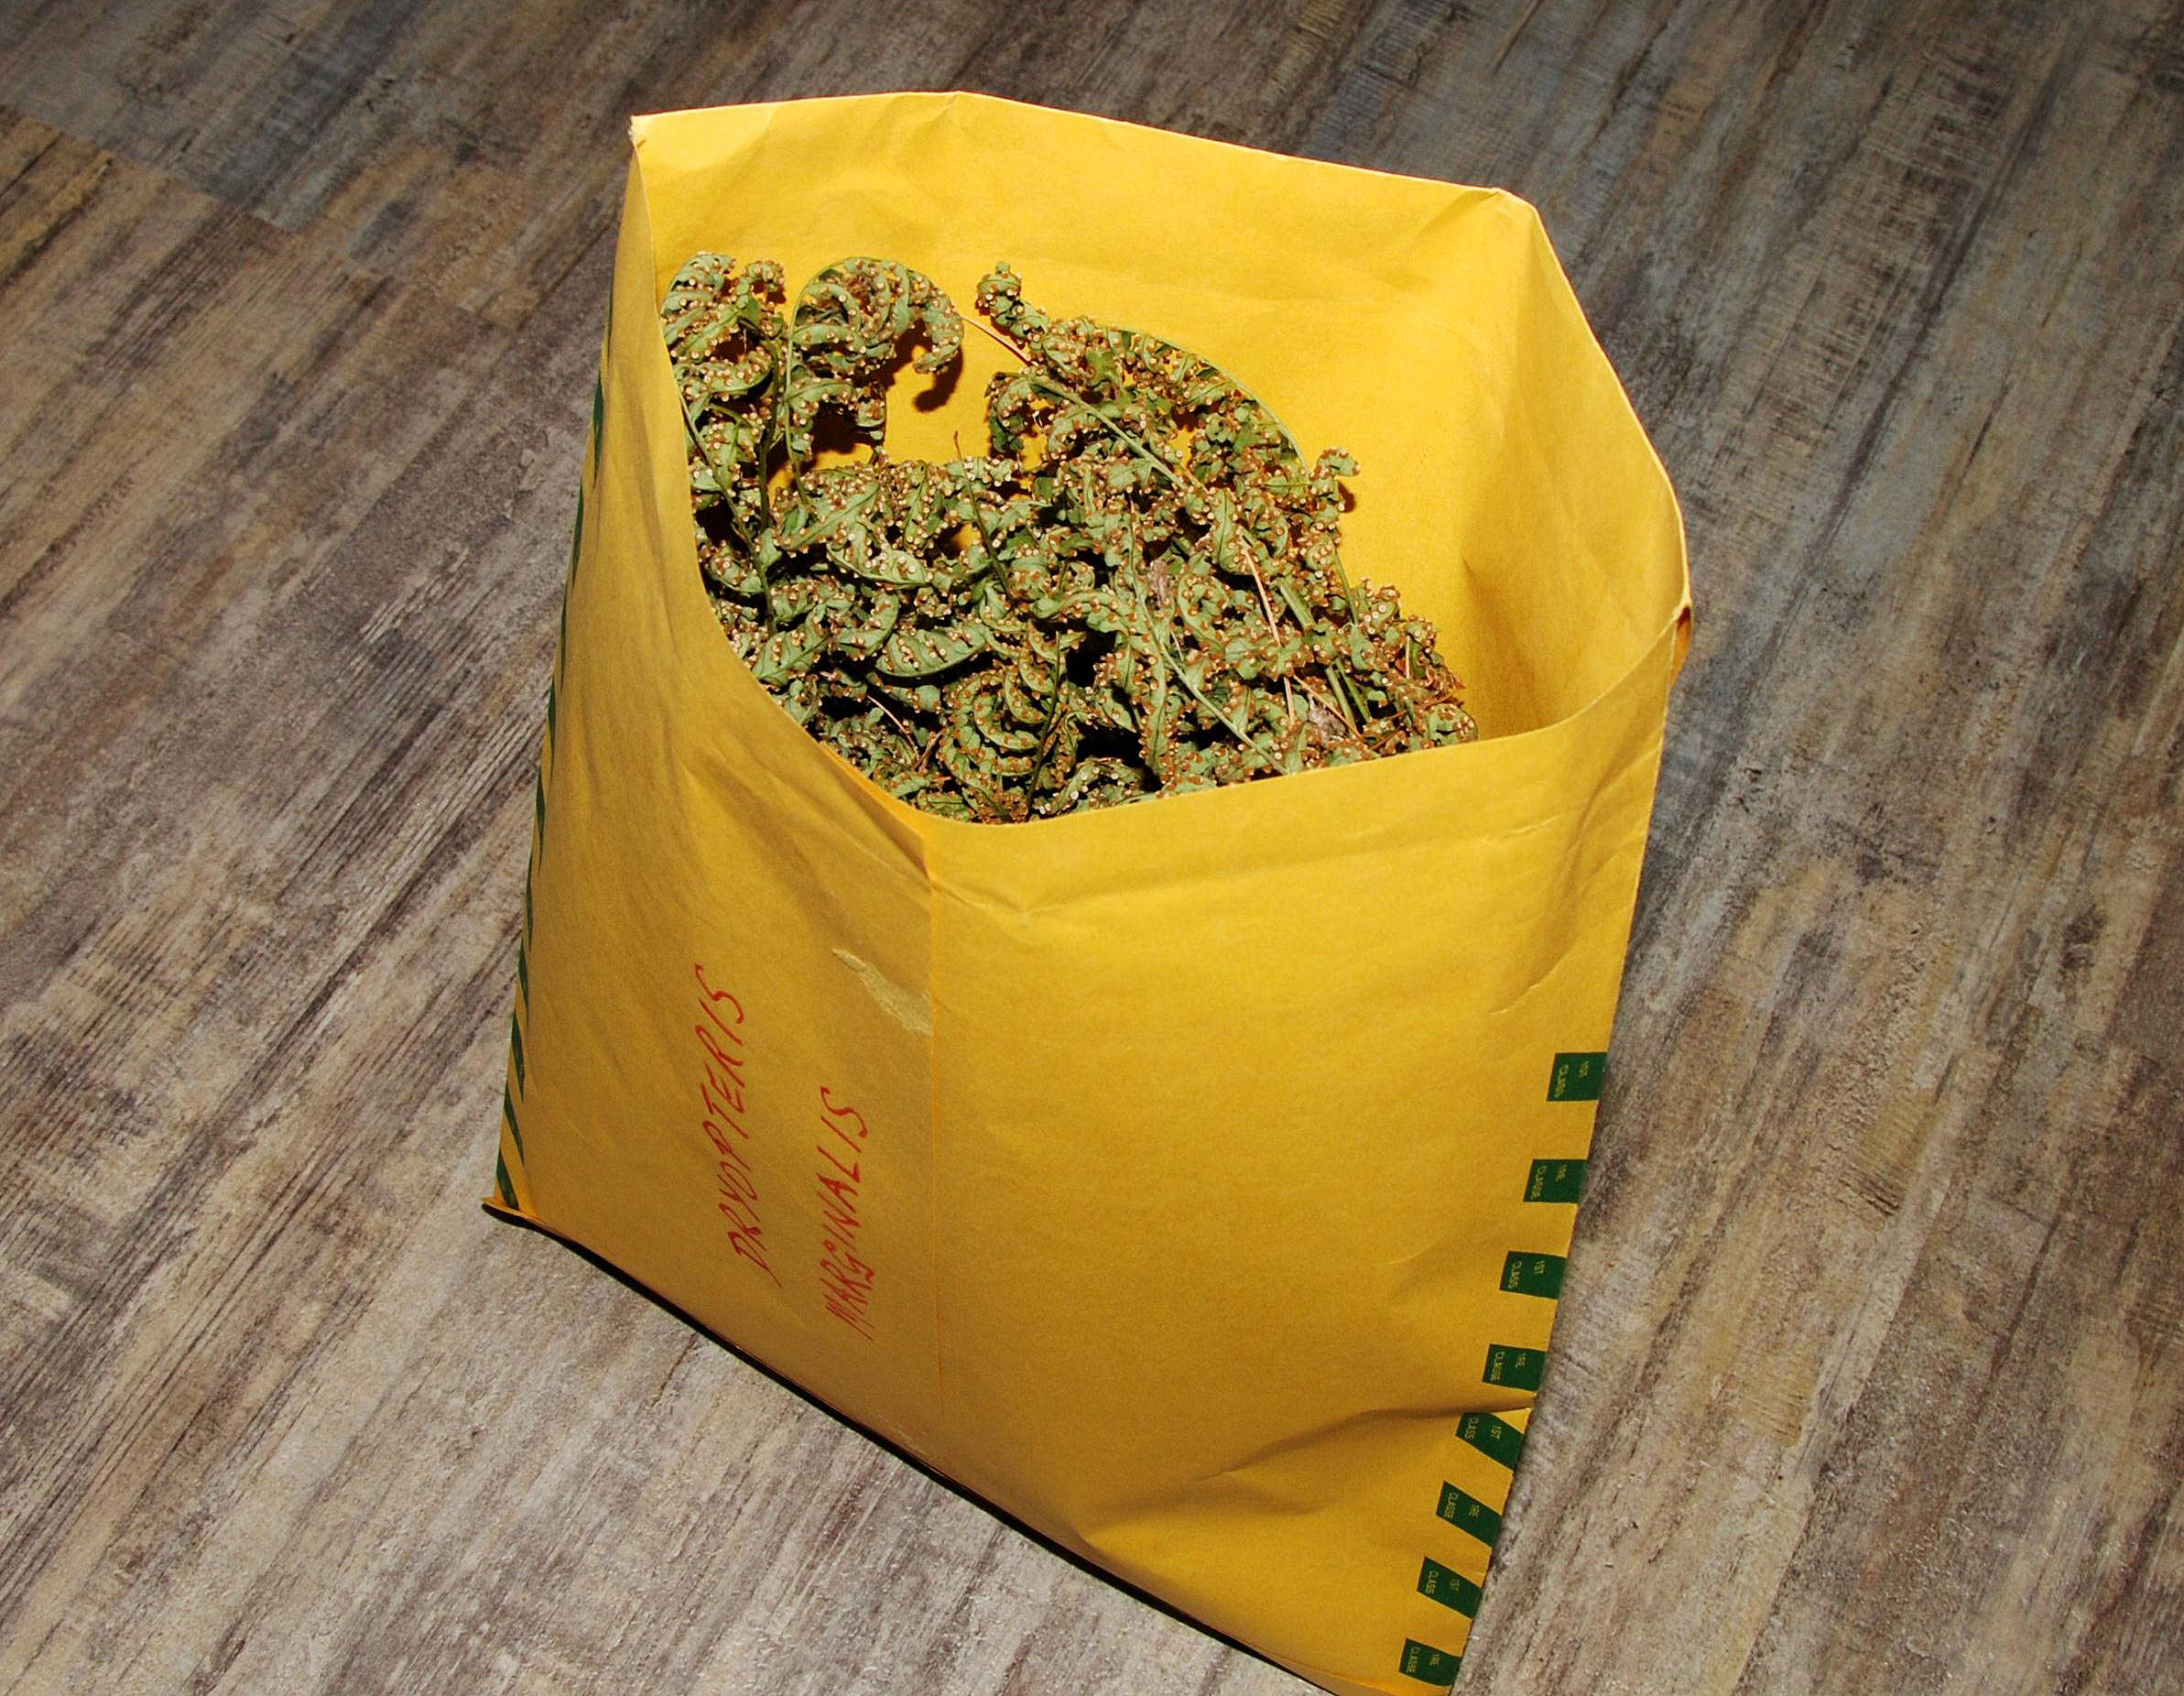
As soon as possible after collection, all the spore-bearing fronds or partial fronds should be placed loosely in a paper (not plastic) bag or envelope for drying. Make sure the bag or envelope is well sealed at the joints and corners to prevent loss of the minute spores. Just a few days in a warm, dry place should normally allow sufficient drying to occur, unless the material was particularly wet or tightly packed. (Note that species with green or cream-coloured spores in the families Osmundaceae and Ophioglossaceae should not under any circumstances be left to dry for more than a very few days (see also 'Storage' below).
If present, ripe spores will be released from the sporangia during drying and drop to the bottom of the bag/envelope (or cling to the sides because of static effects). A gentle shaking may be helpful after drying to ensure most spores are released into the bag, but no other spore extraction measures are needed (avoid vigorous shaking so as not to create too many broken pieces of fronds, which would only be a nuisance in subsequent steps).

Cleaning
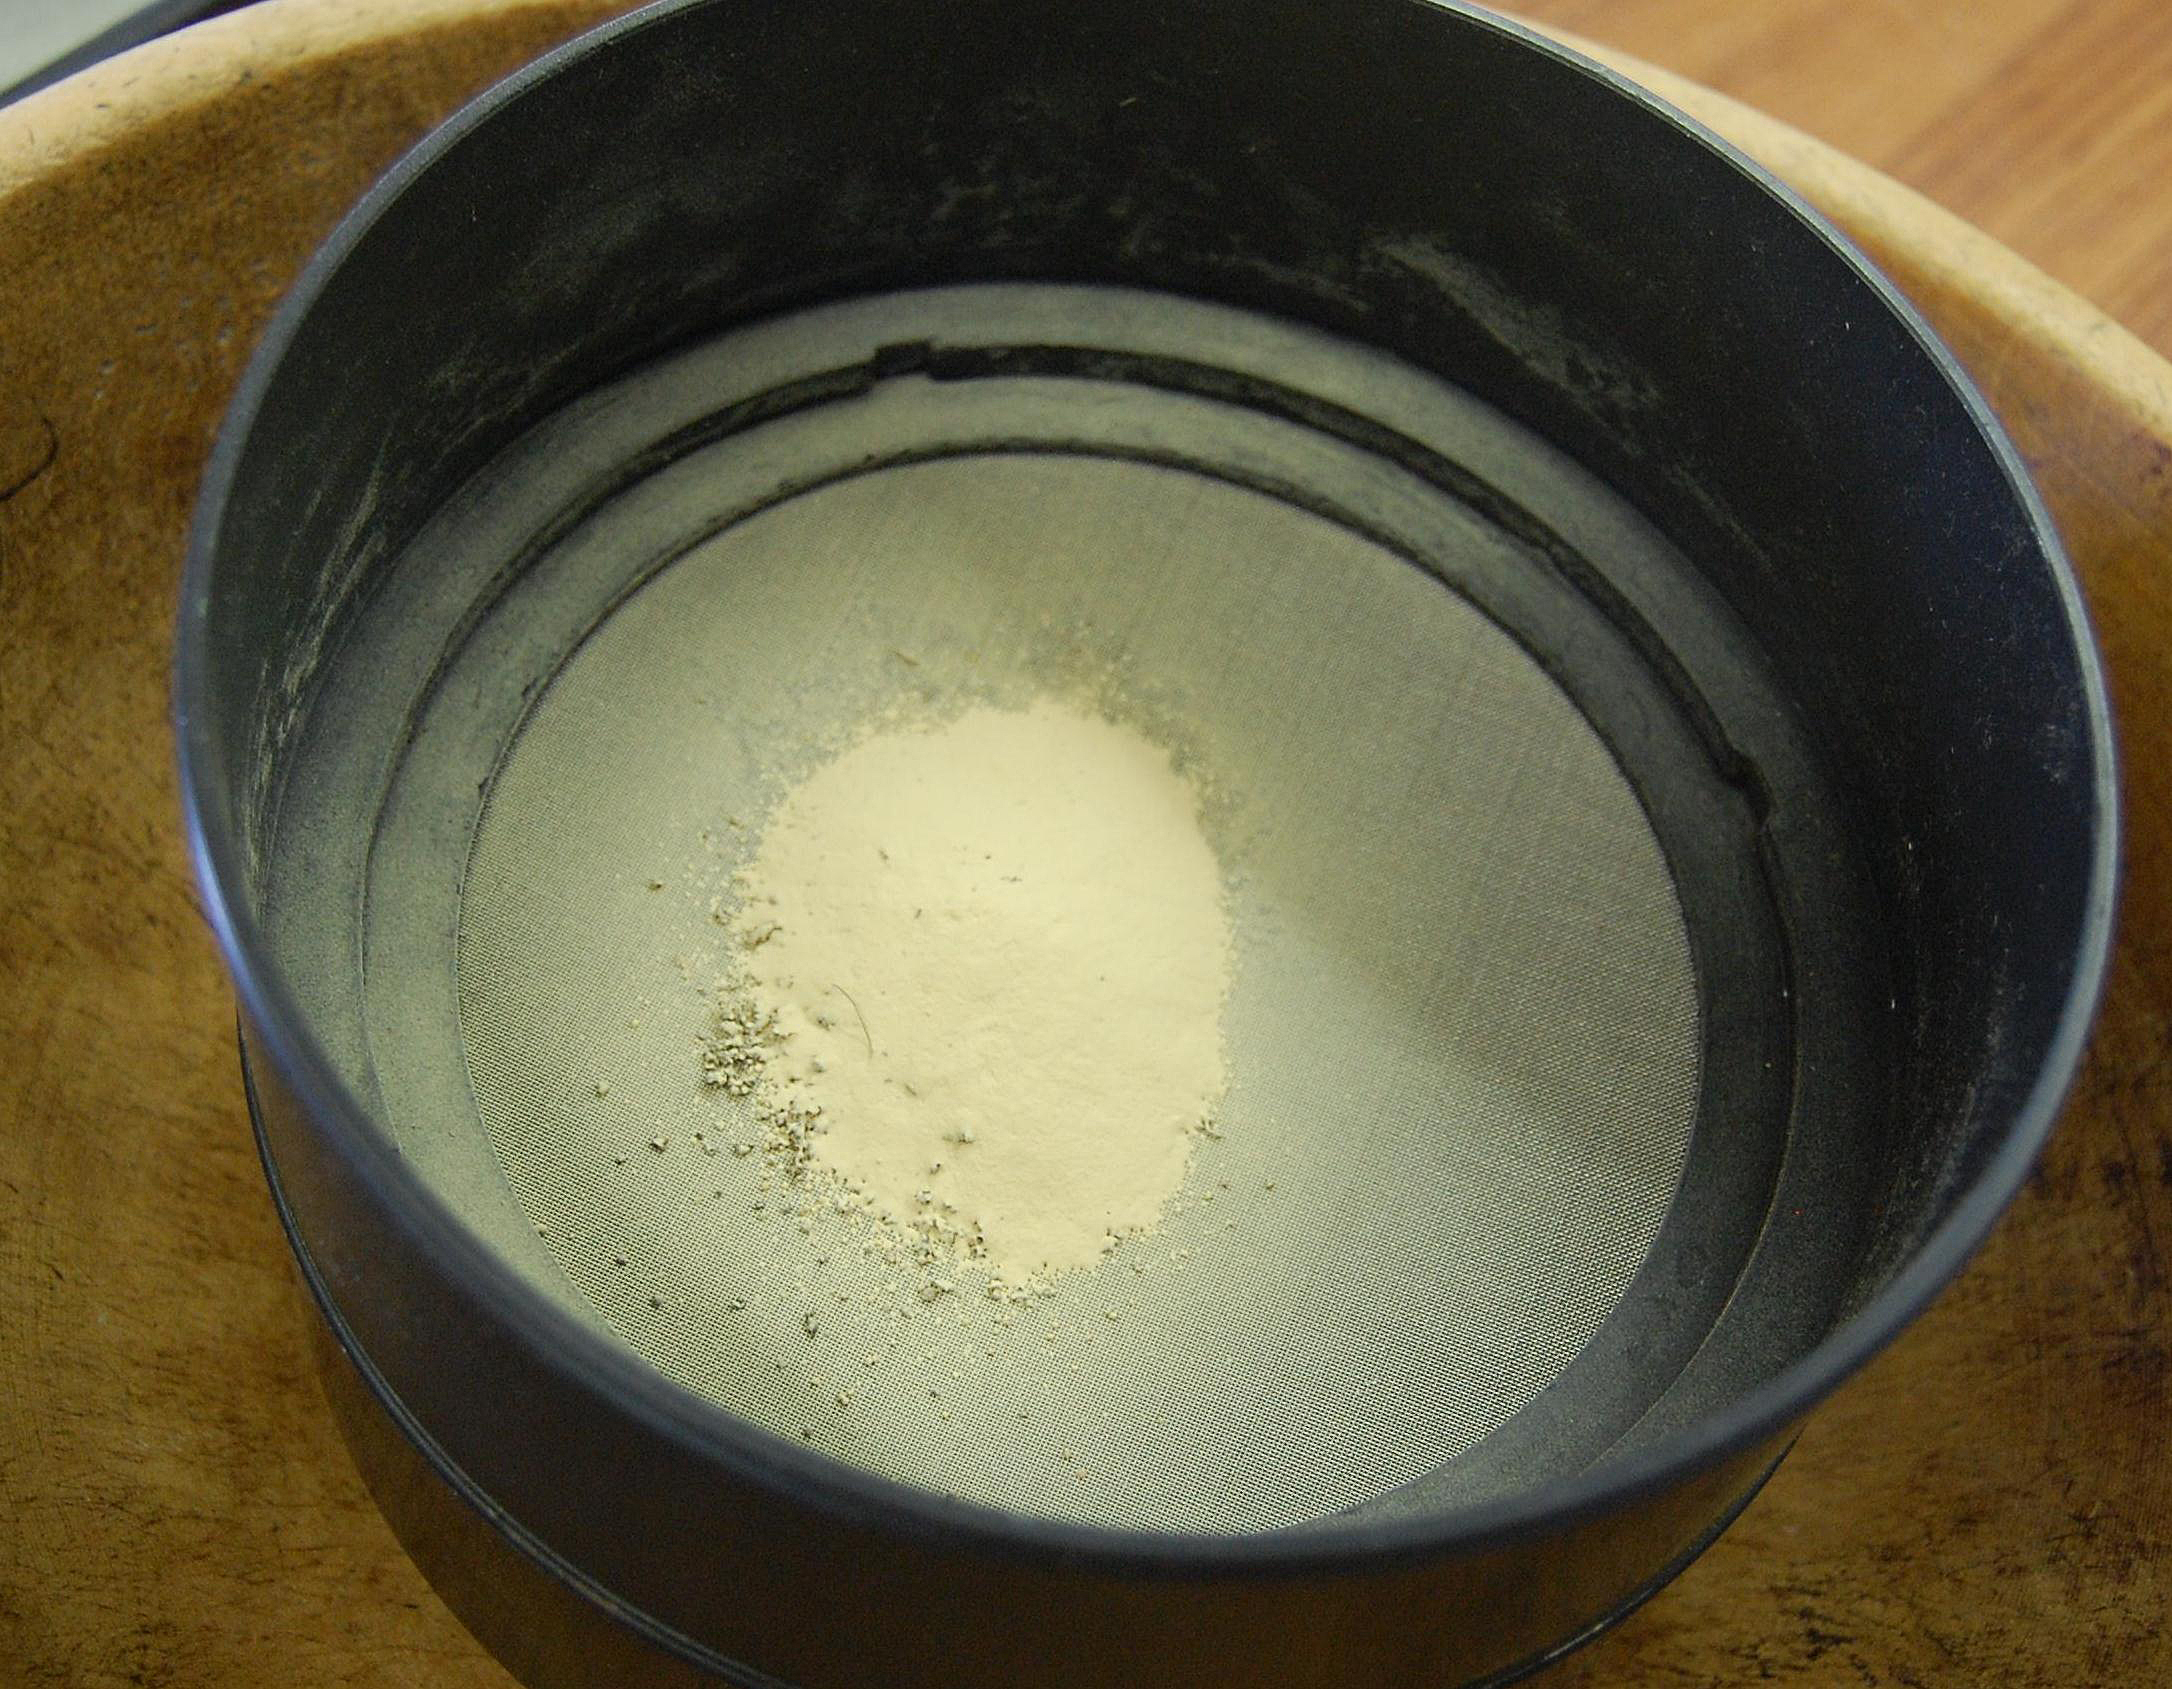
When drying is complete, all intact or partial fronds should be removed from the bag/envelope and discarded. The remaining material (spores and smaller pieces of debris) should then be poured through a sieve into a bowl. Avoid plastic because of static issues. Sieves available for icing sugar are normally fine-meshed enough and will allow the spores to go through the mesh while holding the debris back in the sieve. If you have seed experience, it will be tempting to confuse anything with “substance” during the cleaning process as the spore. In fact, the spore will be the opposite: it is smooth, slippery, and tiny like an individual grain of talcum powder. Anything larger or more lumpy will be debris (remnants of spore sac, etc).
CAUTION! Always wear a dust mask when handling dry fern spores in an enclosed location; inhalation of large numbers of the minute spores can cause serious lung disease.
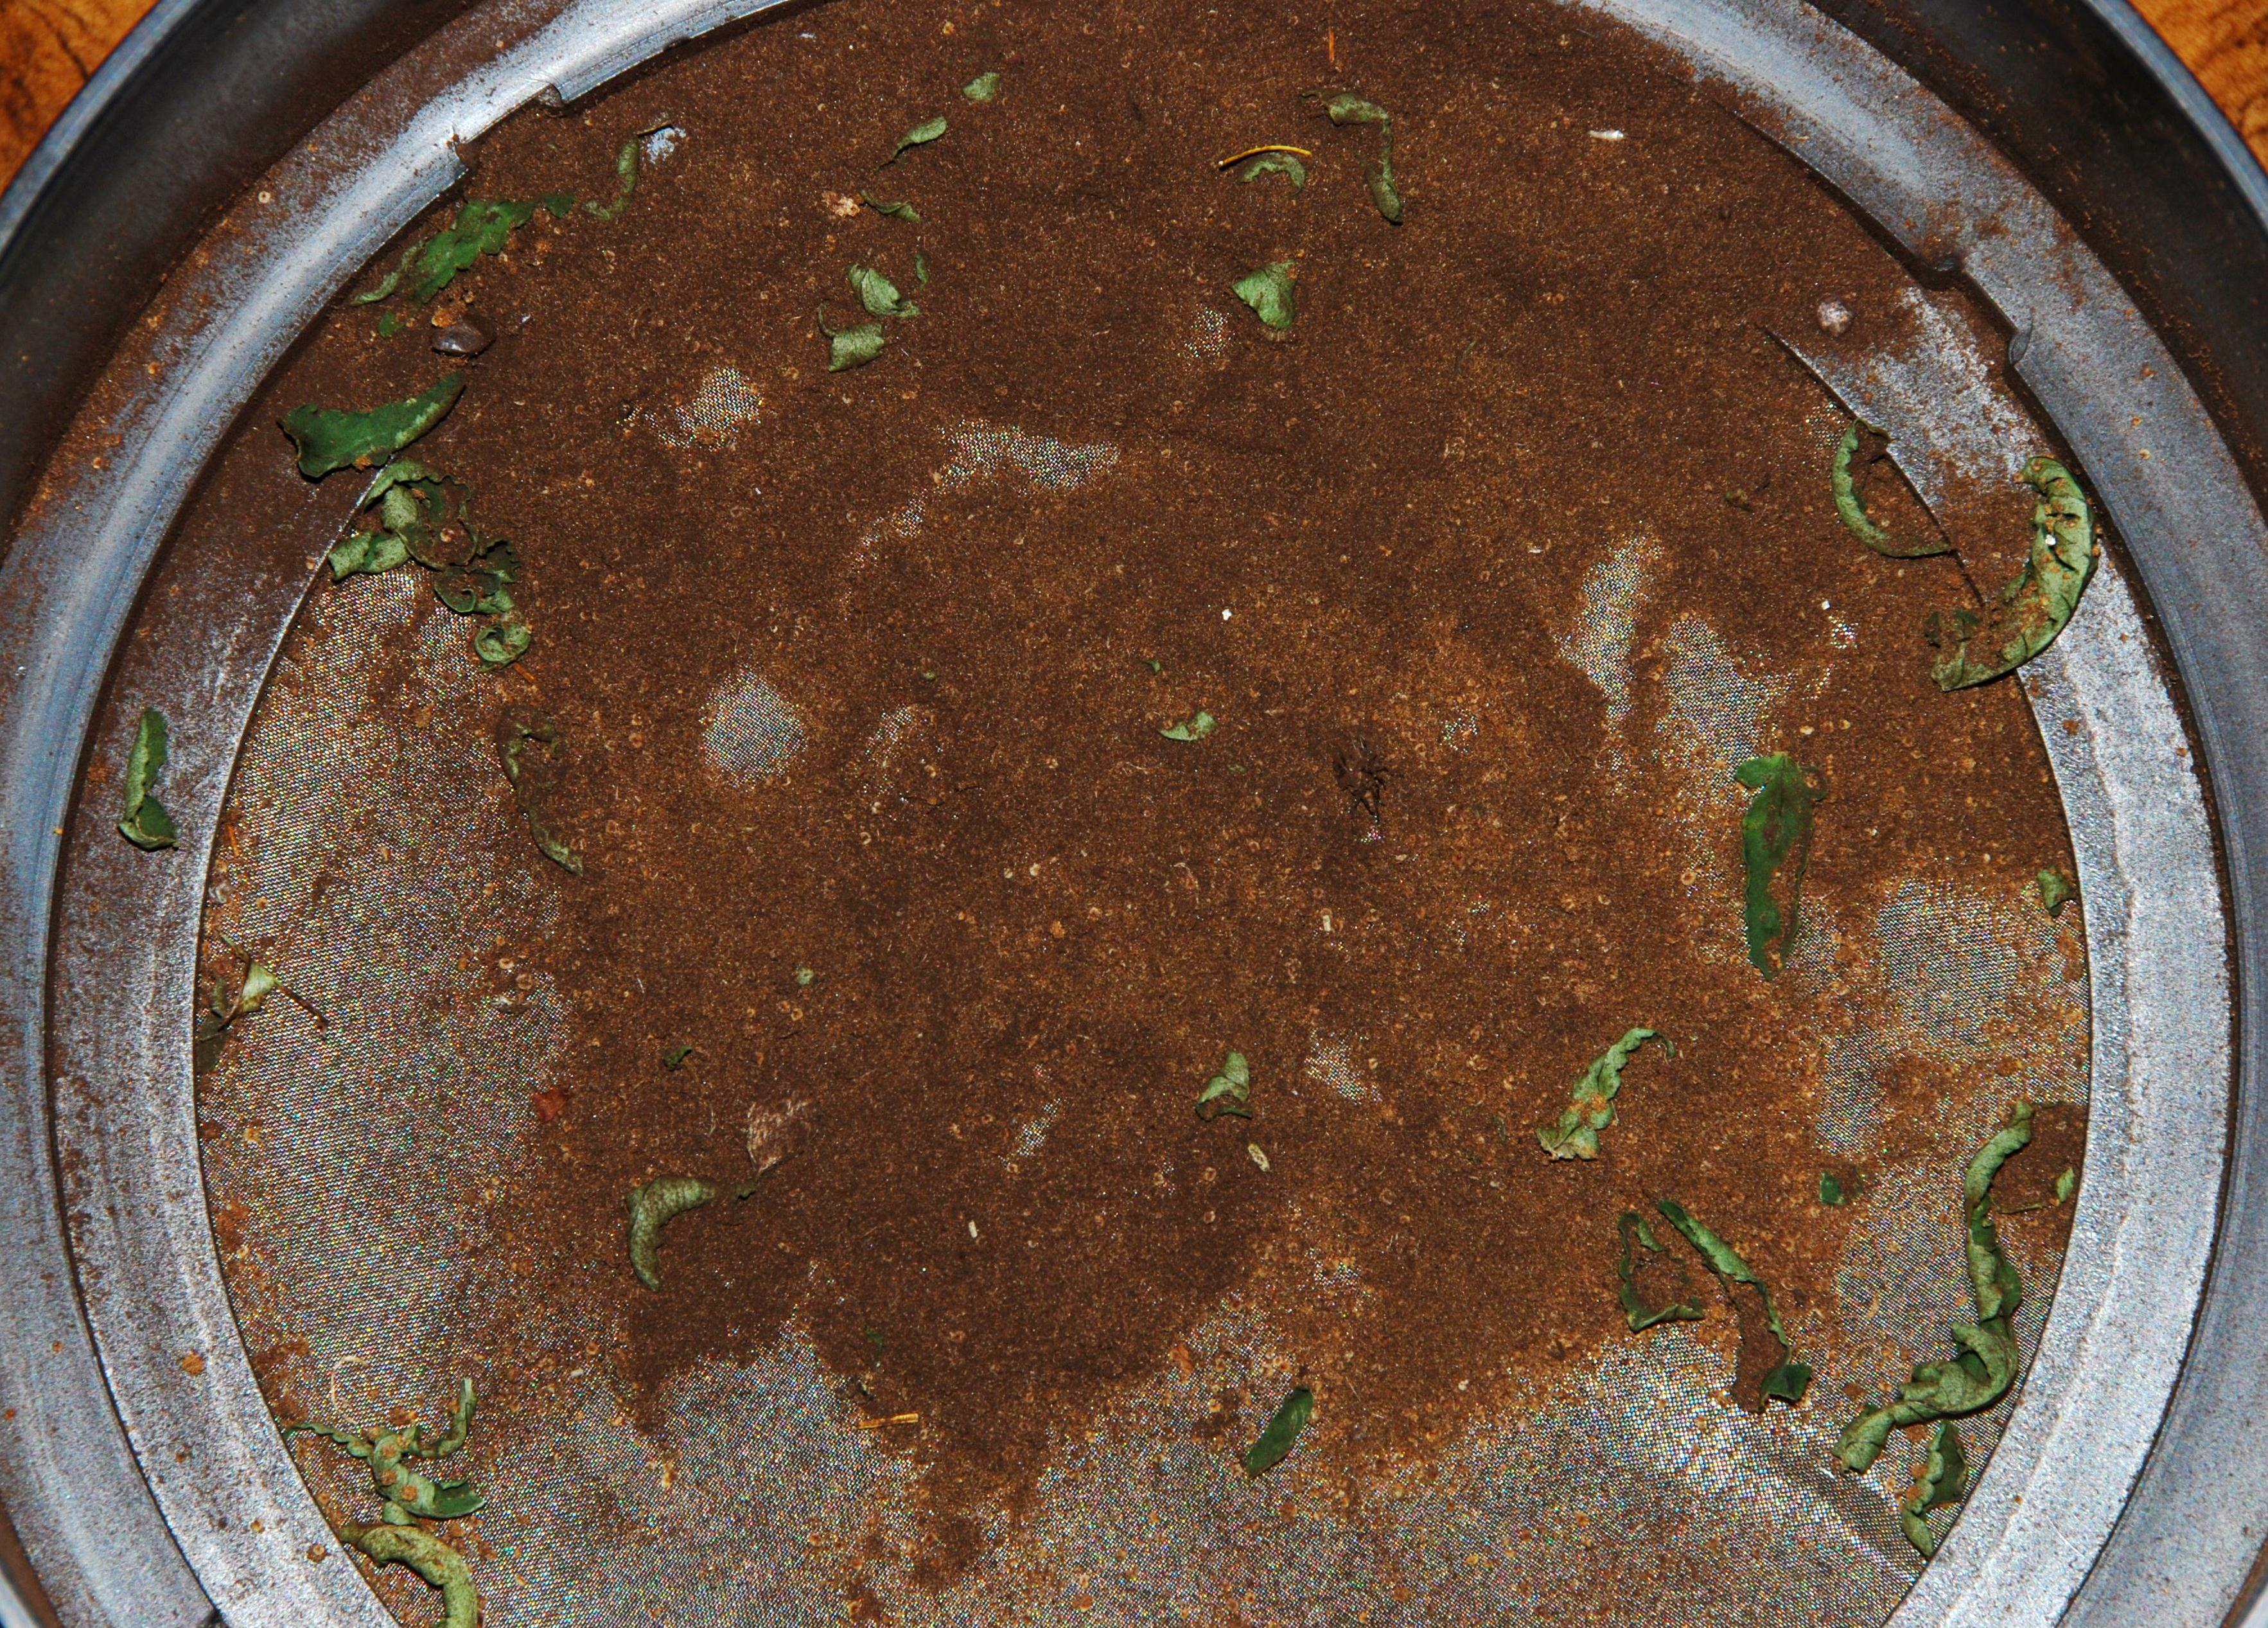
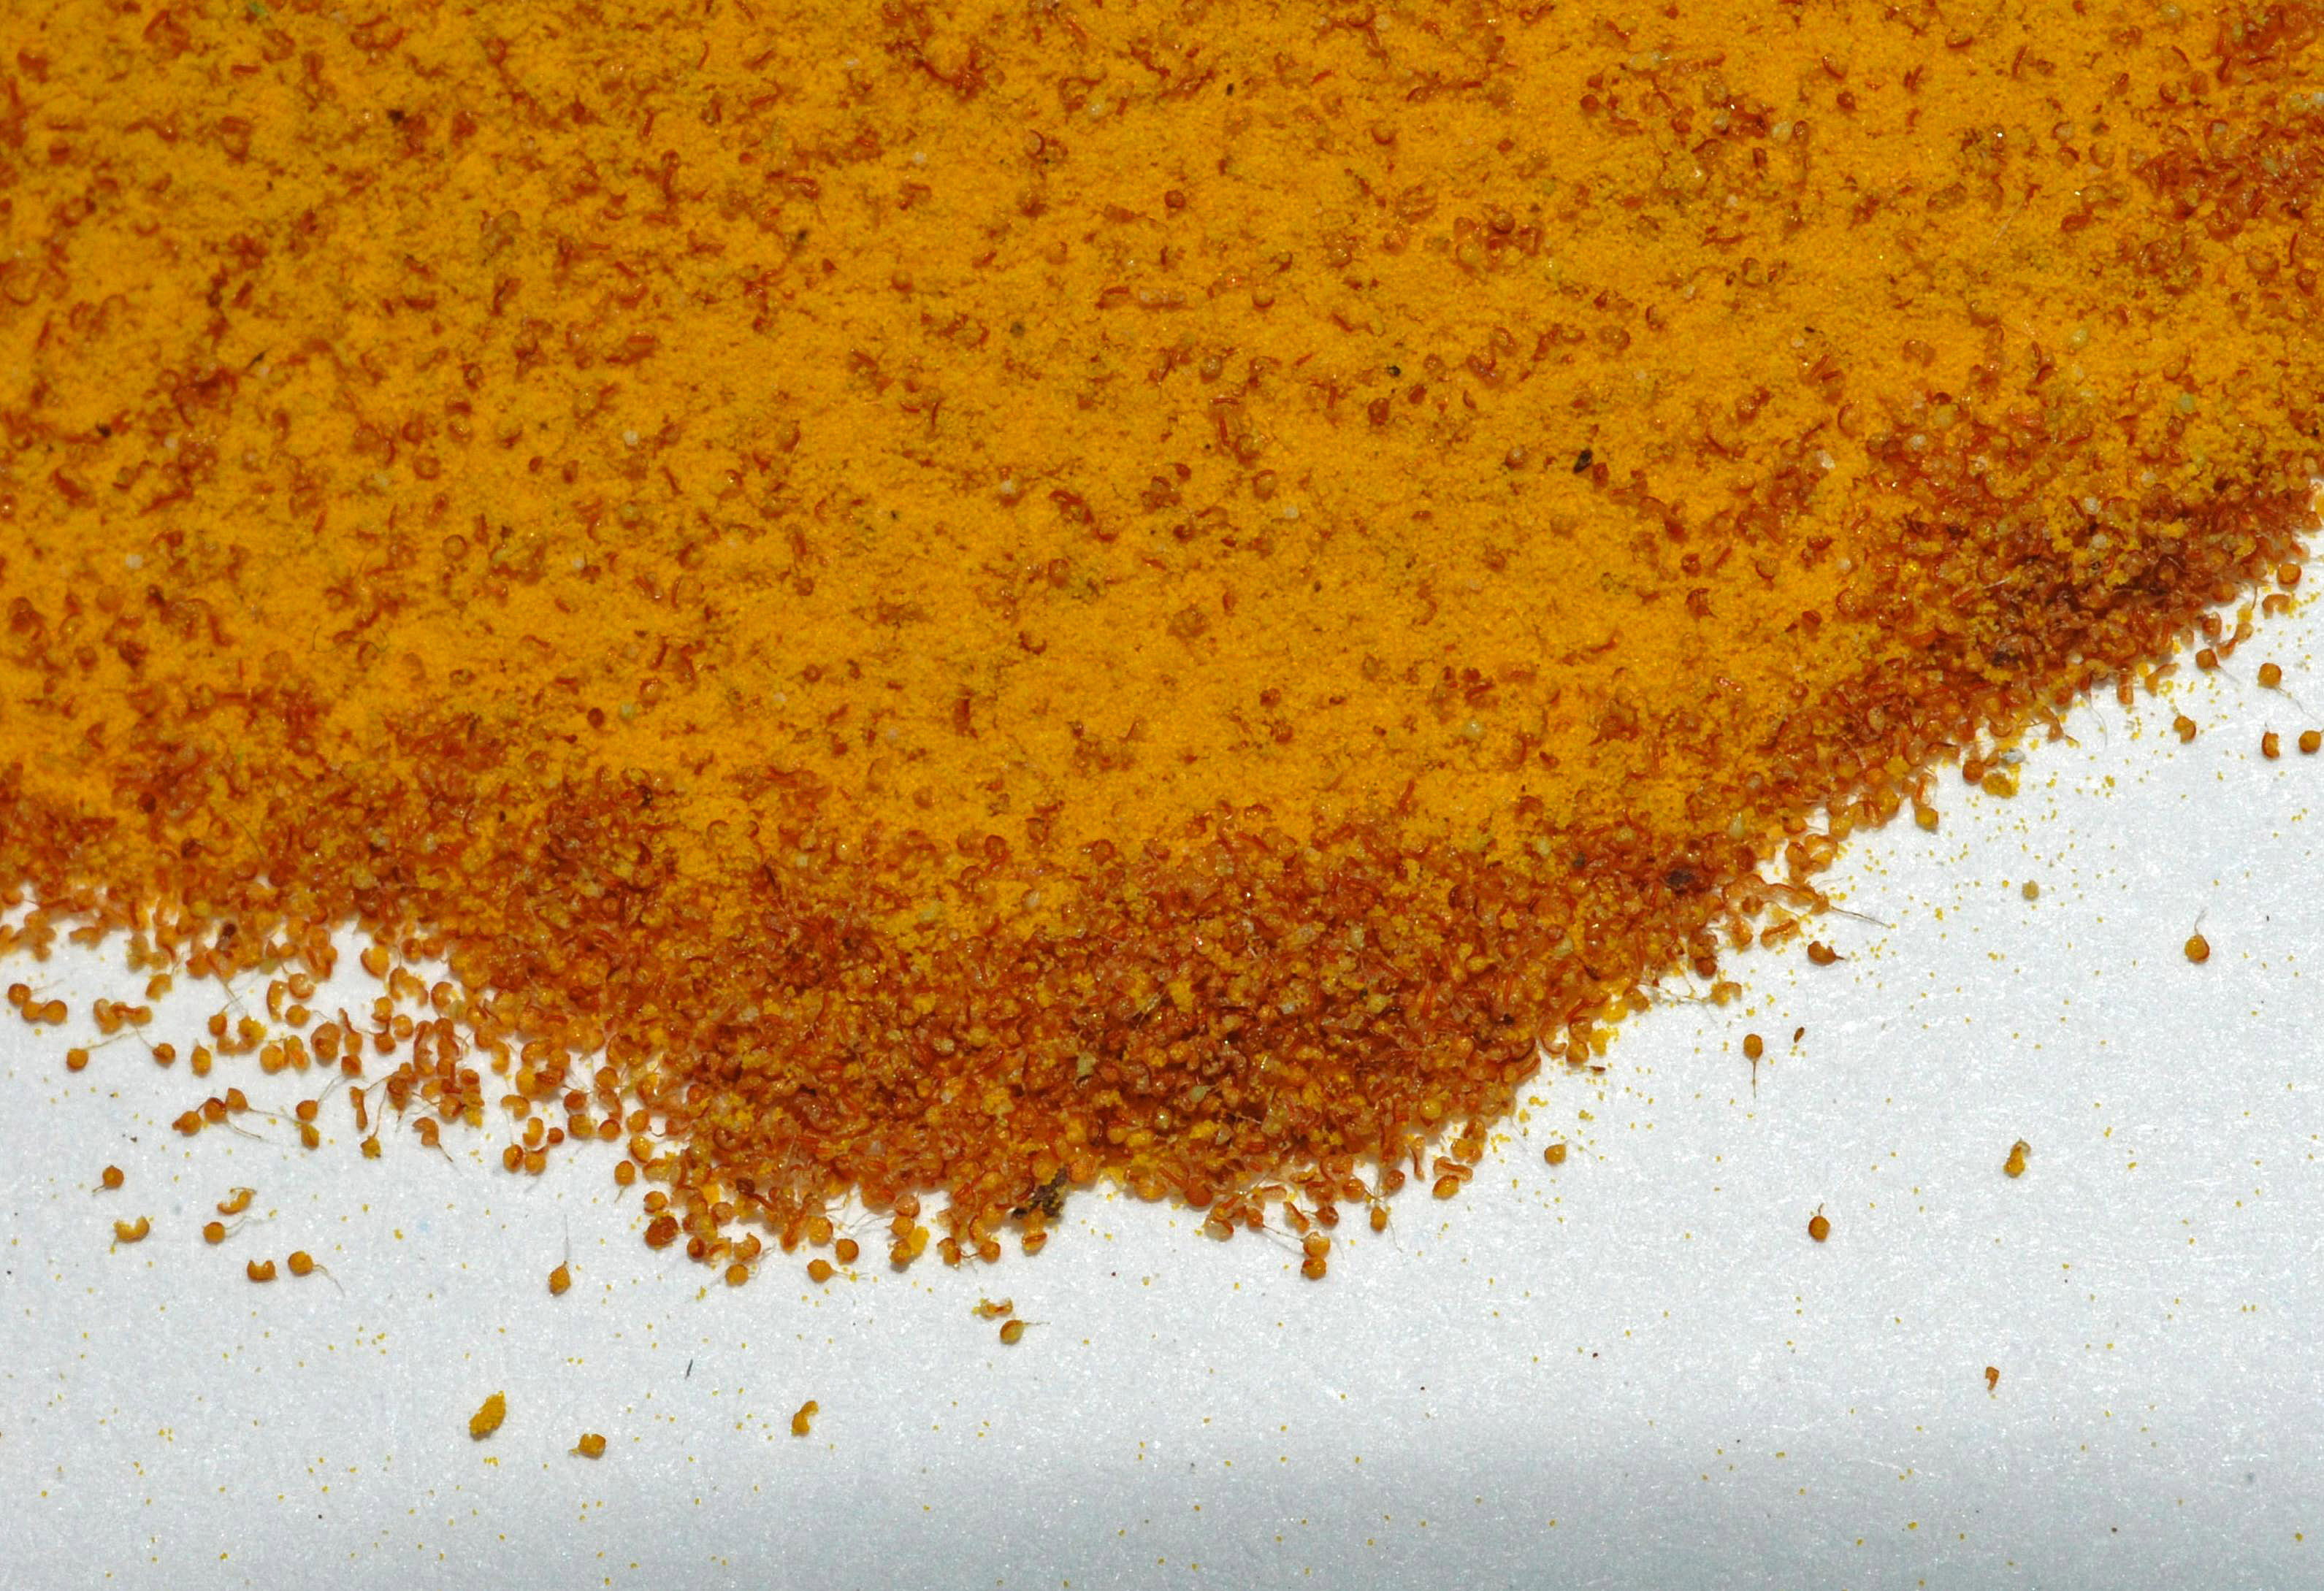
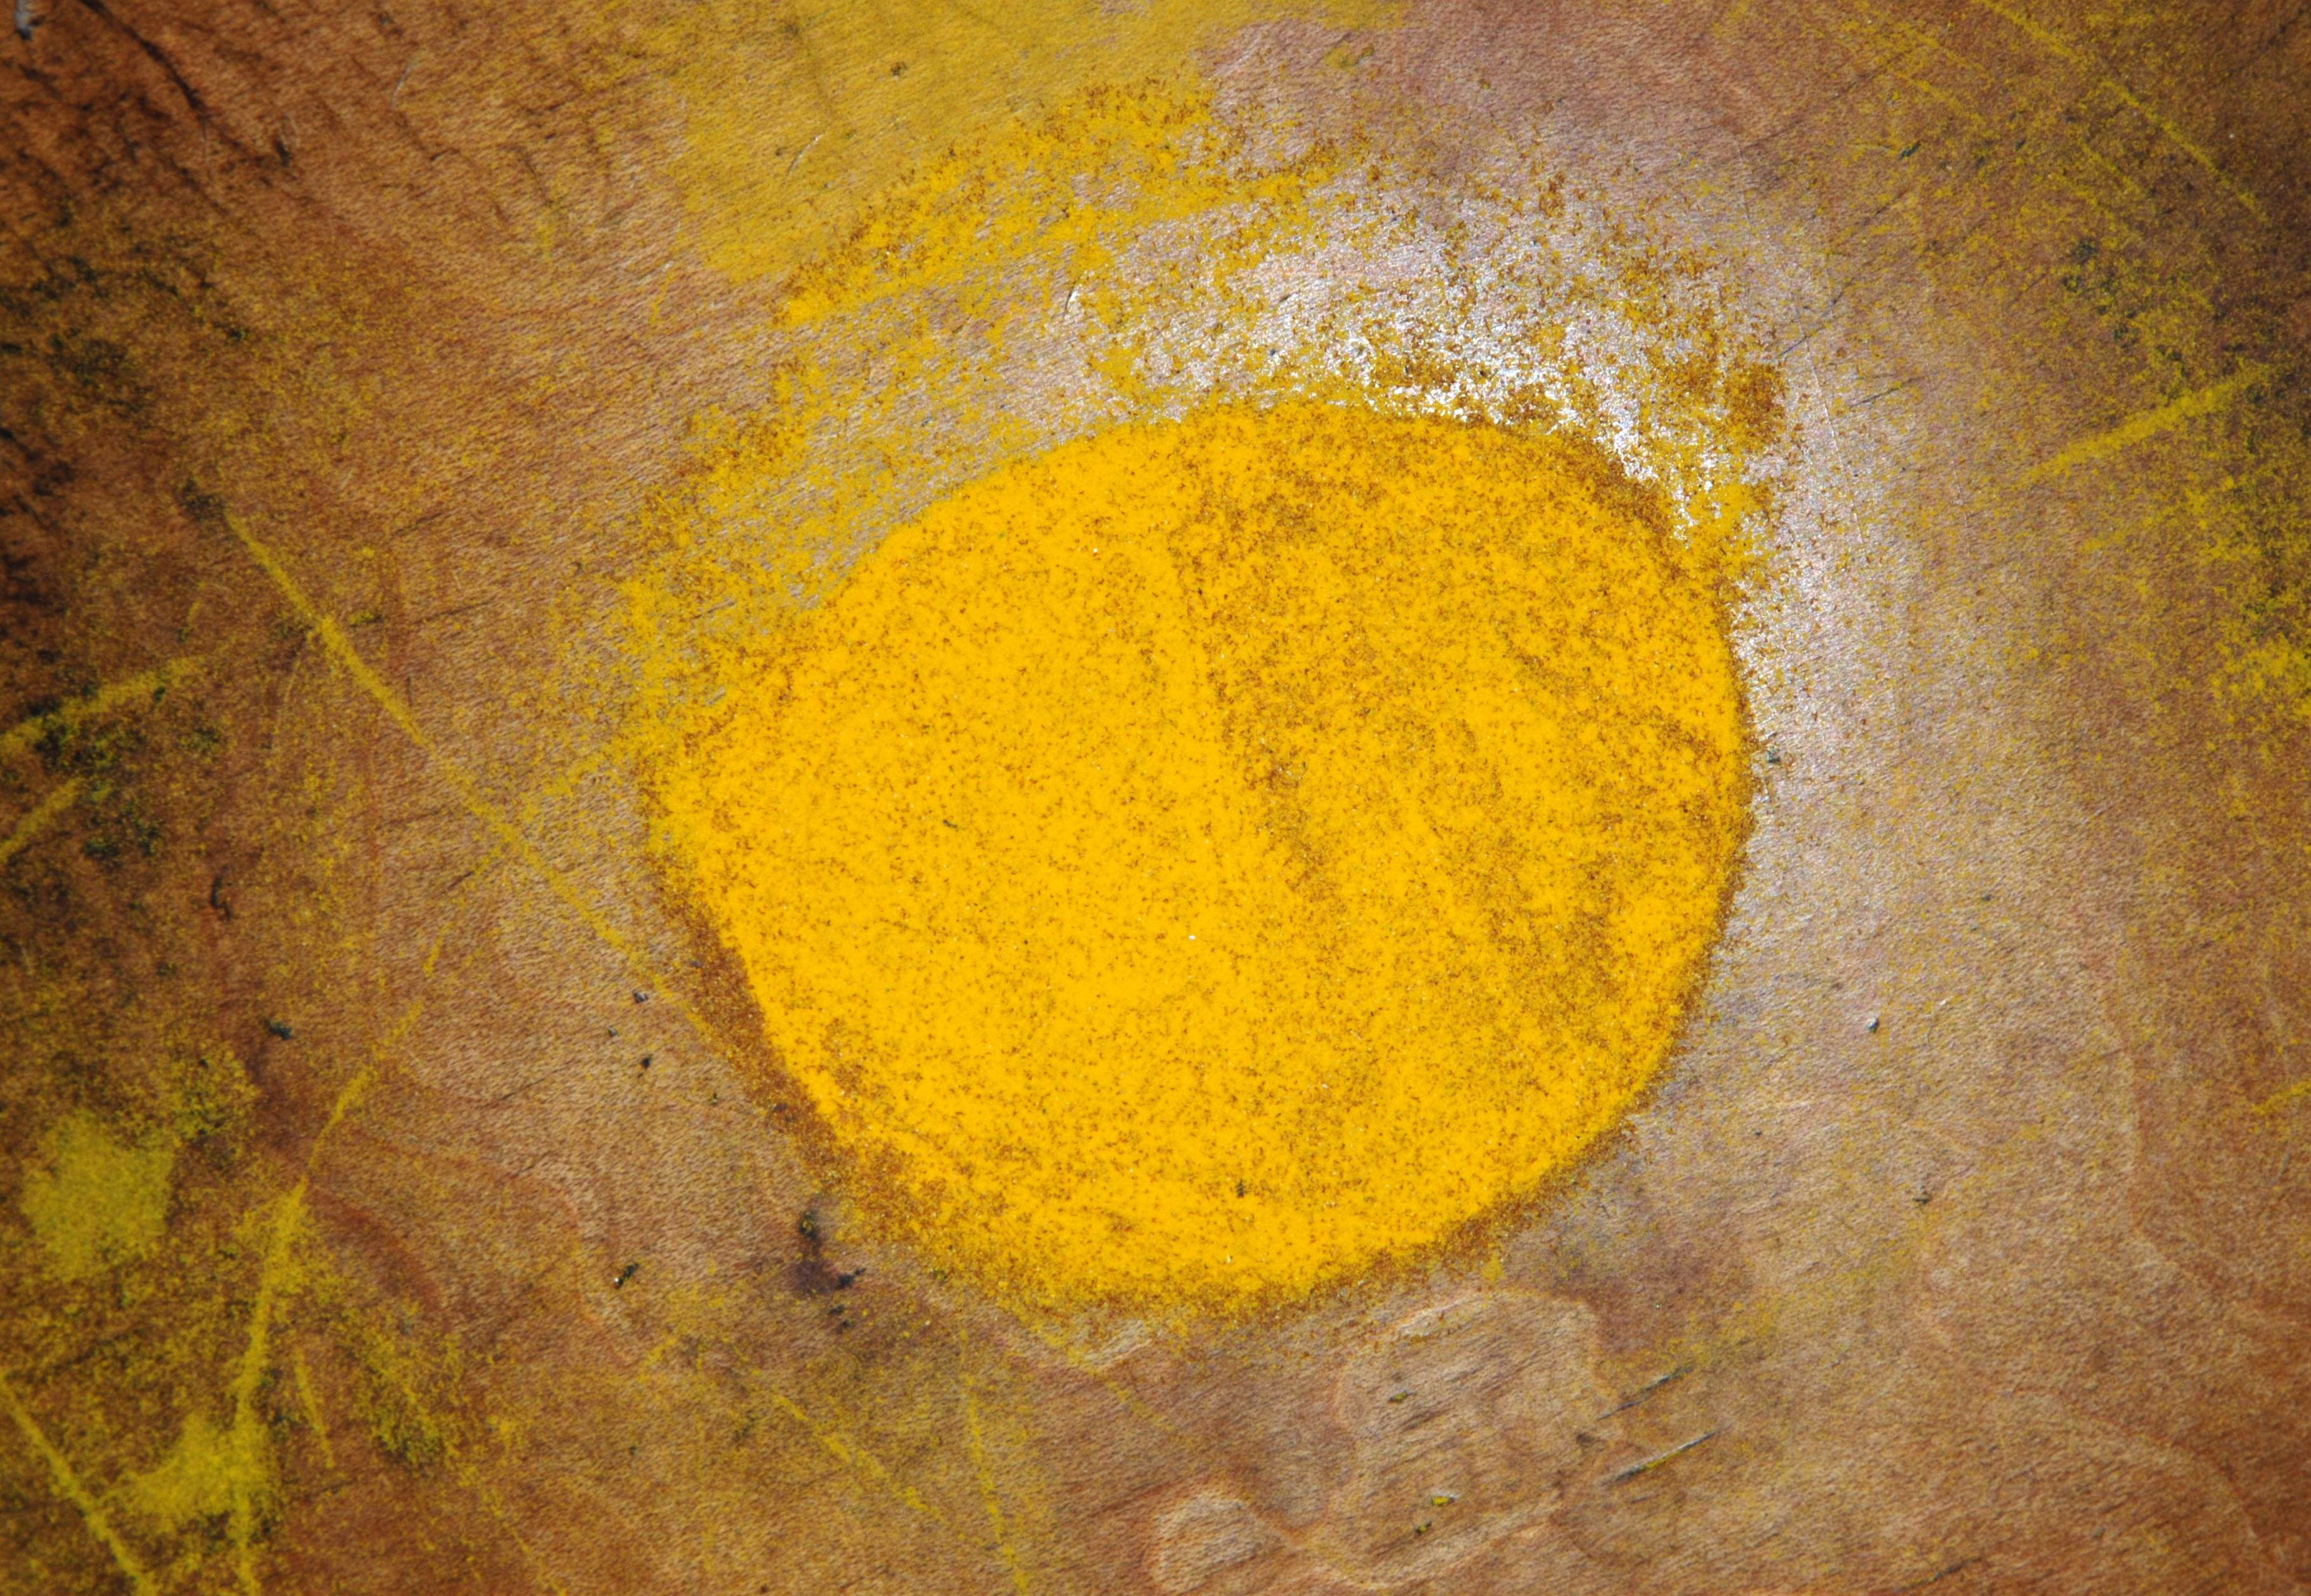
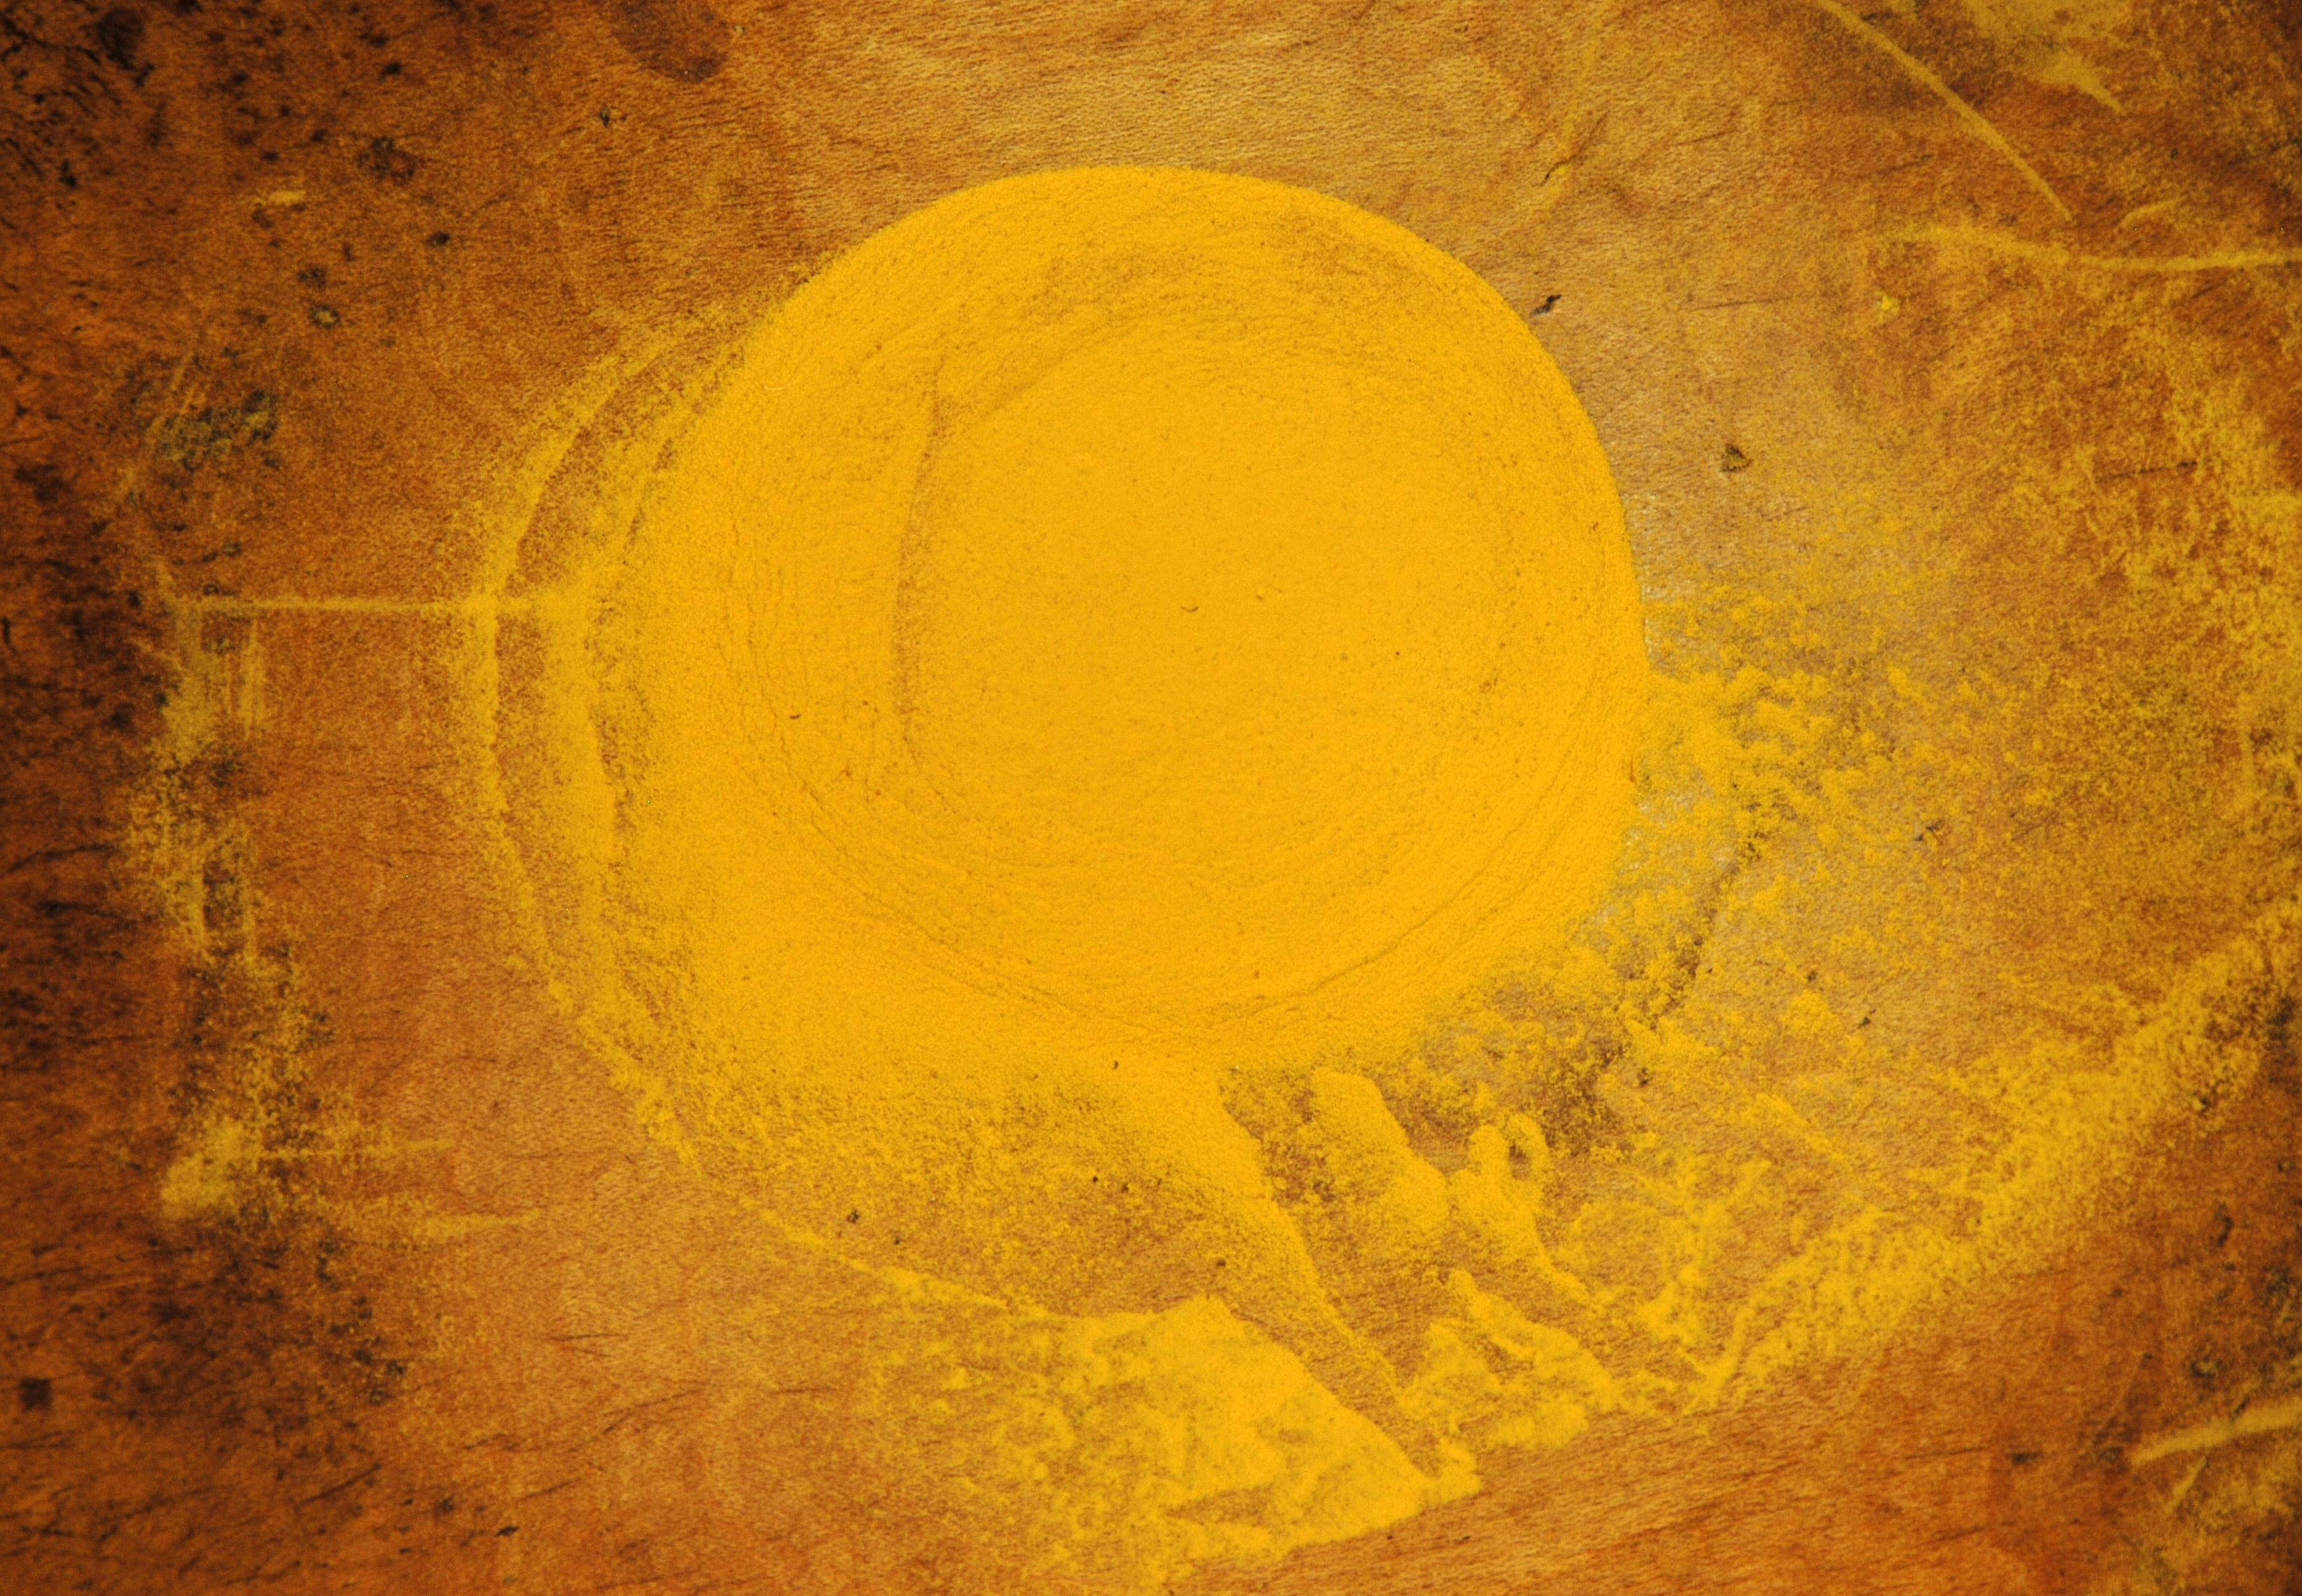
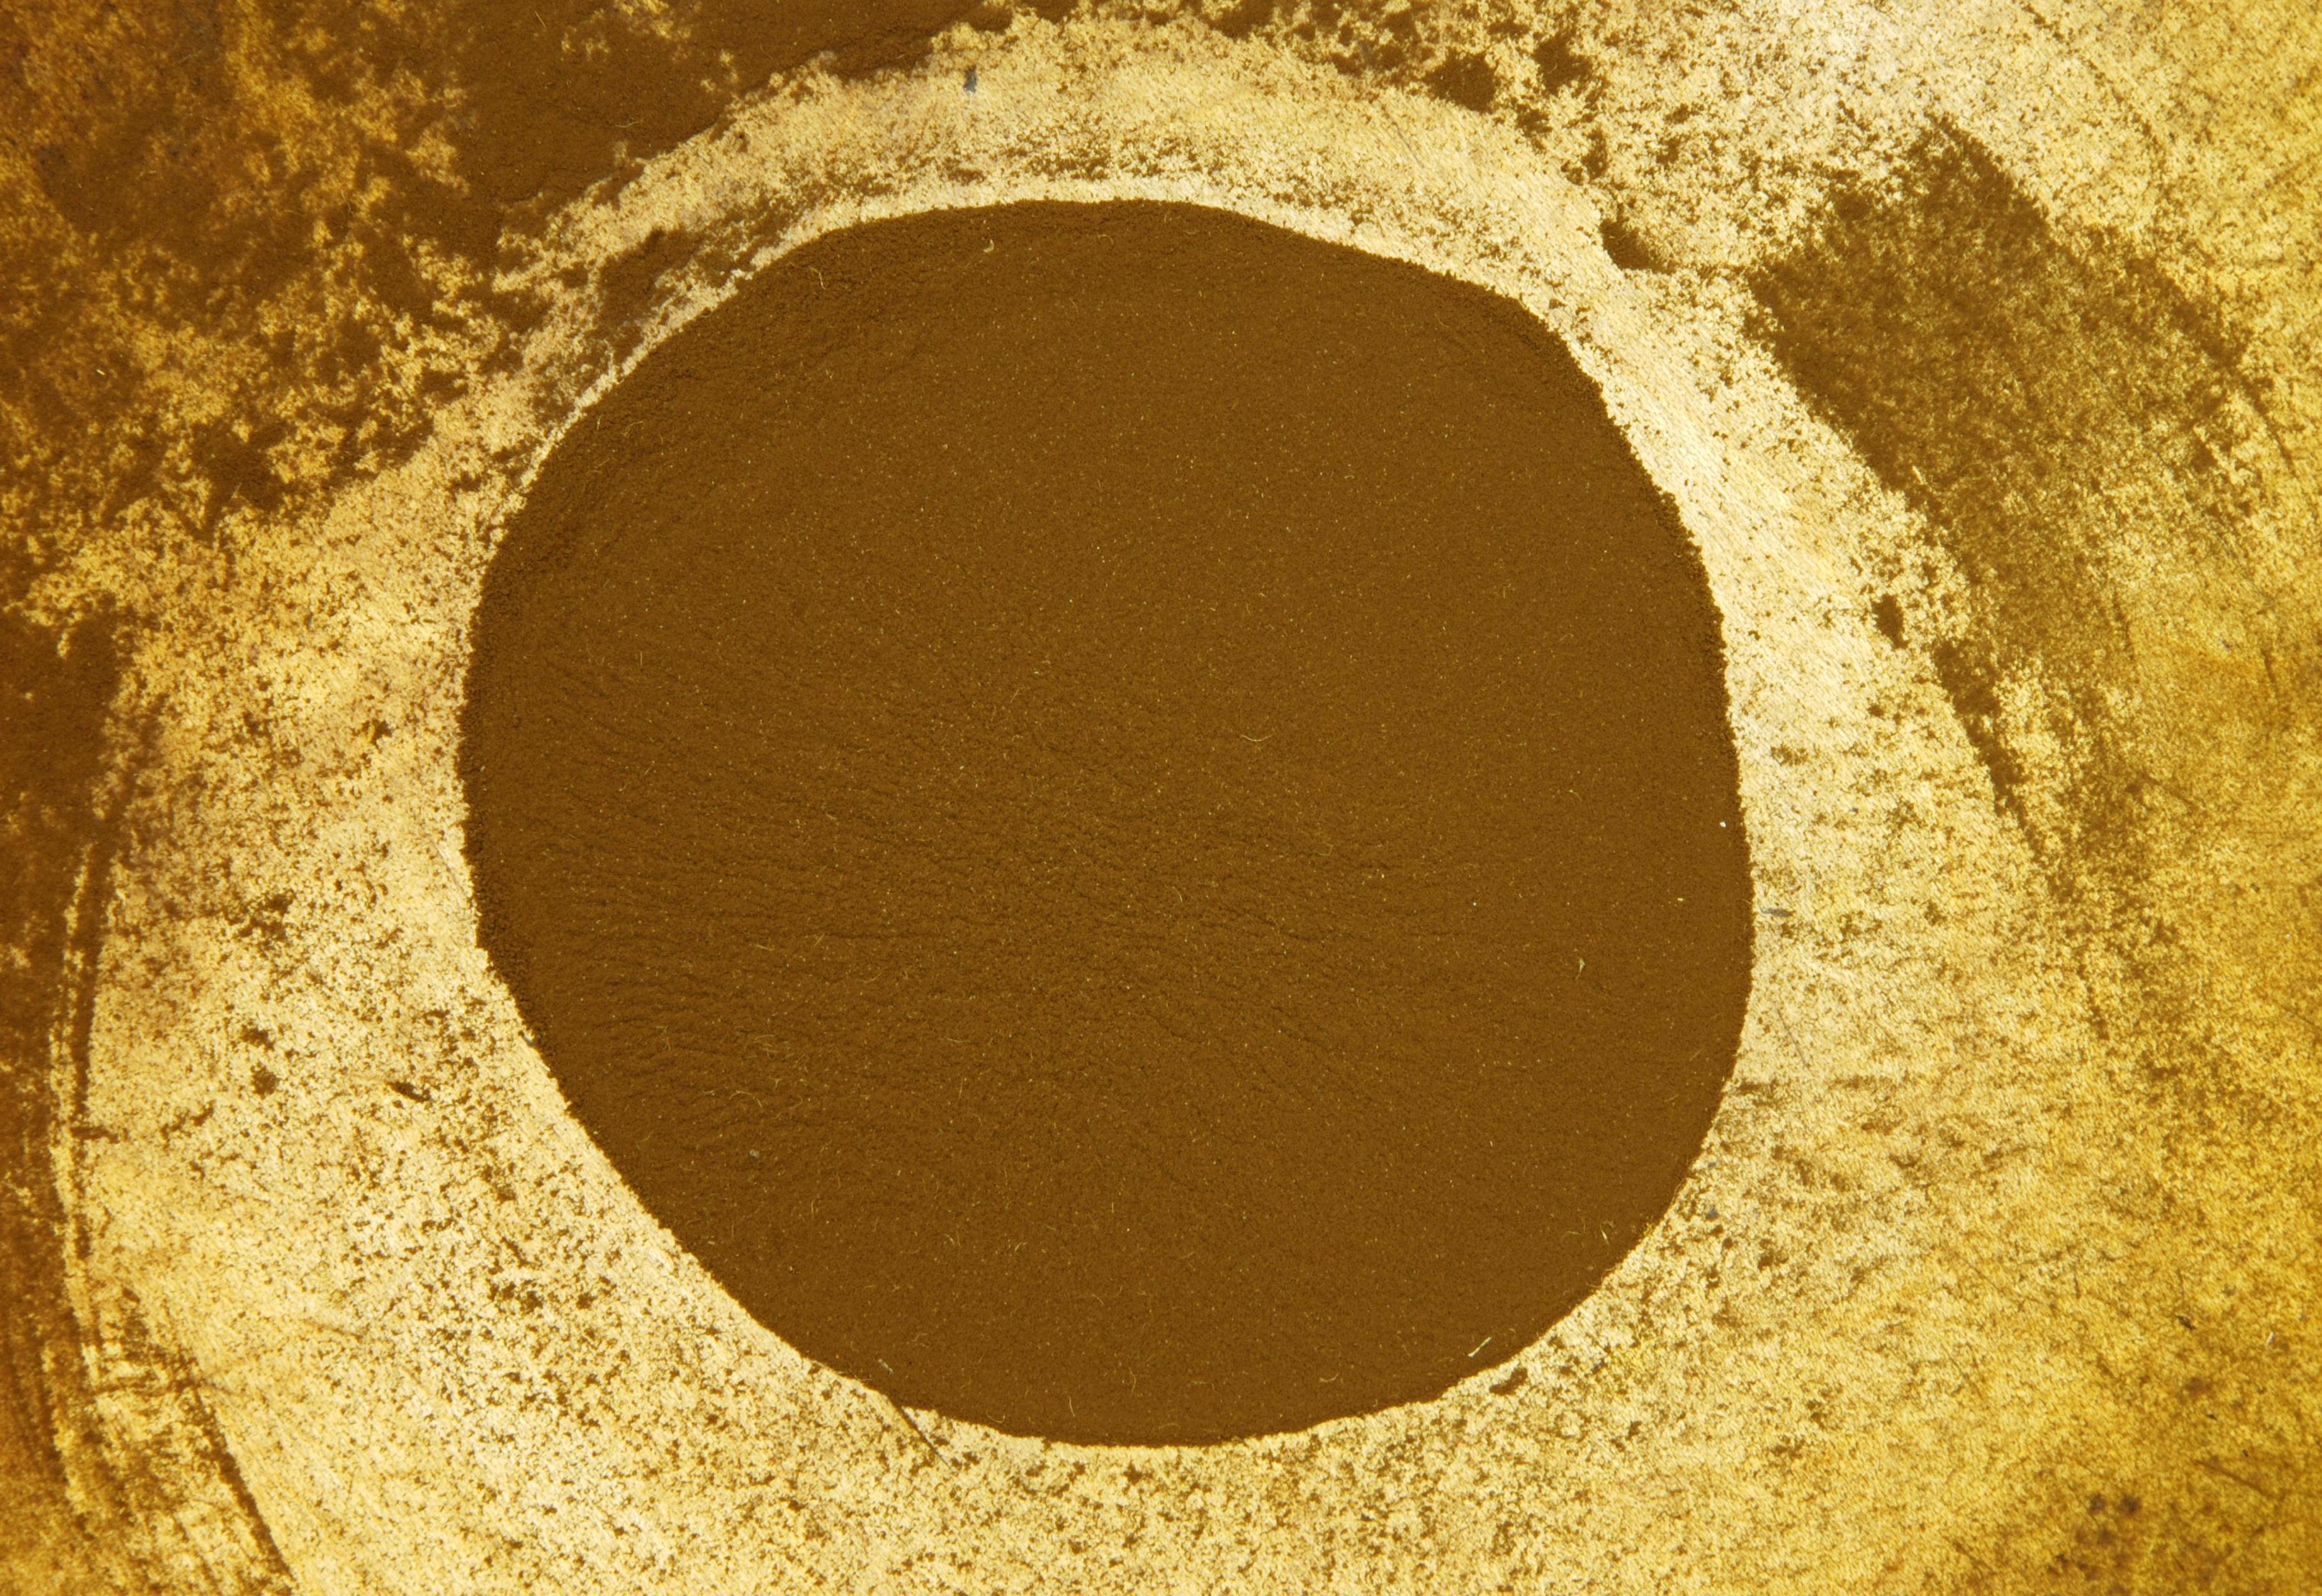
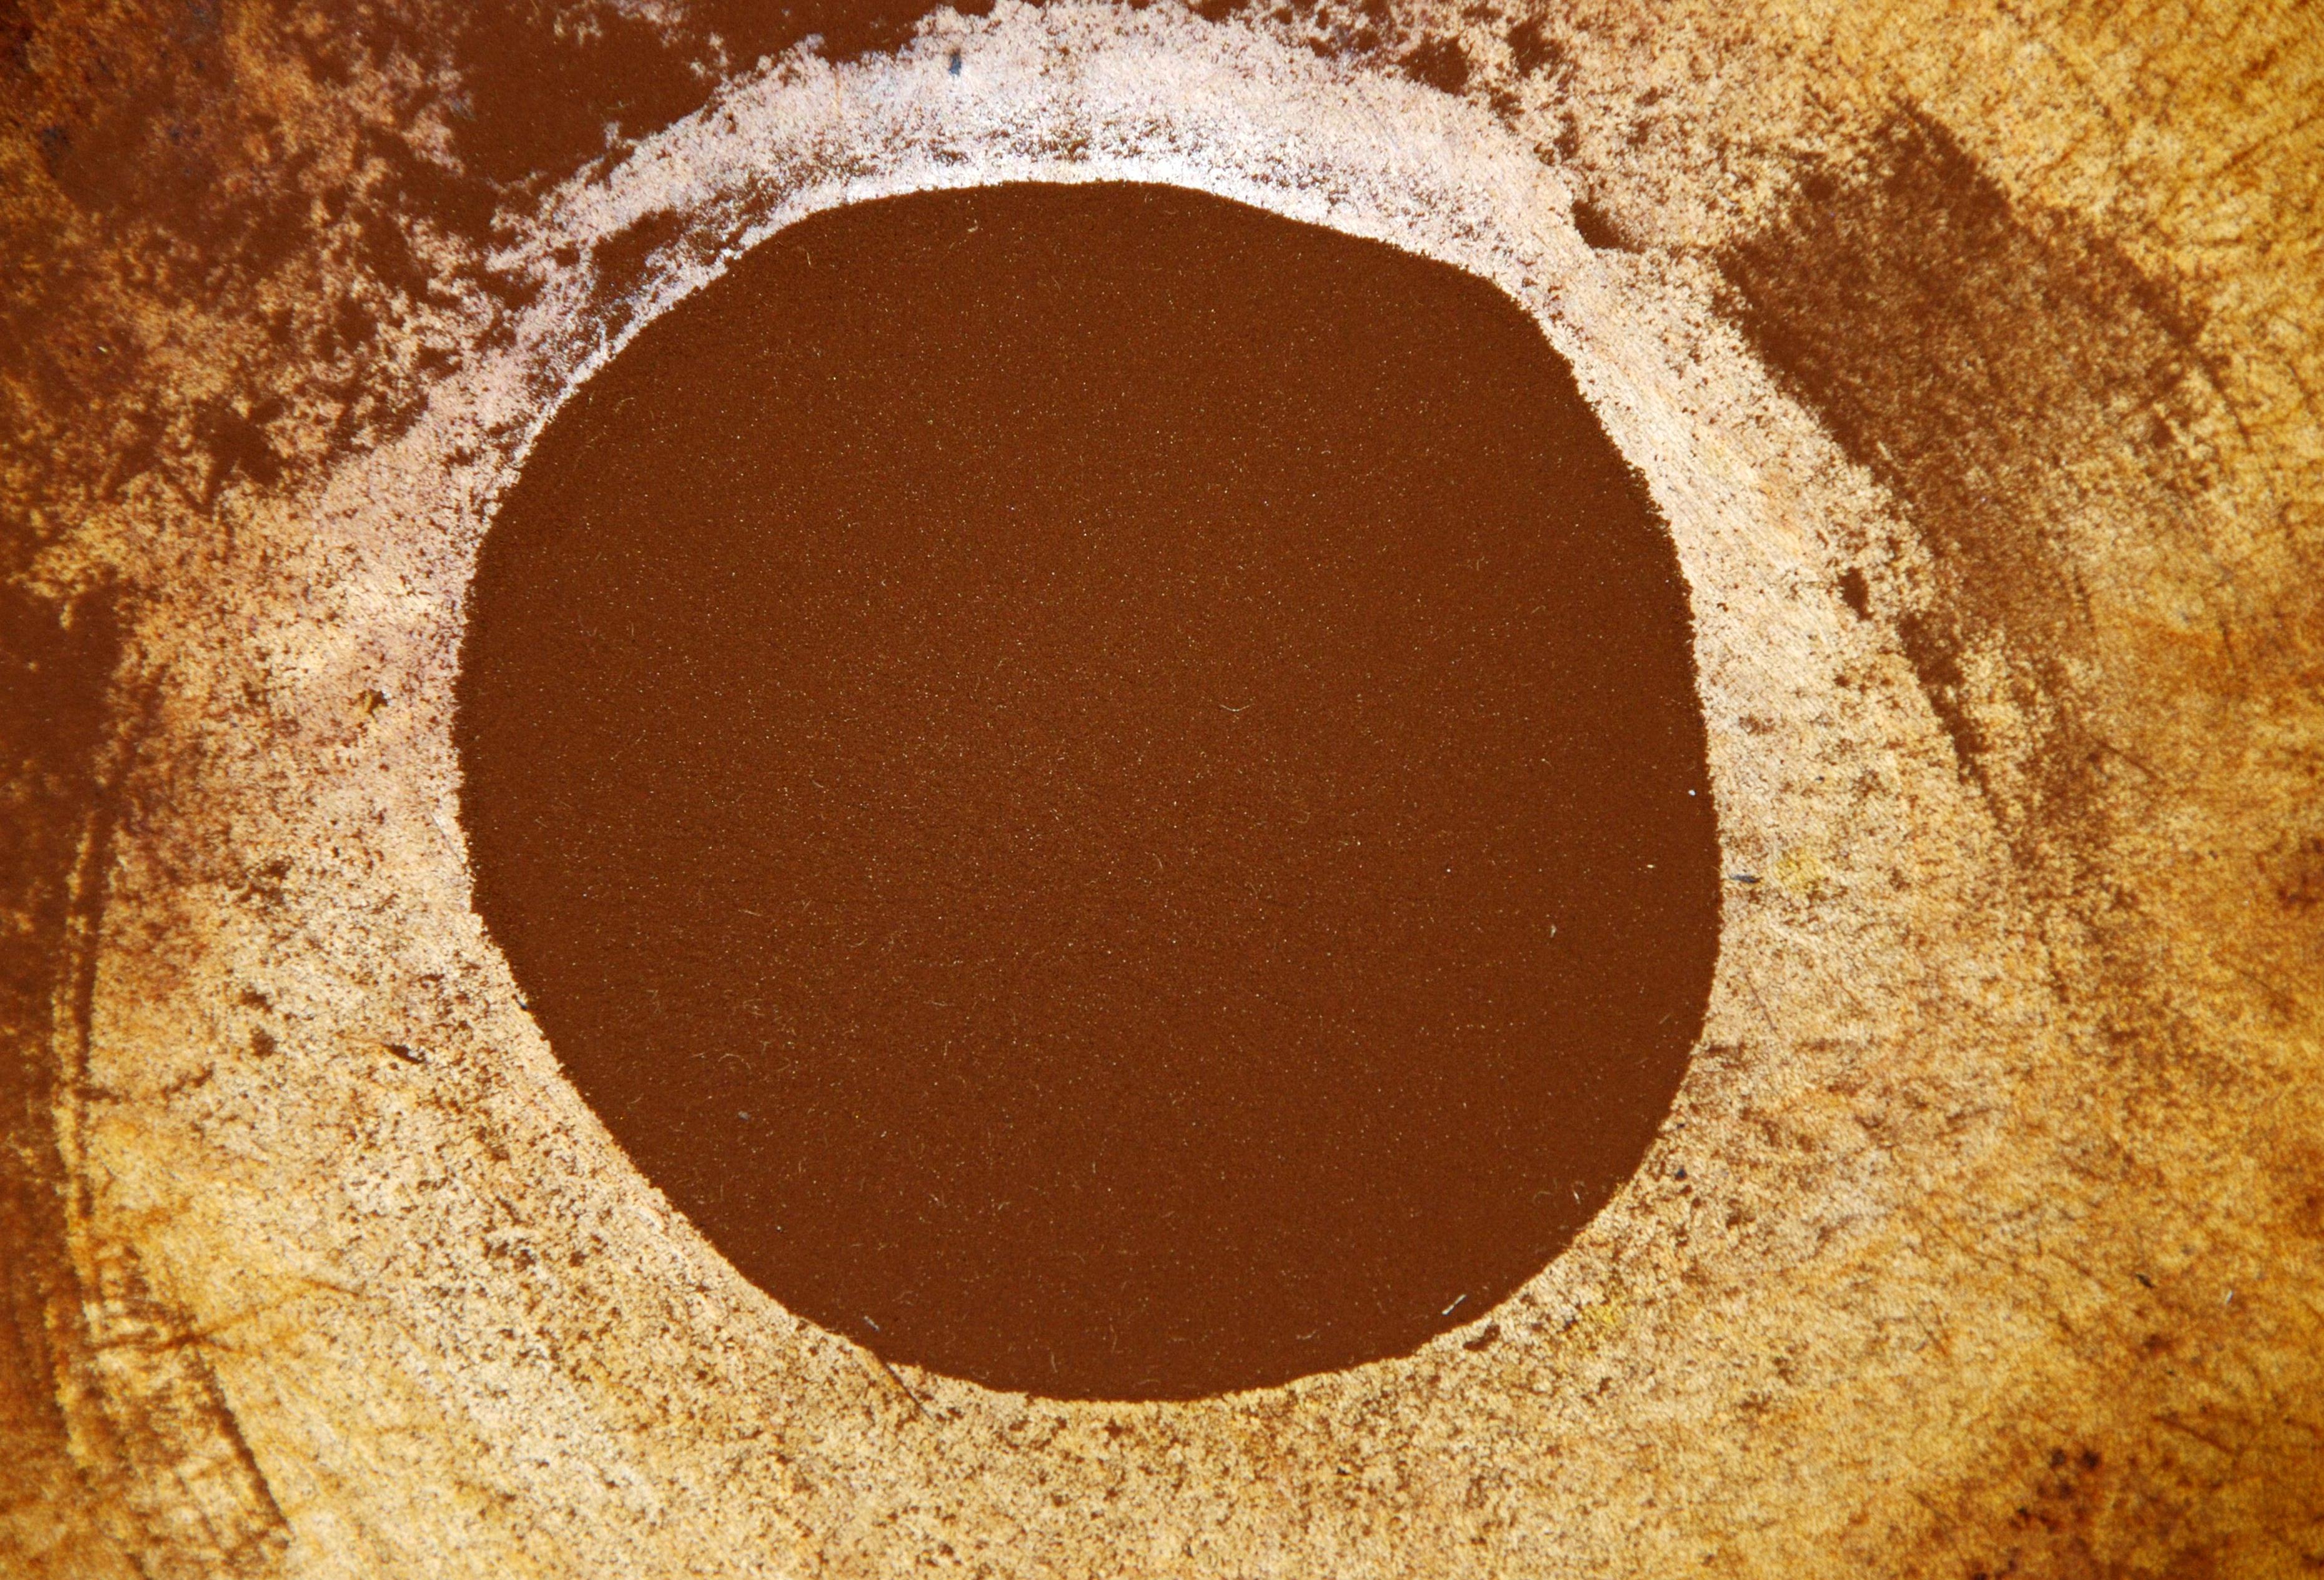
For small batches for personal use, it is not necessary to get rid of all the finer debris, but it is always helpful to do some cleaning so as to ensure that a reasonable amount of real spore material is present. The colour of the spores can then be compared to the typical colour for that species as given in the individual species notes. (Be aware that the colour(s) stated are for groups or small heaps containing many hundreds or thousands of spores; colour is not discernible in any meaningful way with the naked eye for just one or a few individual spores.)
Storage
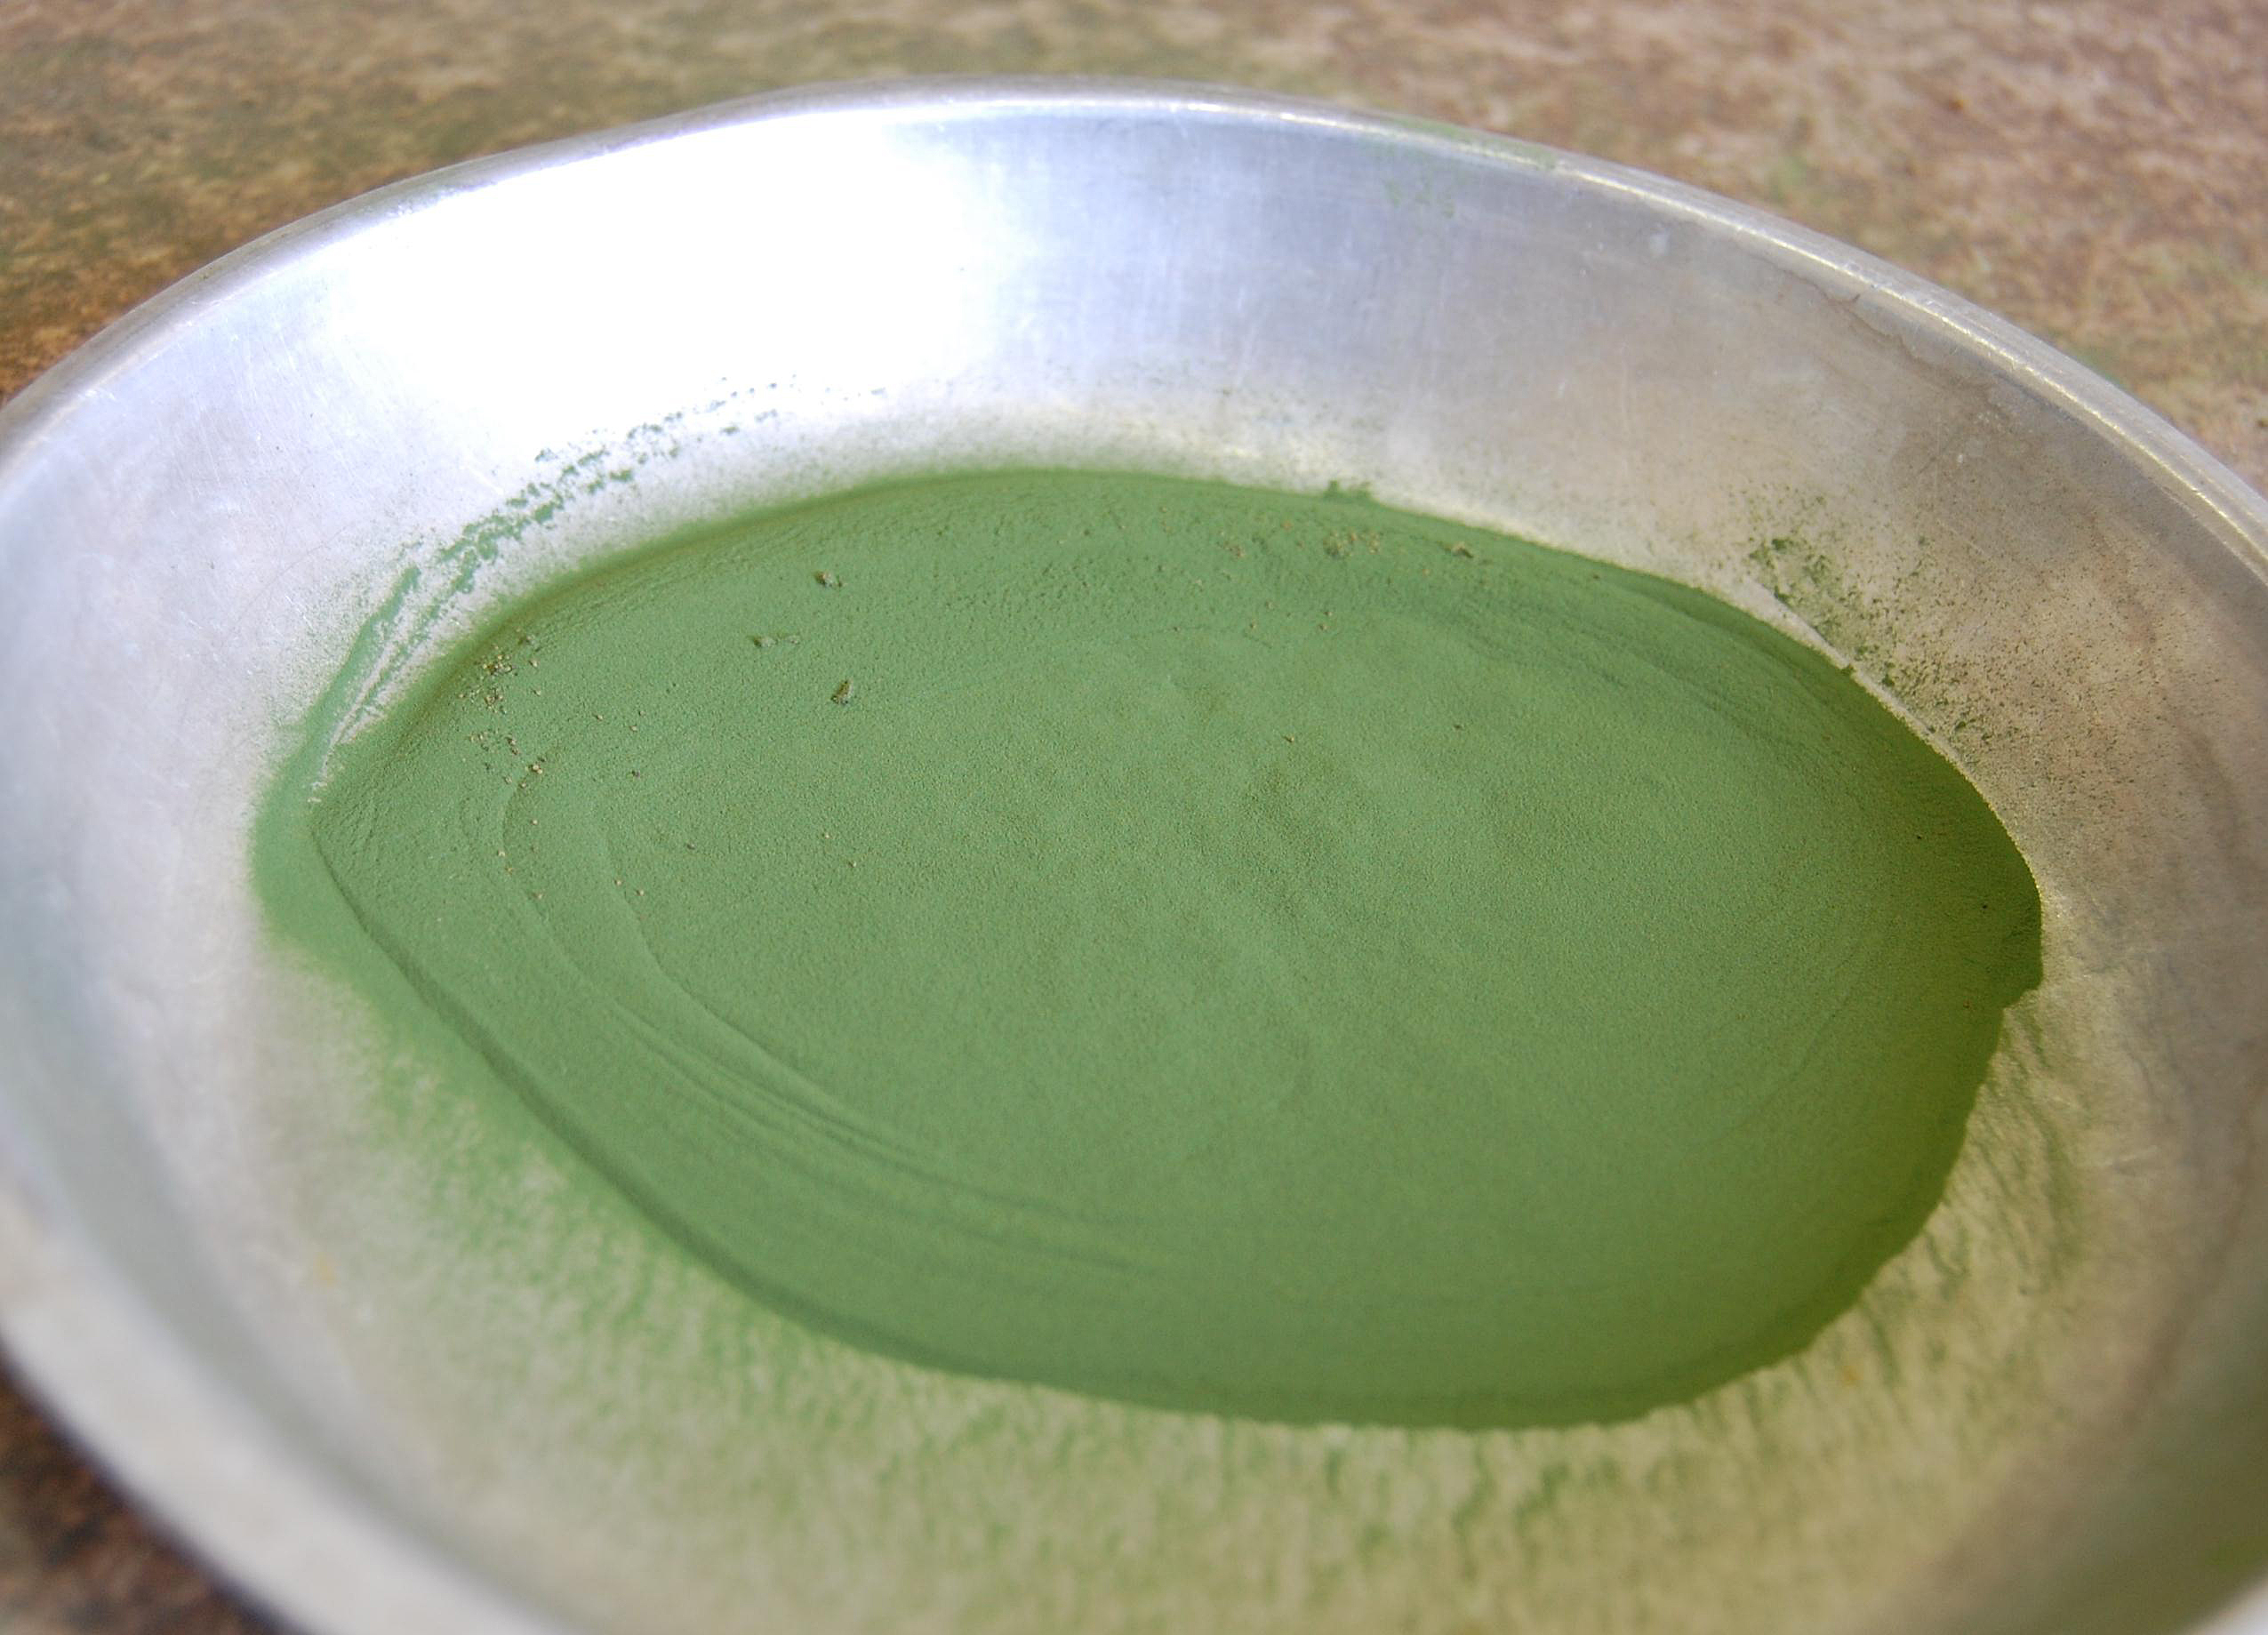
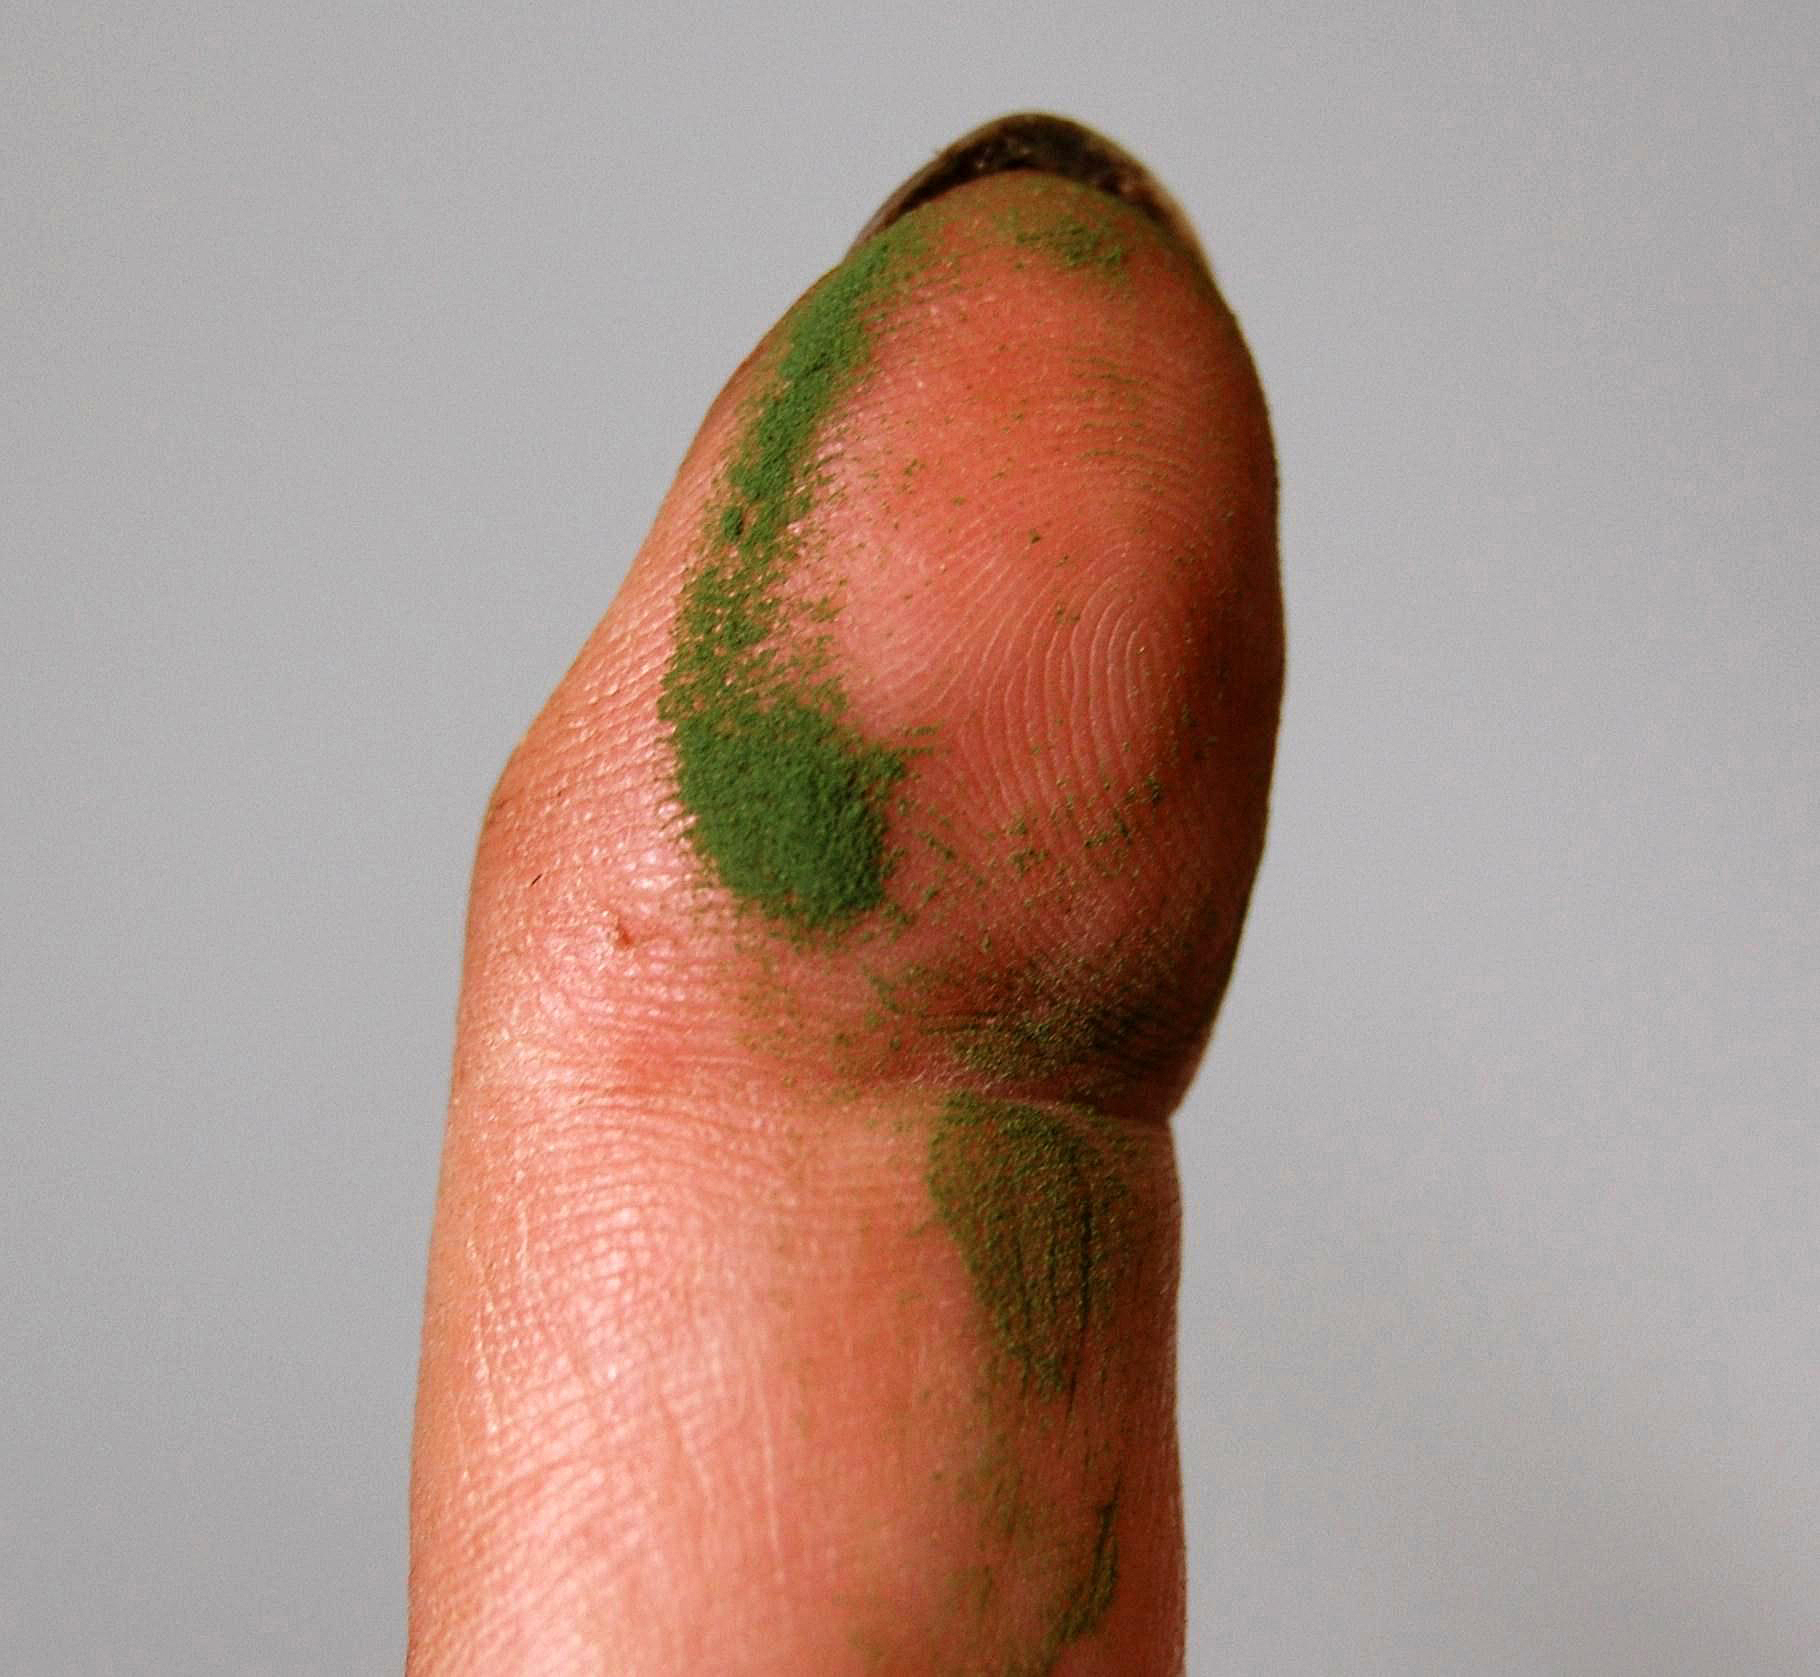
After cleaning, spores should be transferred to a small paper or glassine envelope. They can then be stored dry for greater or lesser amounts of time, depending on species and storage temperature.
For most of our native species (in the families Aspleniaceae, Athyriaceae, Blechnaceae, Cystopteridaceae, Dennstaedtiaceae, Diplaziopsidaceae, Dryopteridaceae, Polypodiaceae, Pteridaceae, Thelypteridaceae and Woodsiaceae), spores can be expected to remain viable if stored dry at ambient temperatures for at least 9 months after collection. If stored in a freezer, viability is retained for at least 12 months, and possibly considerably more in some cases.
Spores of species in the family Onocleaceae (Matteuccia, Onoclea) retain their viability for at least 3 months (maybe up to 6 months for Matteuccia) if stored dry at ambient temperature, and for at least 6 months (9 - 12 for Matteuccia) if kept in a freezer.
Species in the family Osmundaceae (Osmunda, Osmundastrum) have green spores that can live for only a few days in dry storage at ambient temperatures; in a freezer they remain viable for at least 6 months and possibly up to a year or more.
There is little information currently available on storage potential for spores of species in the family Ophioglossaceae (Botrypus, Ophioglossum, Sceptridium), so until such time as that situation changes it is recommended that they be treated as short-lived along with the Osmundaceae.
GERMINATION PROTOCOLS
Most of our native ferns can be propagated from spores using a single, standard protocol. The only exceptions are species in the family Ophioglossaceae (Botrypus, Ophioglossum, Sceptridium) that have non-photosynthetic gametophytes and for which there are at present no established germination protocols.
Standard Fern Germination Protocol
Use moistened soil-less seeding mix, vermiculite, perlite, or a combination of peat moss and sand, place it in a microwave oven, and heat until steaming. This will ensure that the germination medium is sterile and free of bacteria or fungal spores. Once cool, transfer to a well-washed plastic container with a clear lid which will allow light to penetrate and maintain a humid environment, while allowing you to observe progress throughout the long germination period.
Sprinkle the fern spores lightly and evenly on the surface of the seeding mix; avoid clumping or heavily-sown patches as far as possible. Either fresh or stored spores can be used, with the sowing scheduled as far as possible so that the expected new young plants are ready for transplanting the following spring or summer. Put the lid on the container, and place it in a window that has bright light (avoid direct sun), or under grow lights, or in a (heated) greenhouse. Observe occasionally to ensure that the inside of the container remains moist and that no fungal or algal growth occurs.
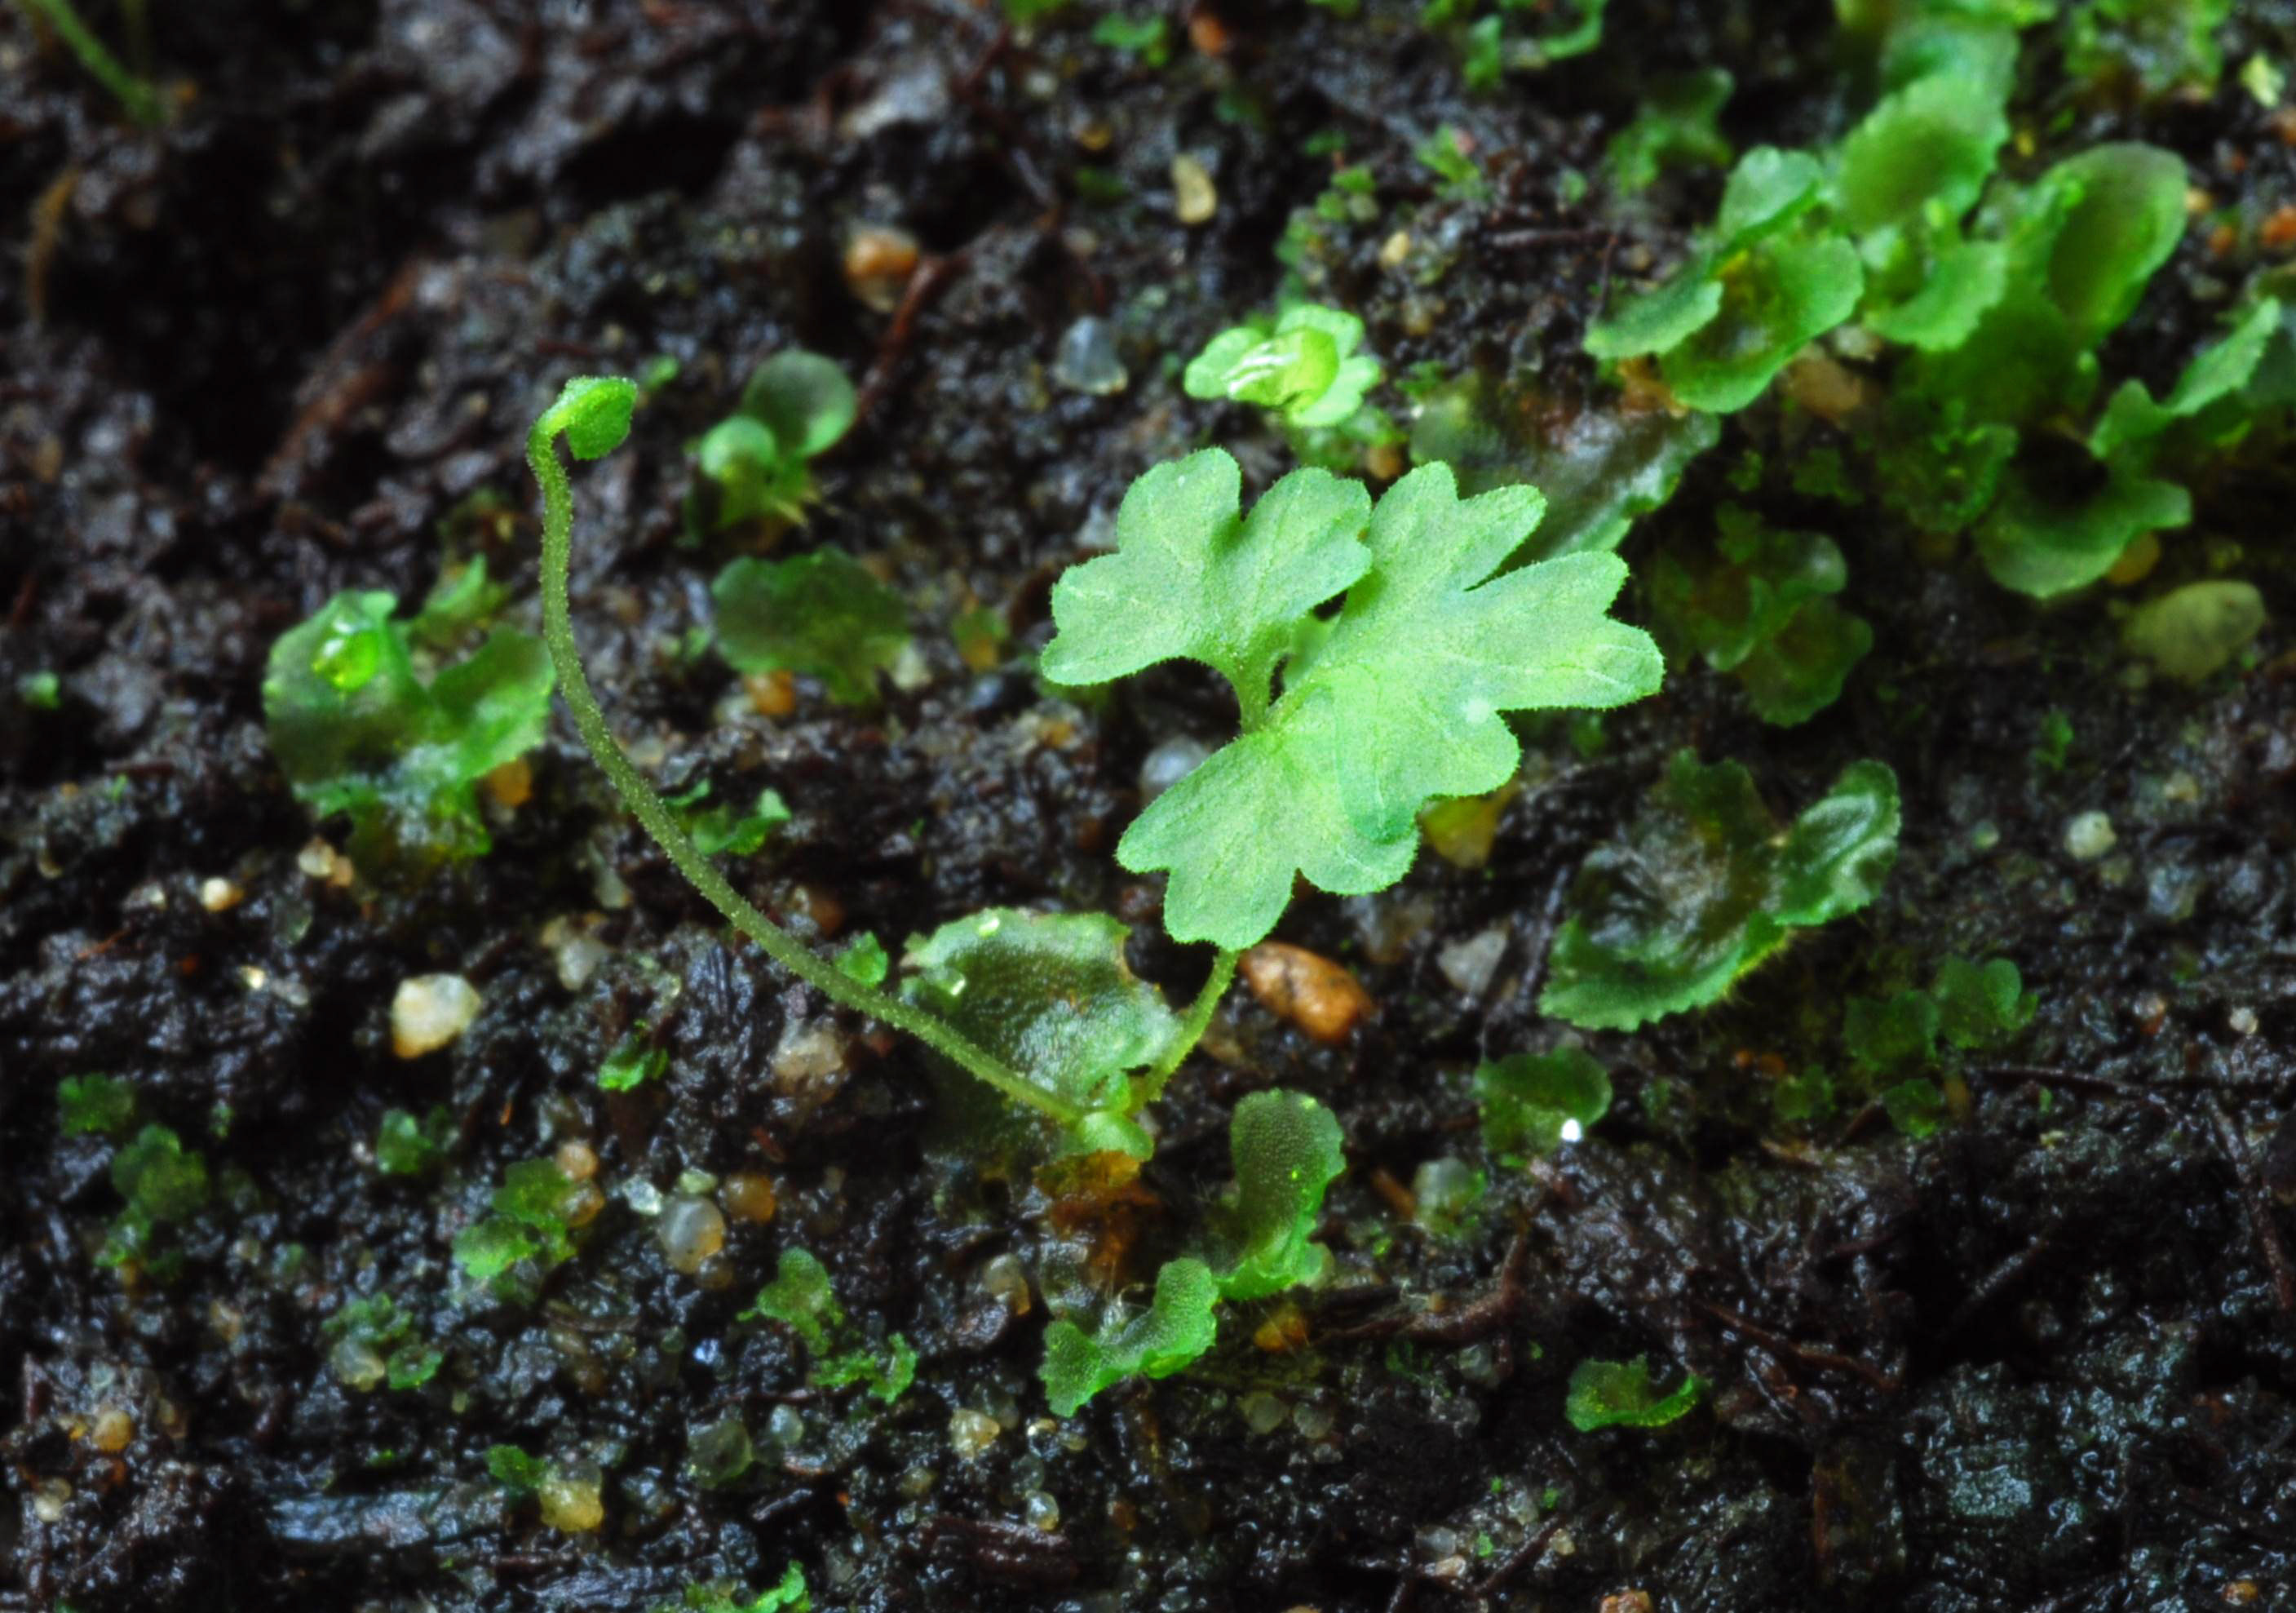
After about 6 - 8 weeks, the gametophytes (prothalli) should start to appear on the surface of the mix. These are small, flat, green, somewhat leaf-like and may be up to 1 cm across. They should be thinned out as necessary so as to allow 2 - 3 cm of space between them and ensure the production of both male and female organs (it is likely that only male organs will form if the gametophytes are too dense). It is usually also beneficial to spray the seeding mix with water at this stage so as to aid the sperms to swim through water films to meet the eggs.
It is then necessary to wait a further period of about 6 - 8 weeks (on average) until the first miniature fern fronds start to appear from the fertilized eggs. The first recognizable frond will likely be about 1 - 2 cm tall, and resemble a slightly-simplified version of the typical vegetative adult fronds. These should then be further thinned, if necessary, to allow sufficient growing space for each young plant (sporophyte).
Now, the container lid can be very gradually opened bit by bit over a period of several days or a few weeks so as to acclimatize the plants to progressively drier air. This is a highly vulnerable stage for the young plants, and must not be rushed. If any obvious signs of stress appear (such as shrivelling at the edges of some fronds) then the plants should be sprayed lightly with water, the lid immediately replaced, and the acclimatization process repeated at a somewhat slower pace.
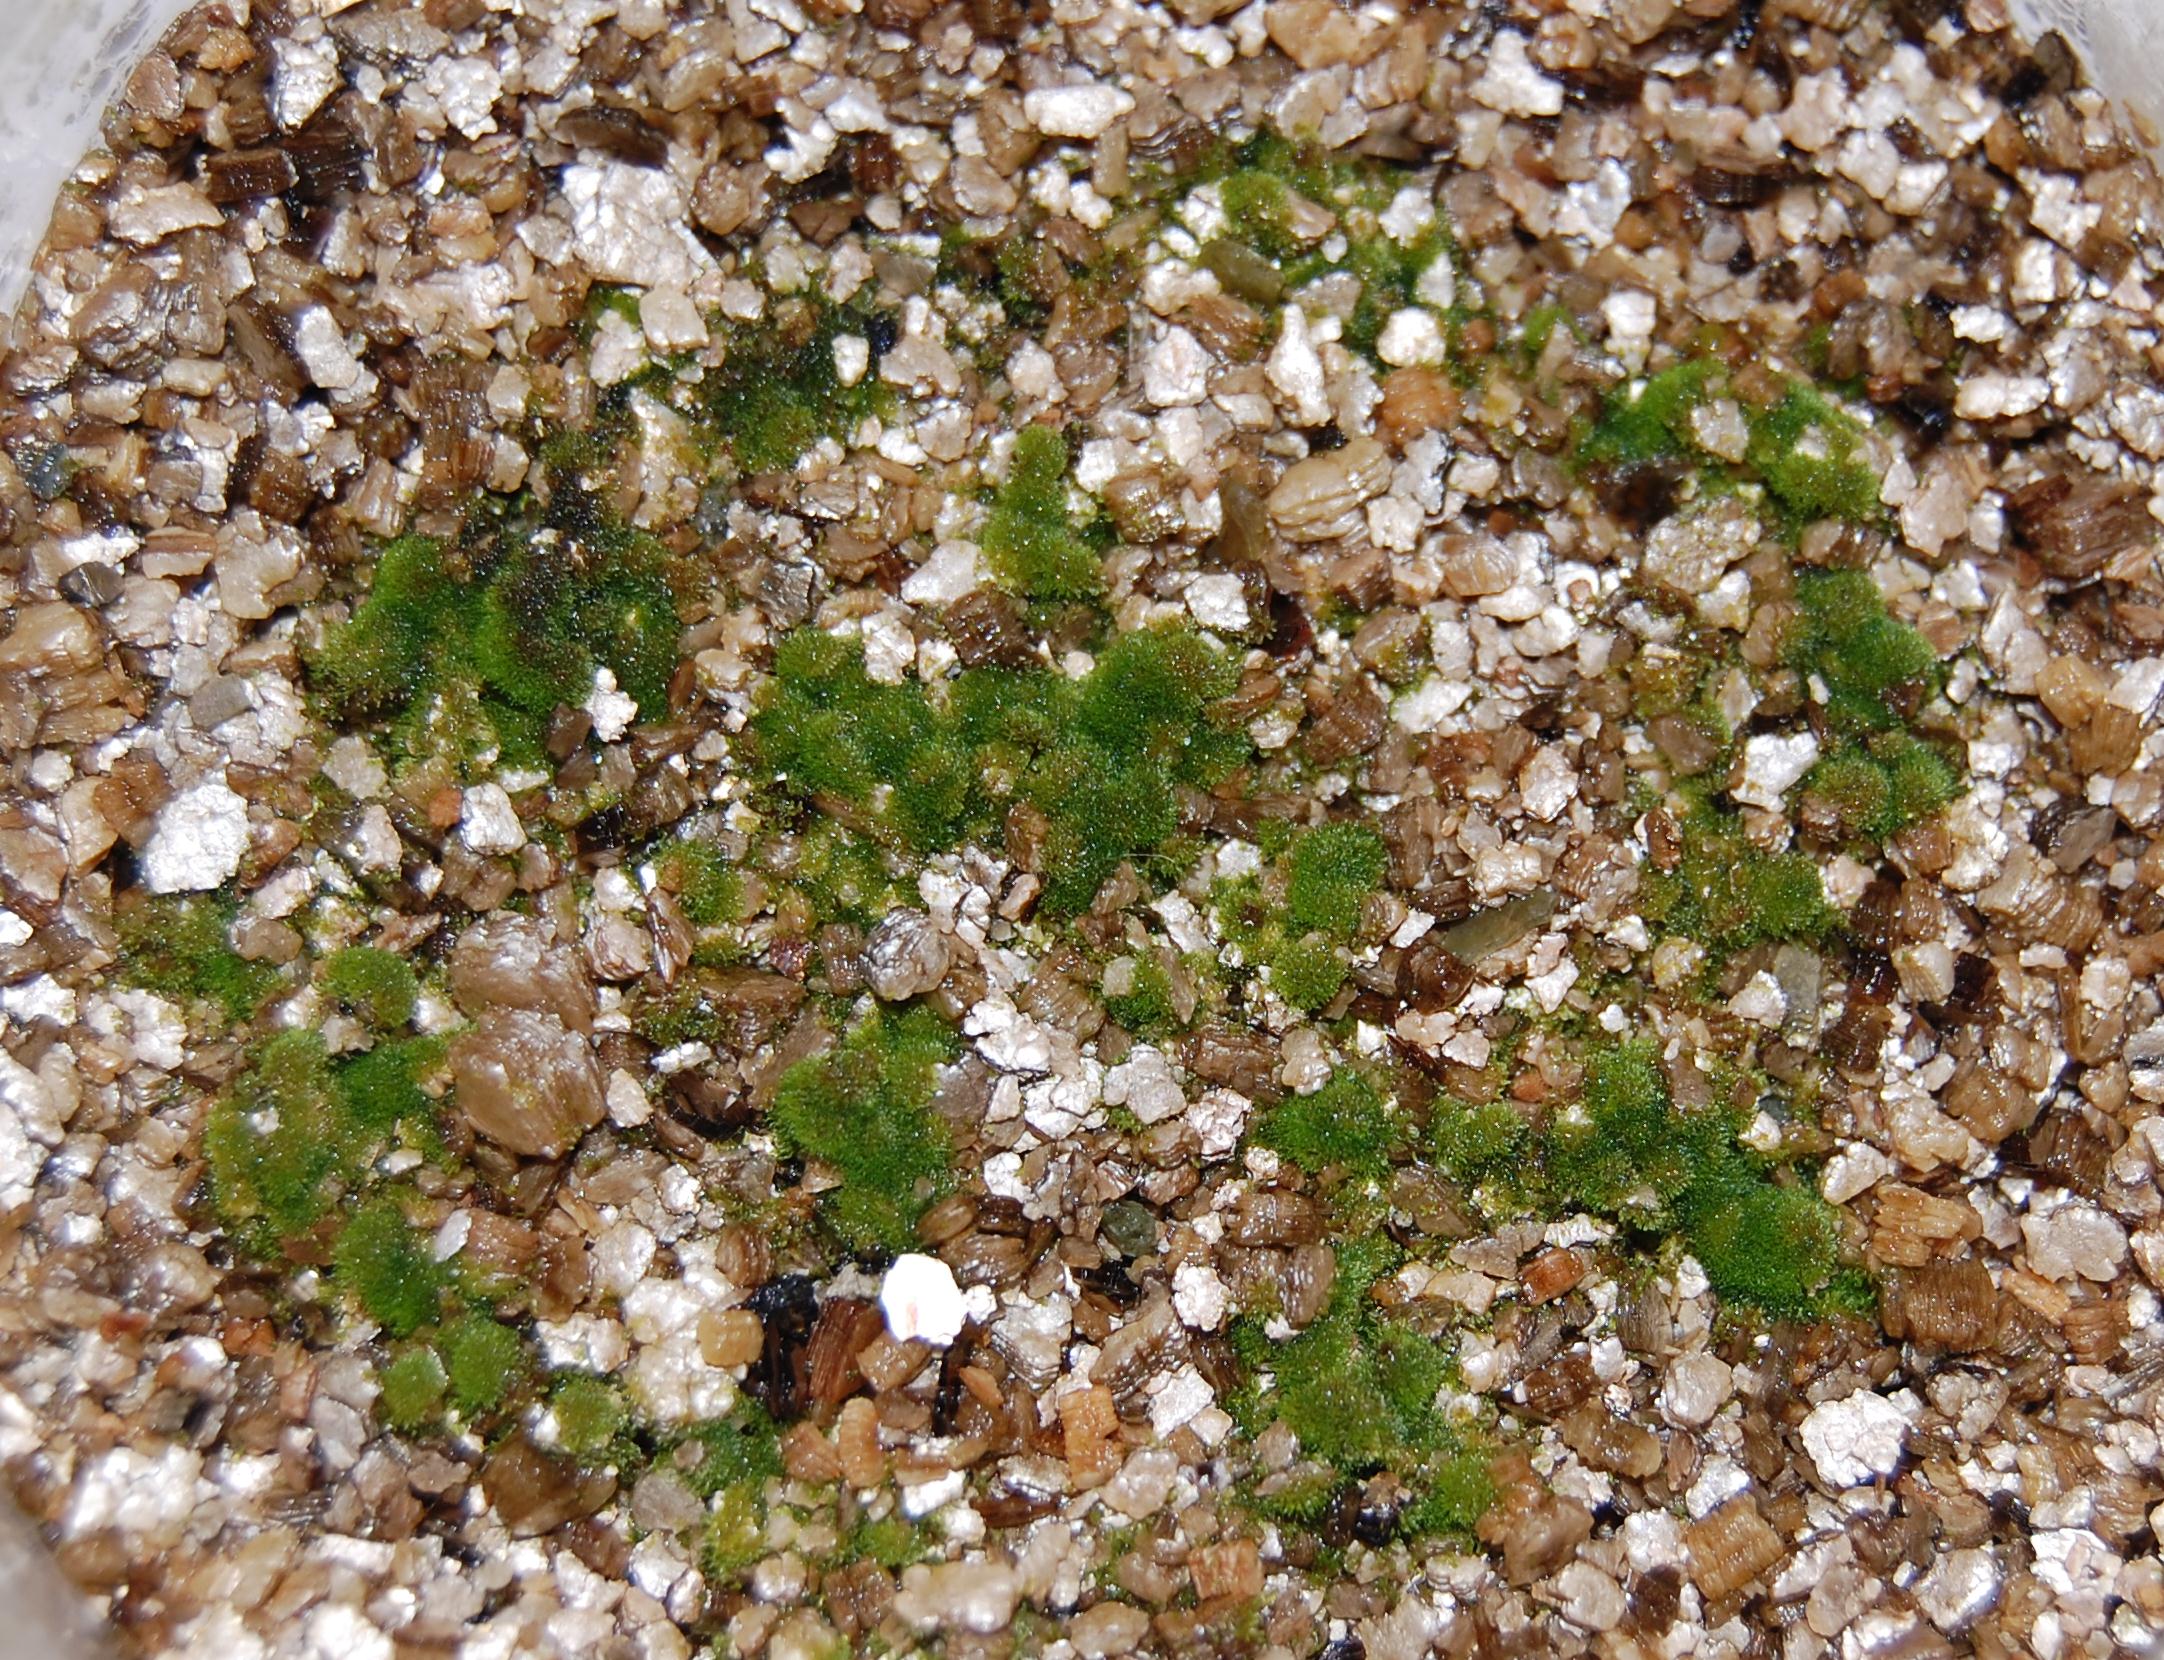
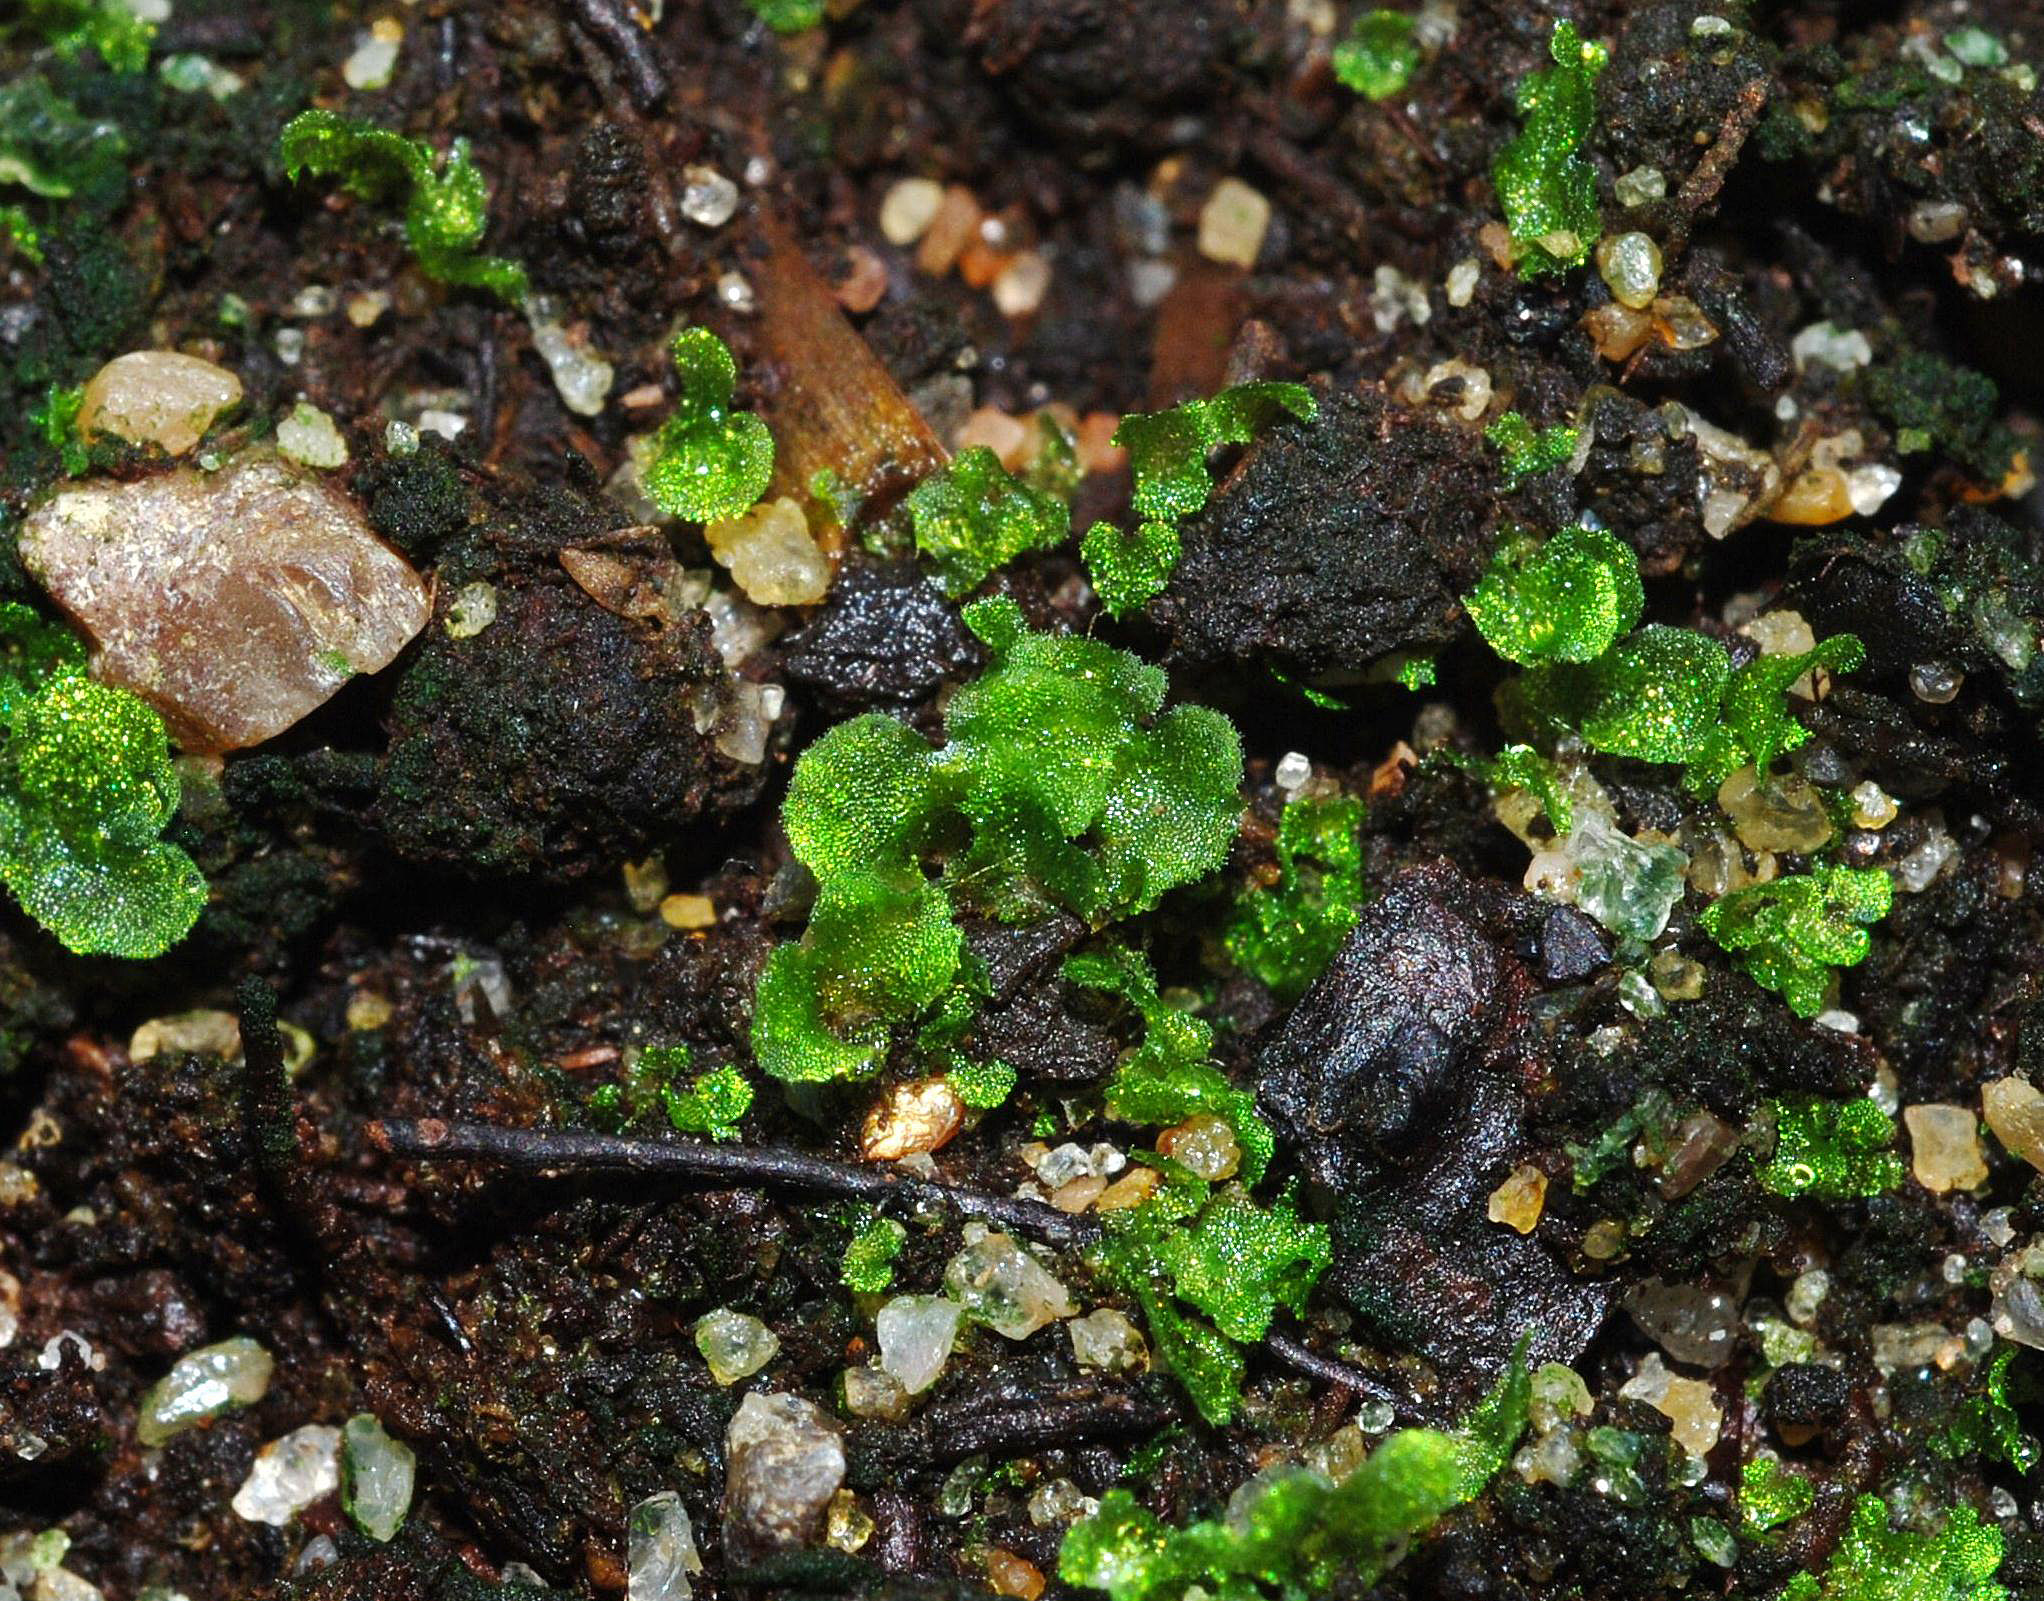
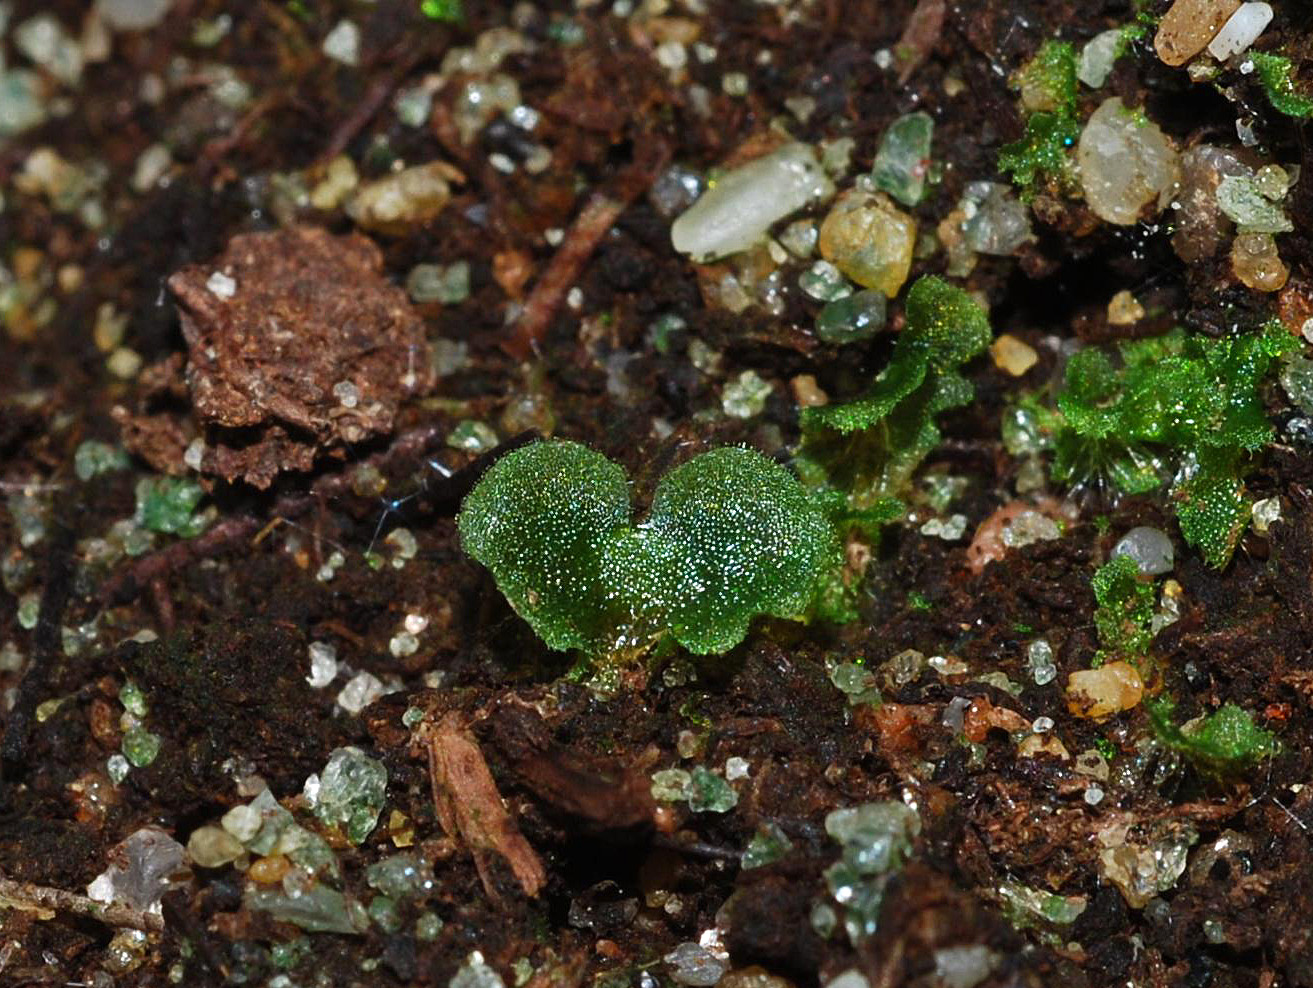
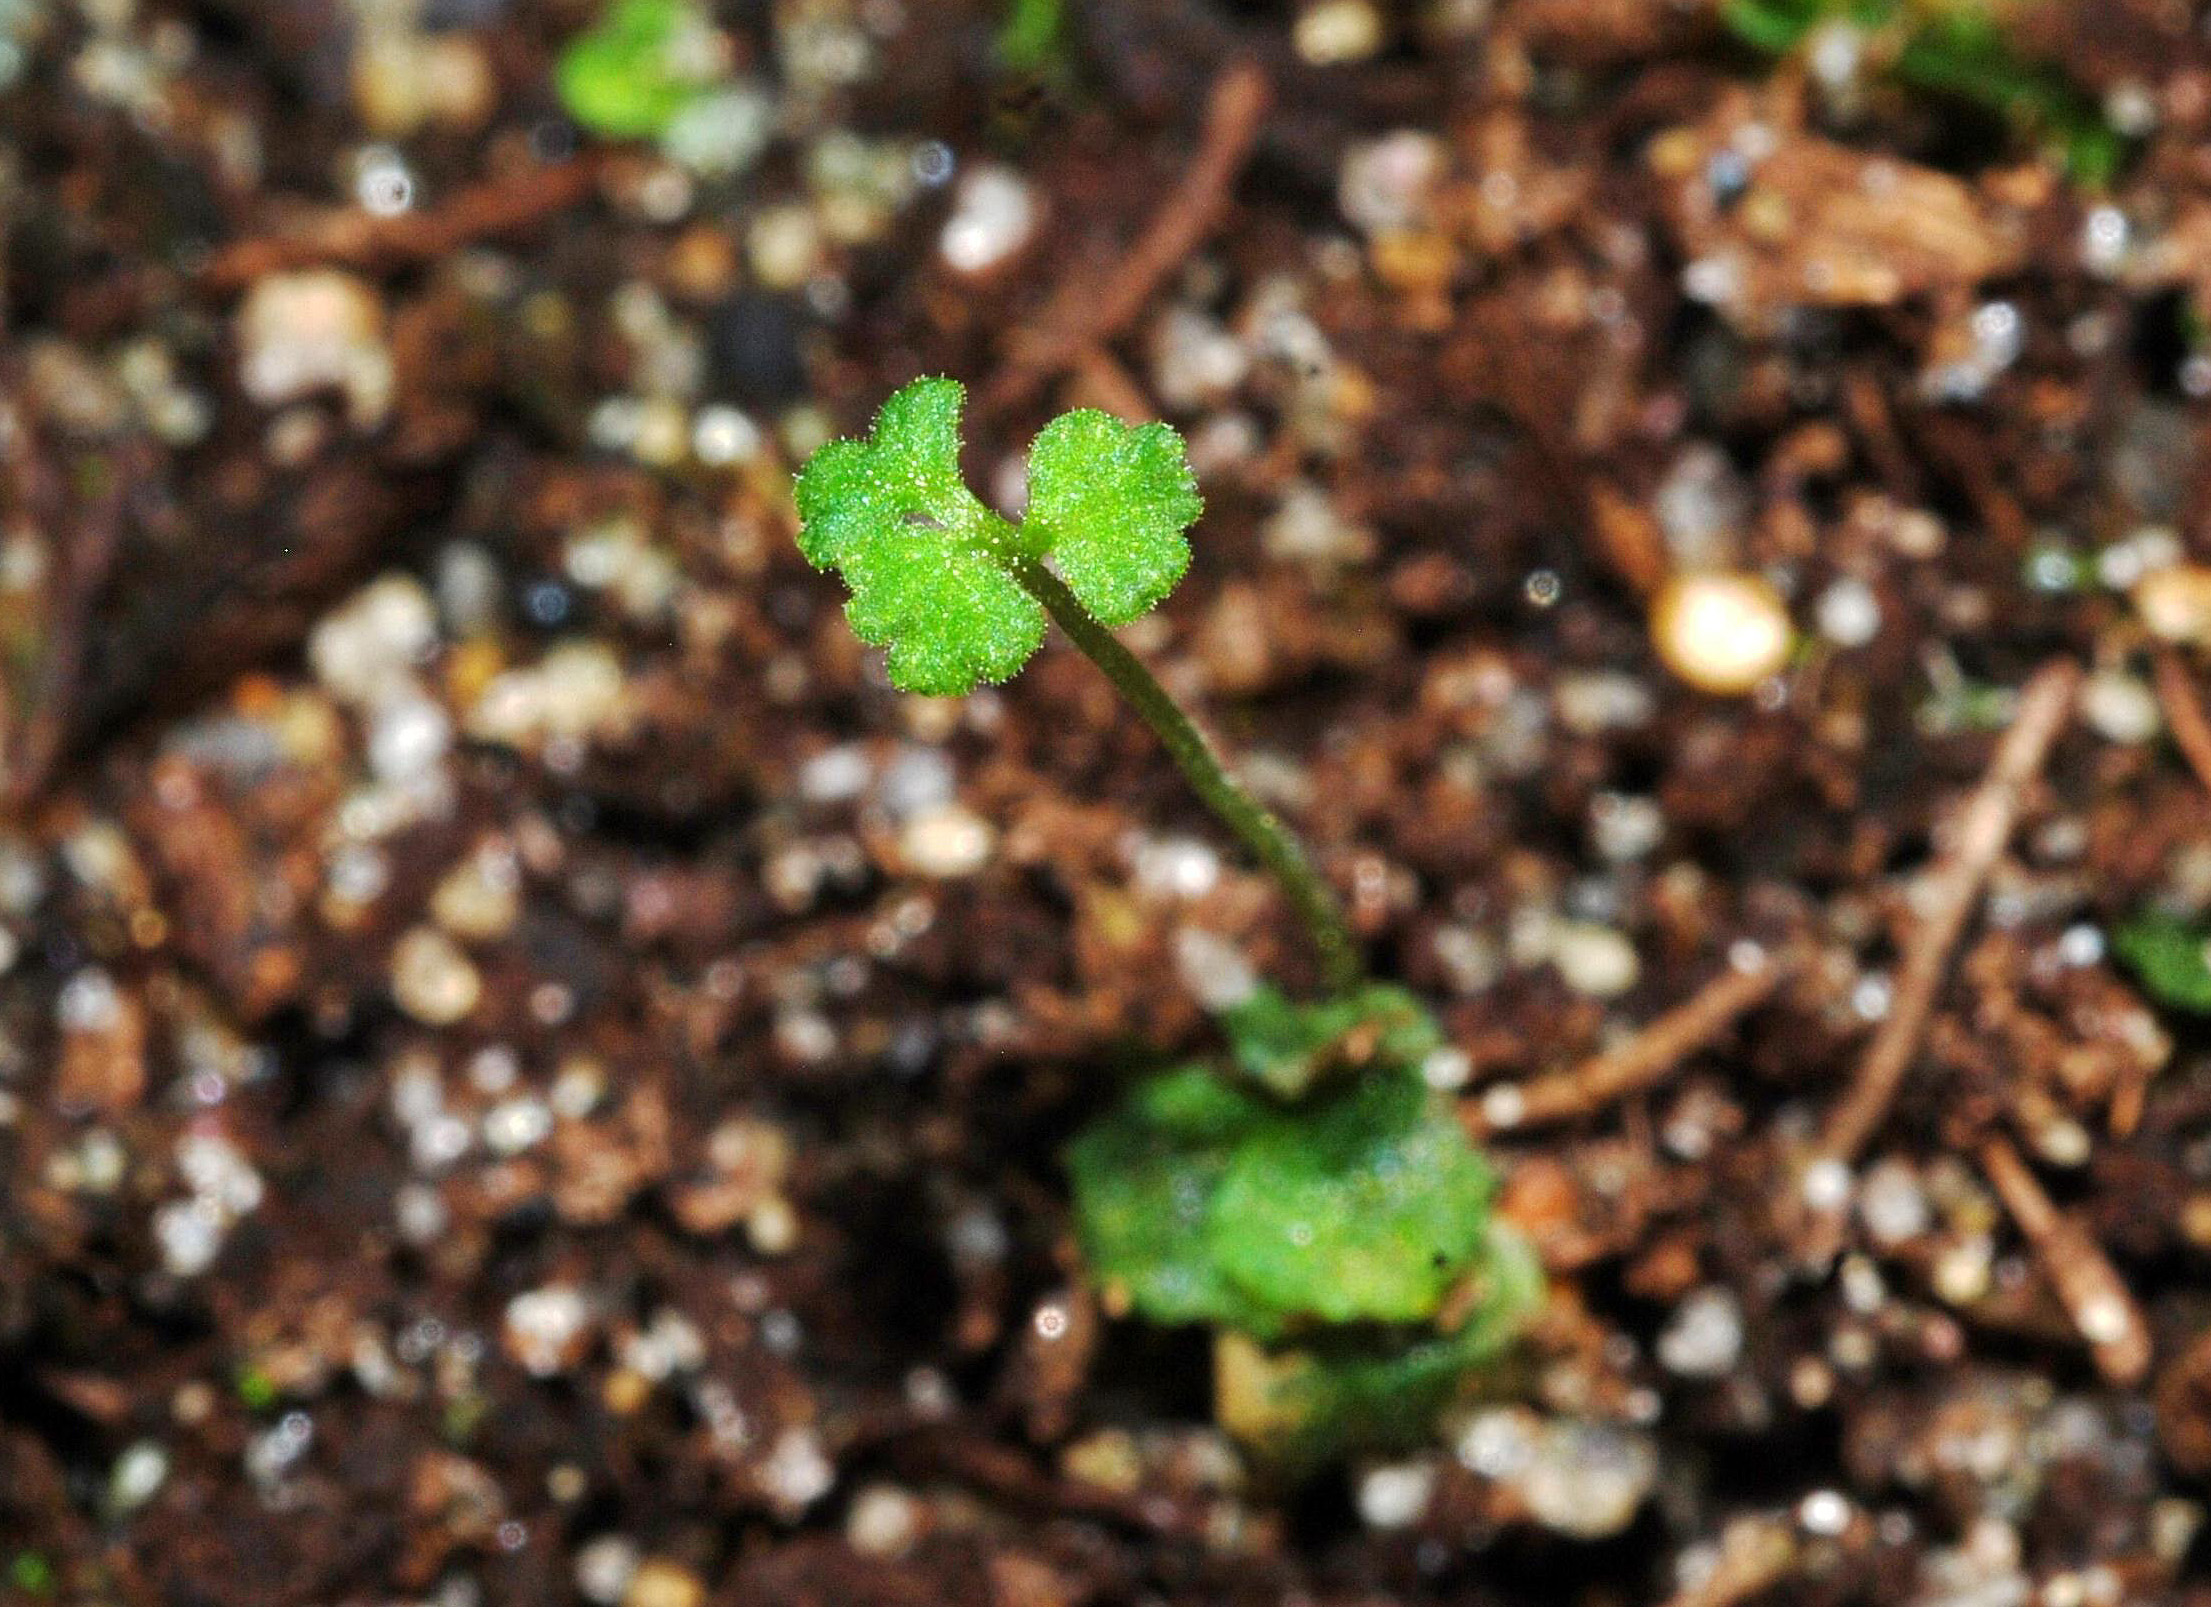
.jpg)
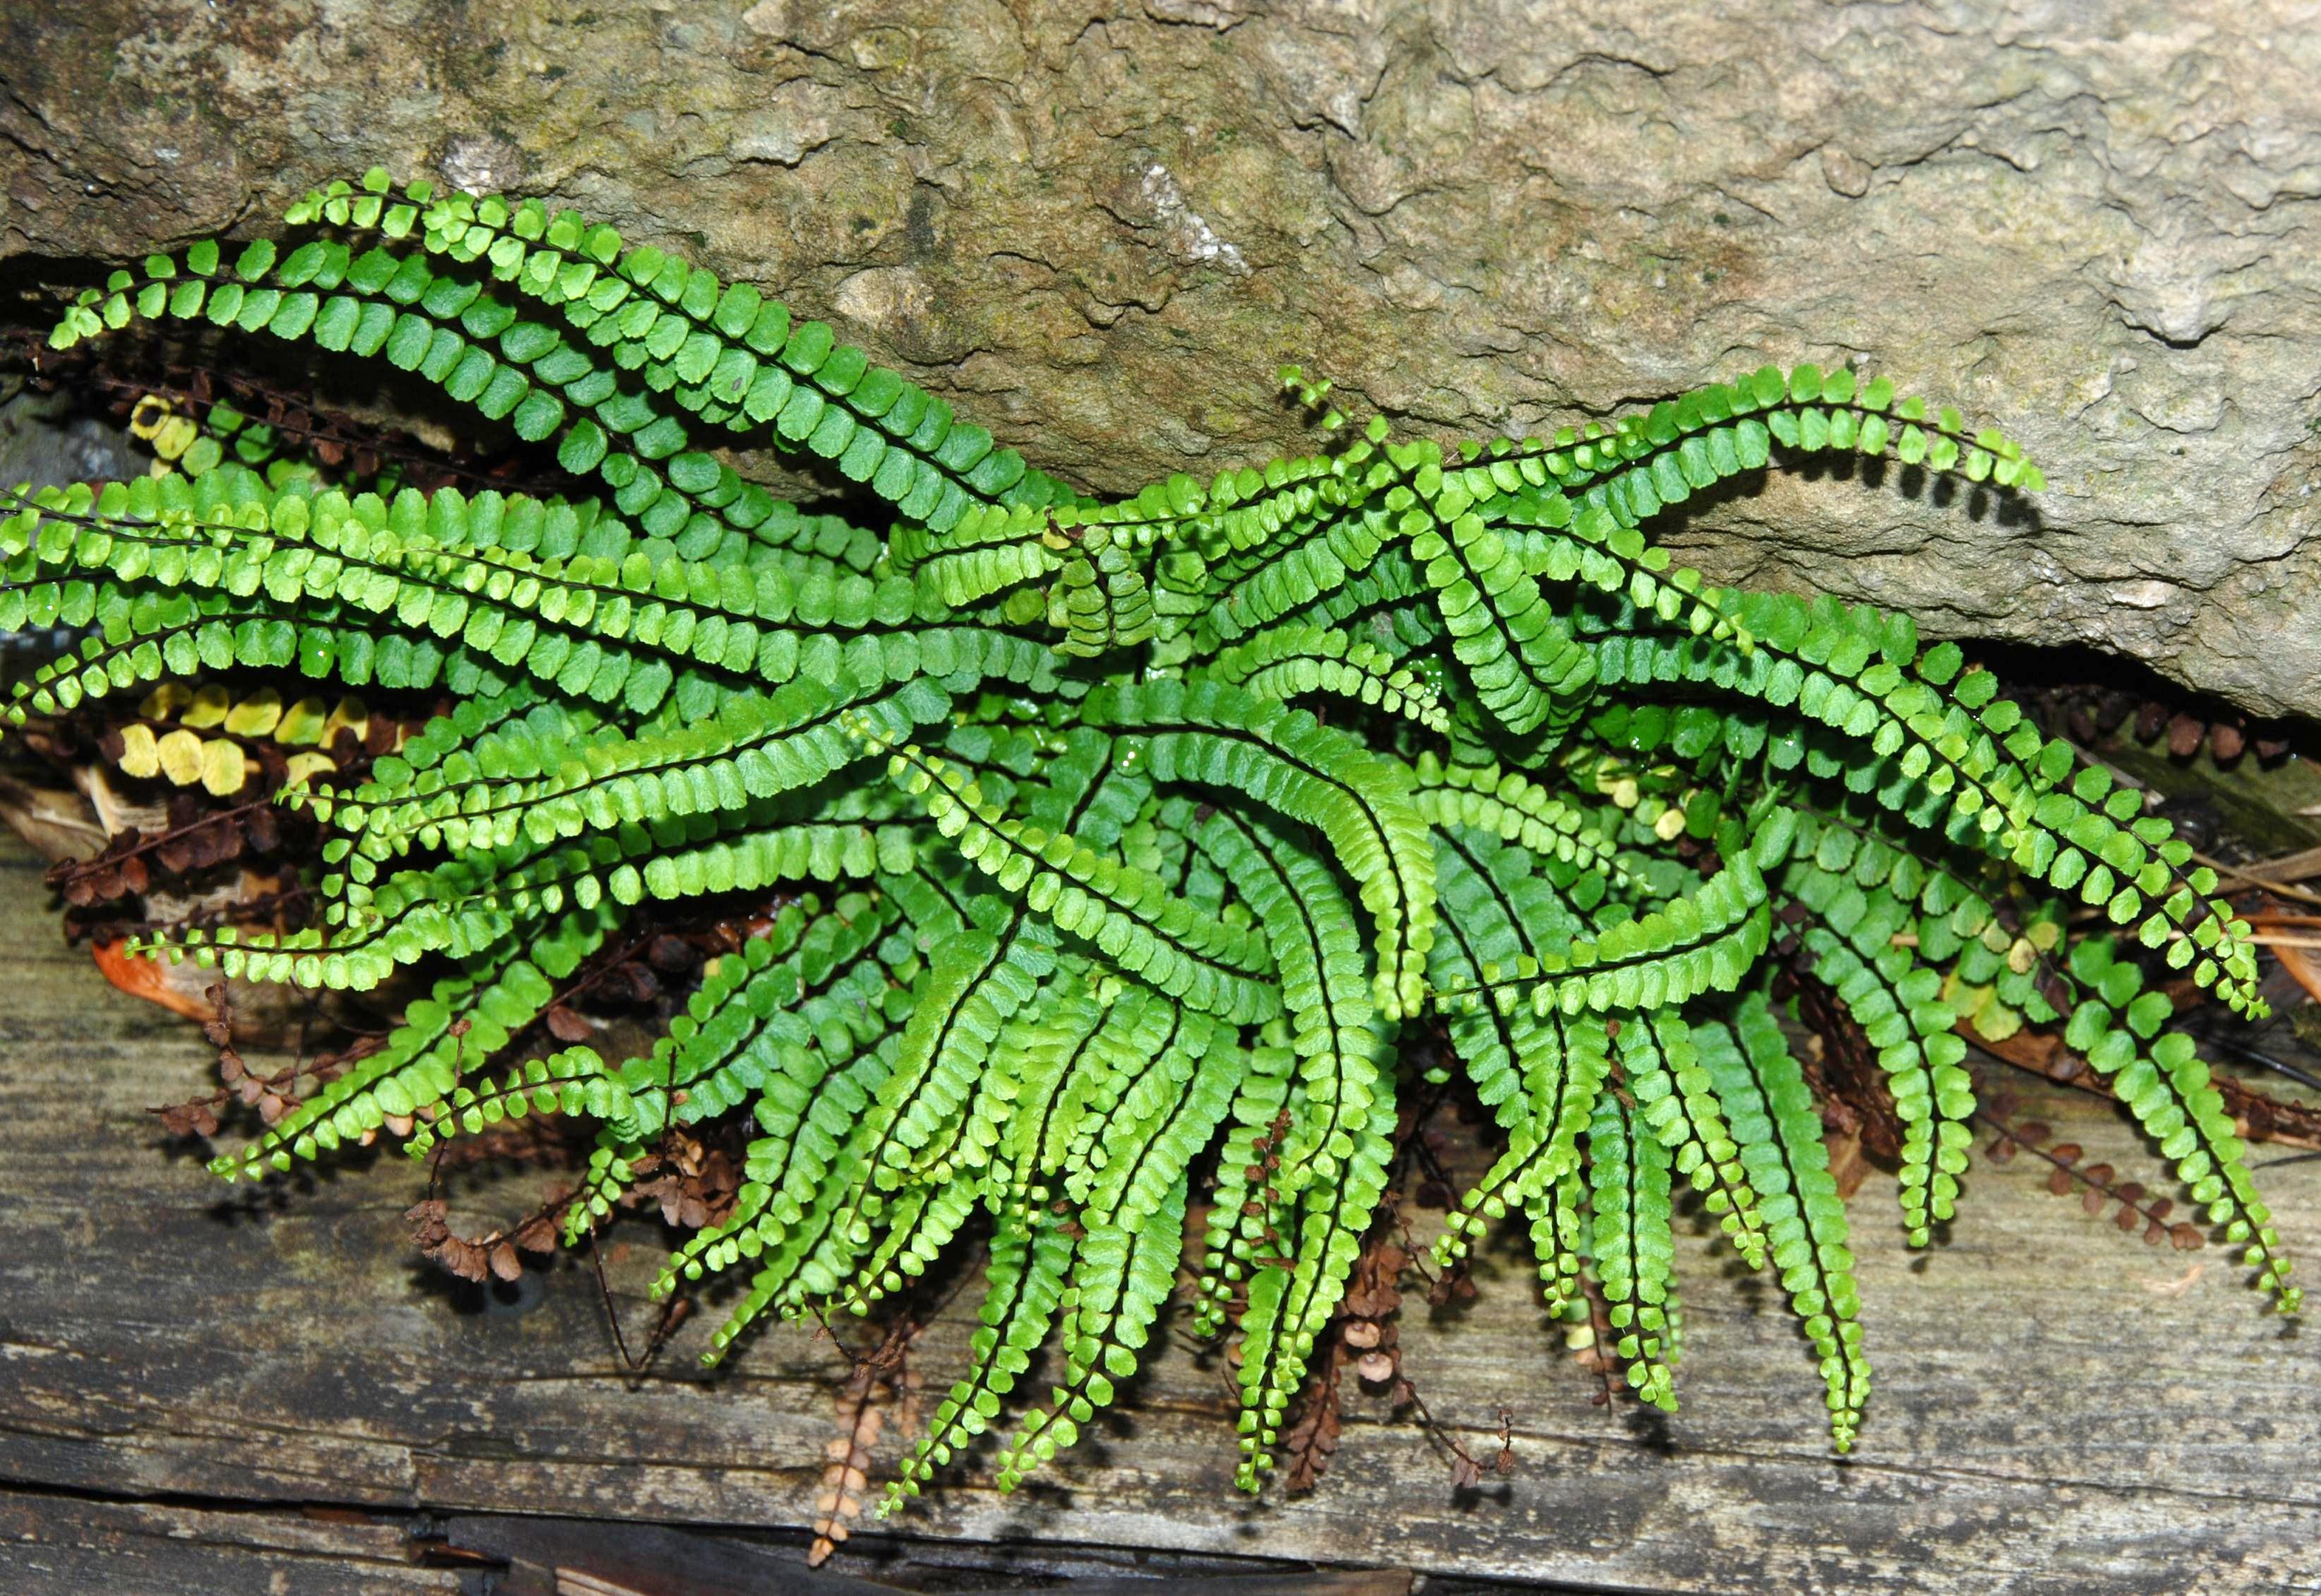
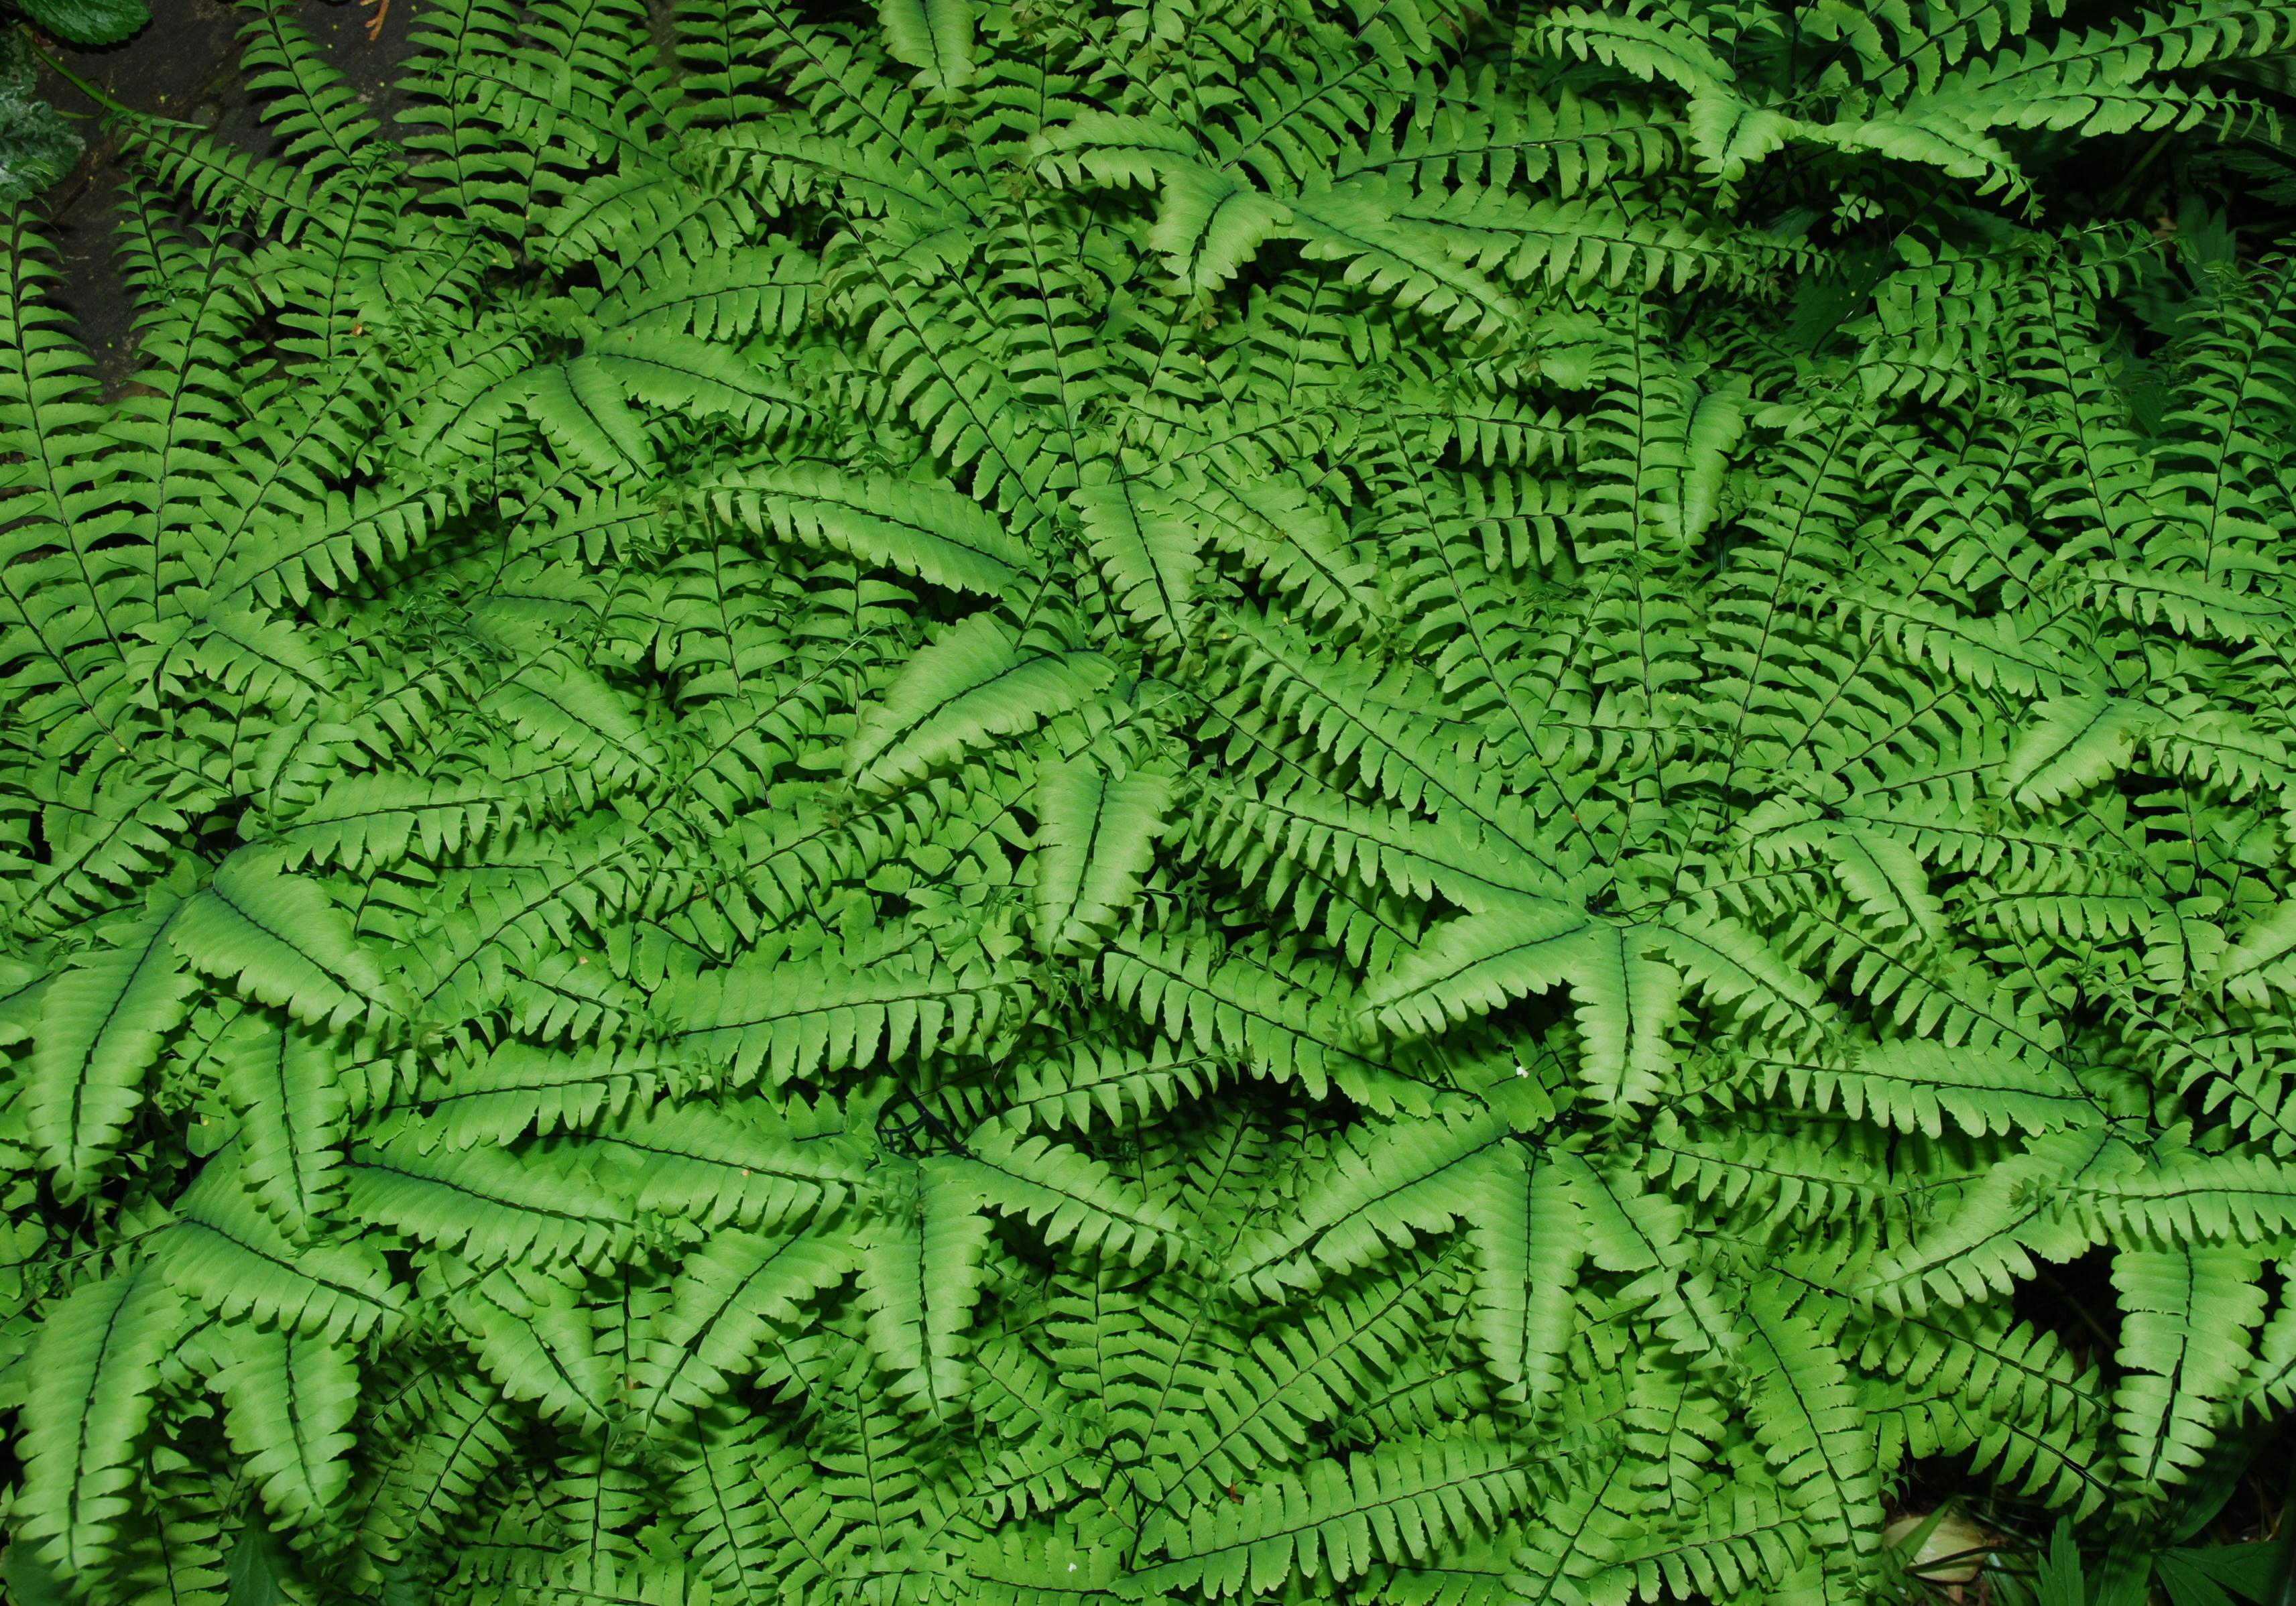
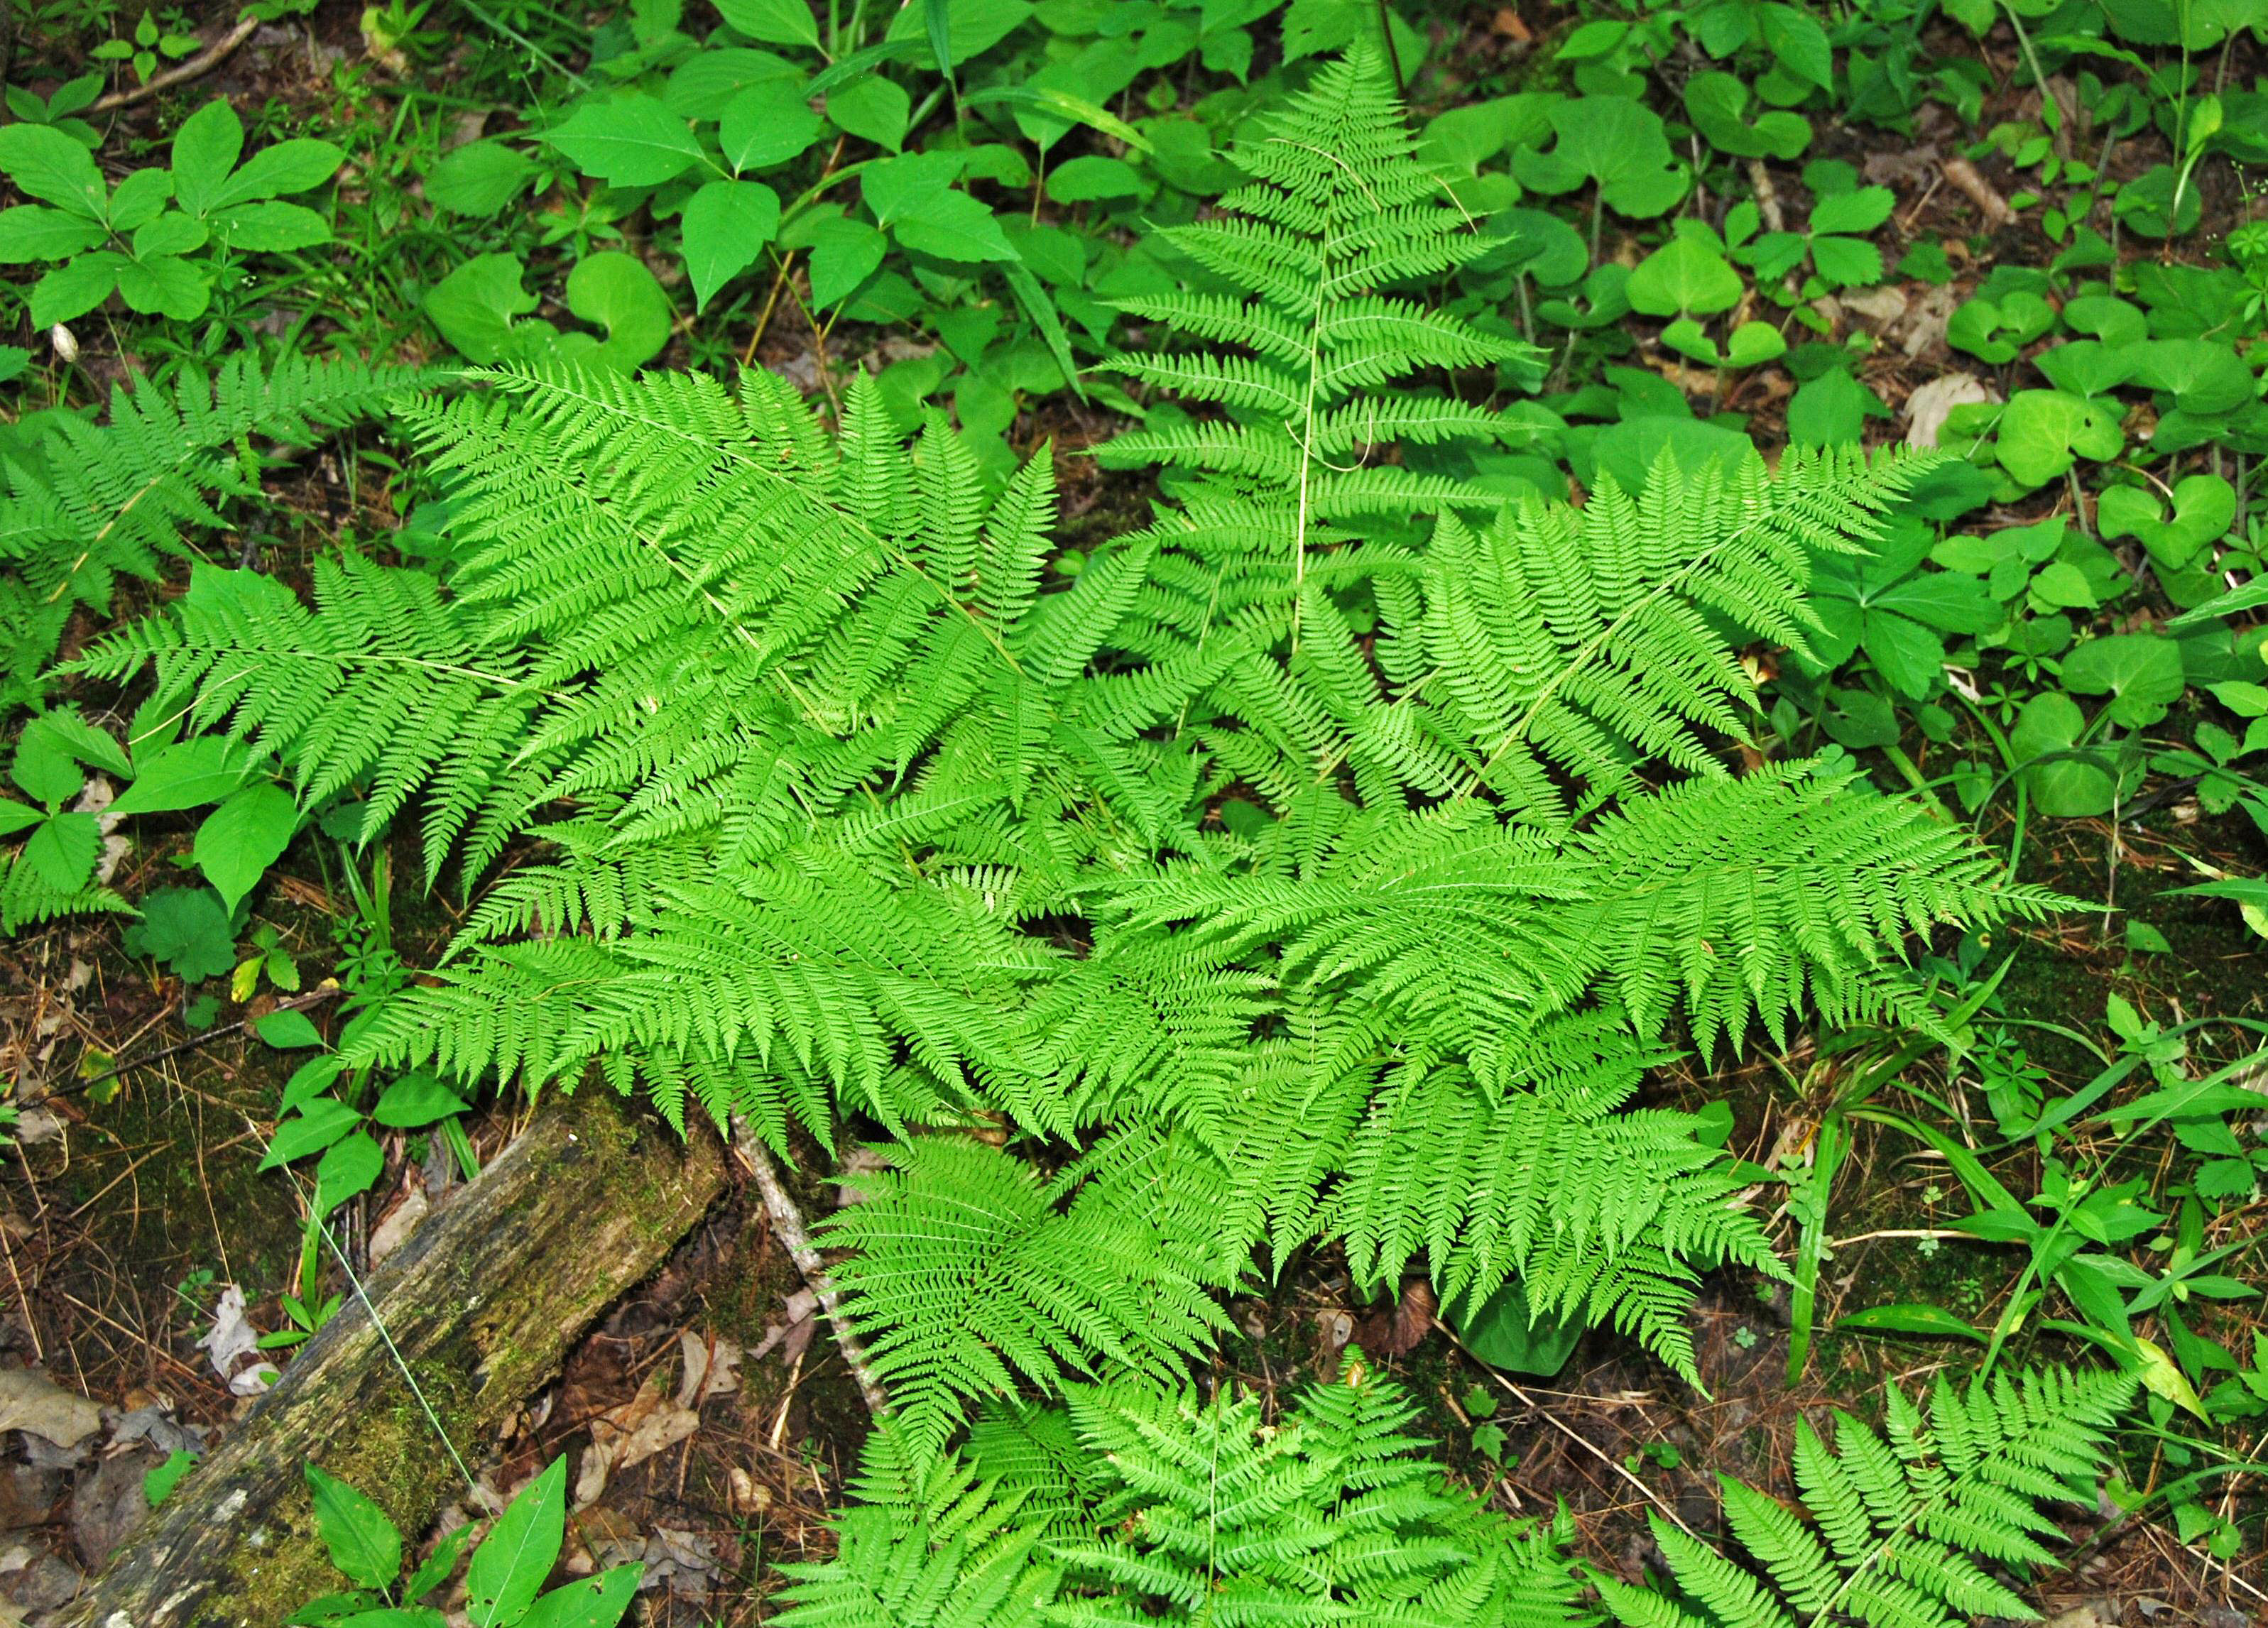
Finally, when the plants are sturdy enough (hopefully in spring or early summer if the original scheduling was correct), they can be planted out in the garden in a site suitable for the species in question (see the individual species notes for details of site preferences). If dealing with a species that is suited to a relatively dry and/or sunny site, it may be necessary to provide some extra shading and/or watering to the young plants for some or all of the first growing season until they are fully established.
To return to the Species List for this group, Click on the Ferns box above.
GRASSES, RUSHES & SEDGES
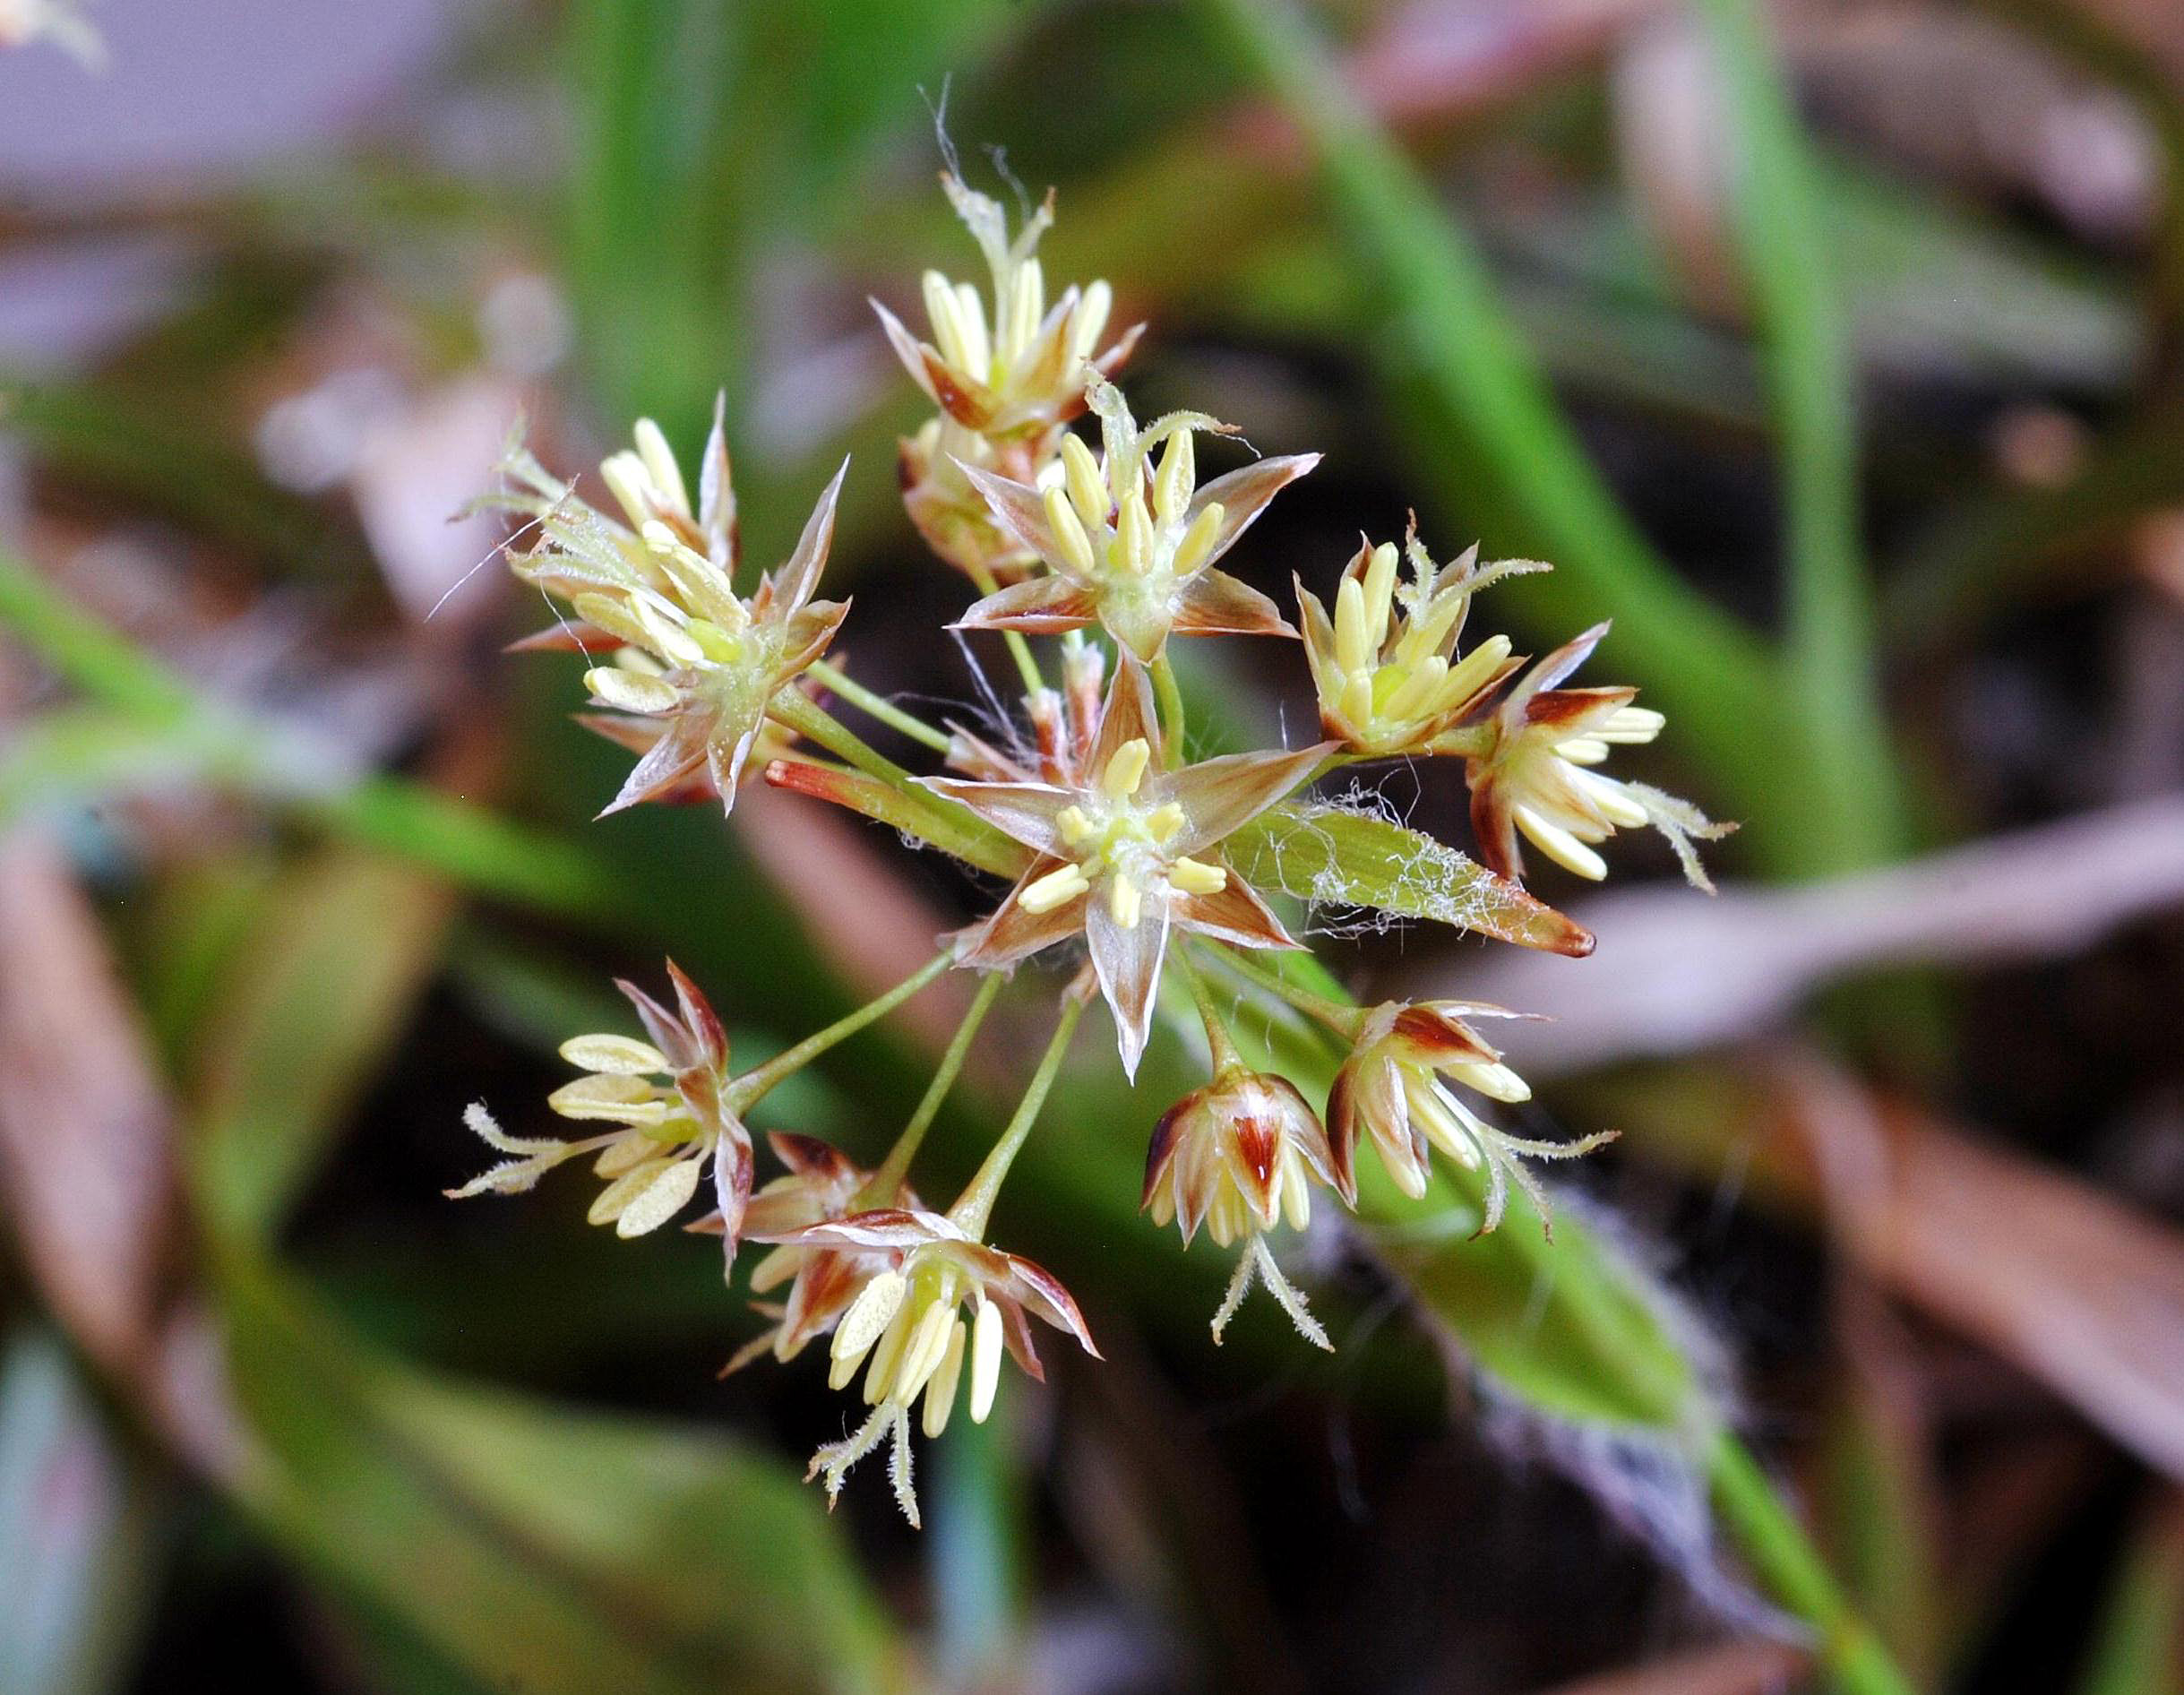
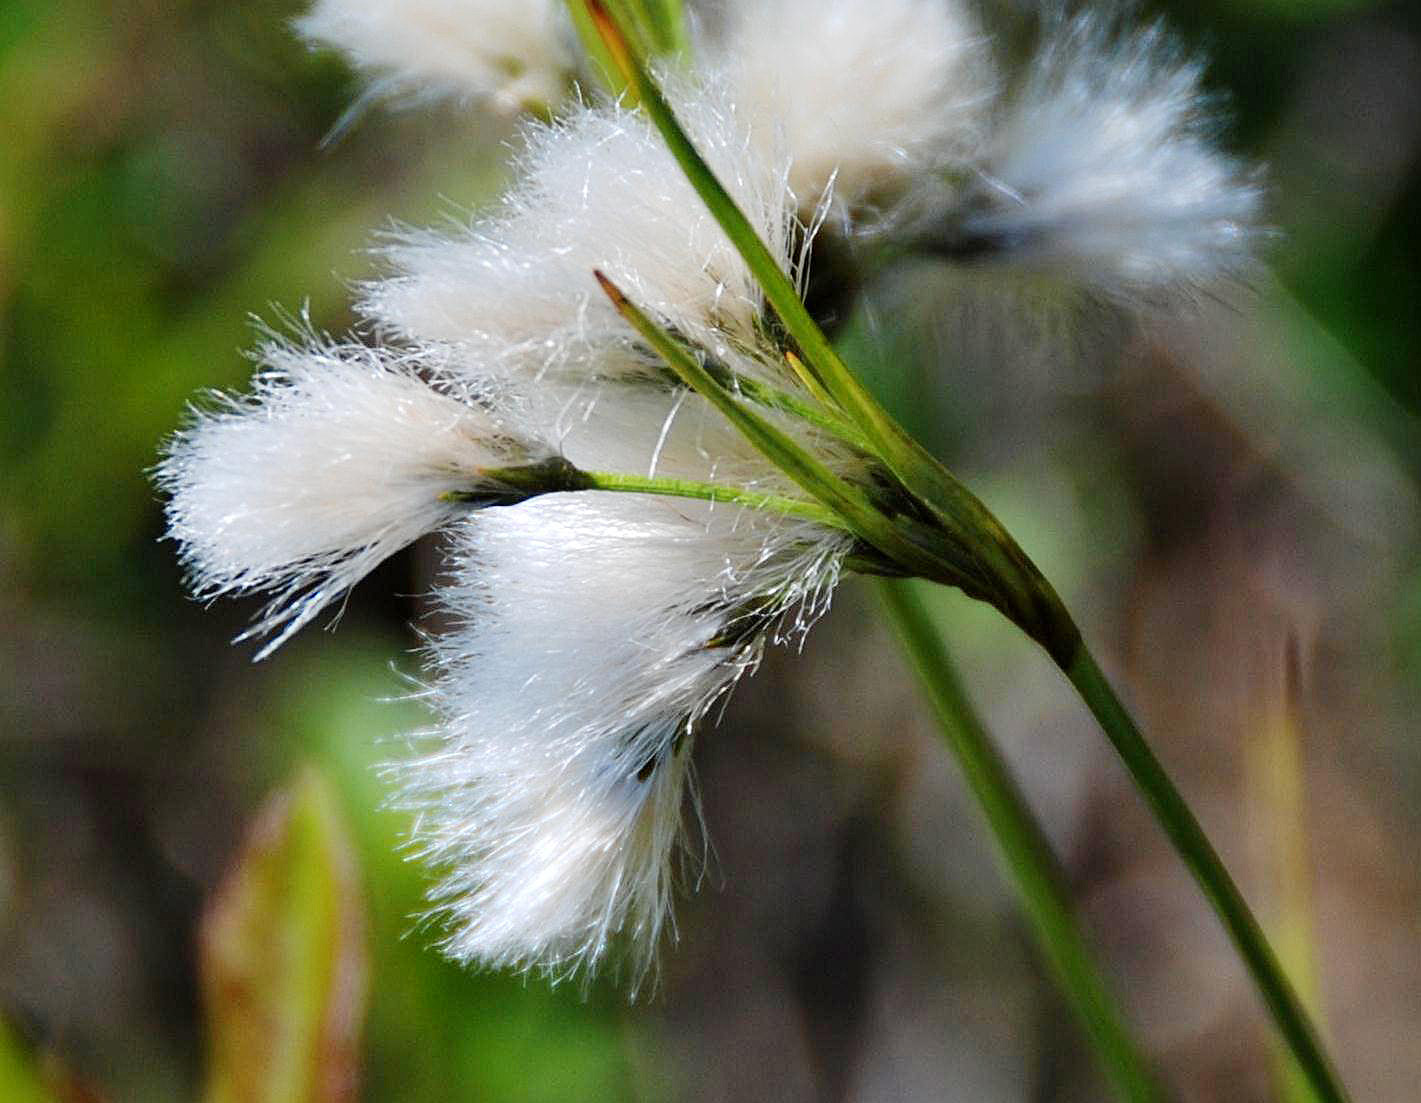
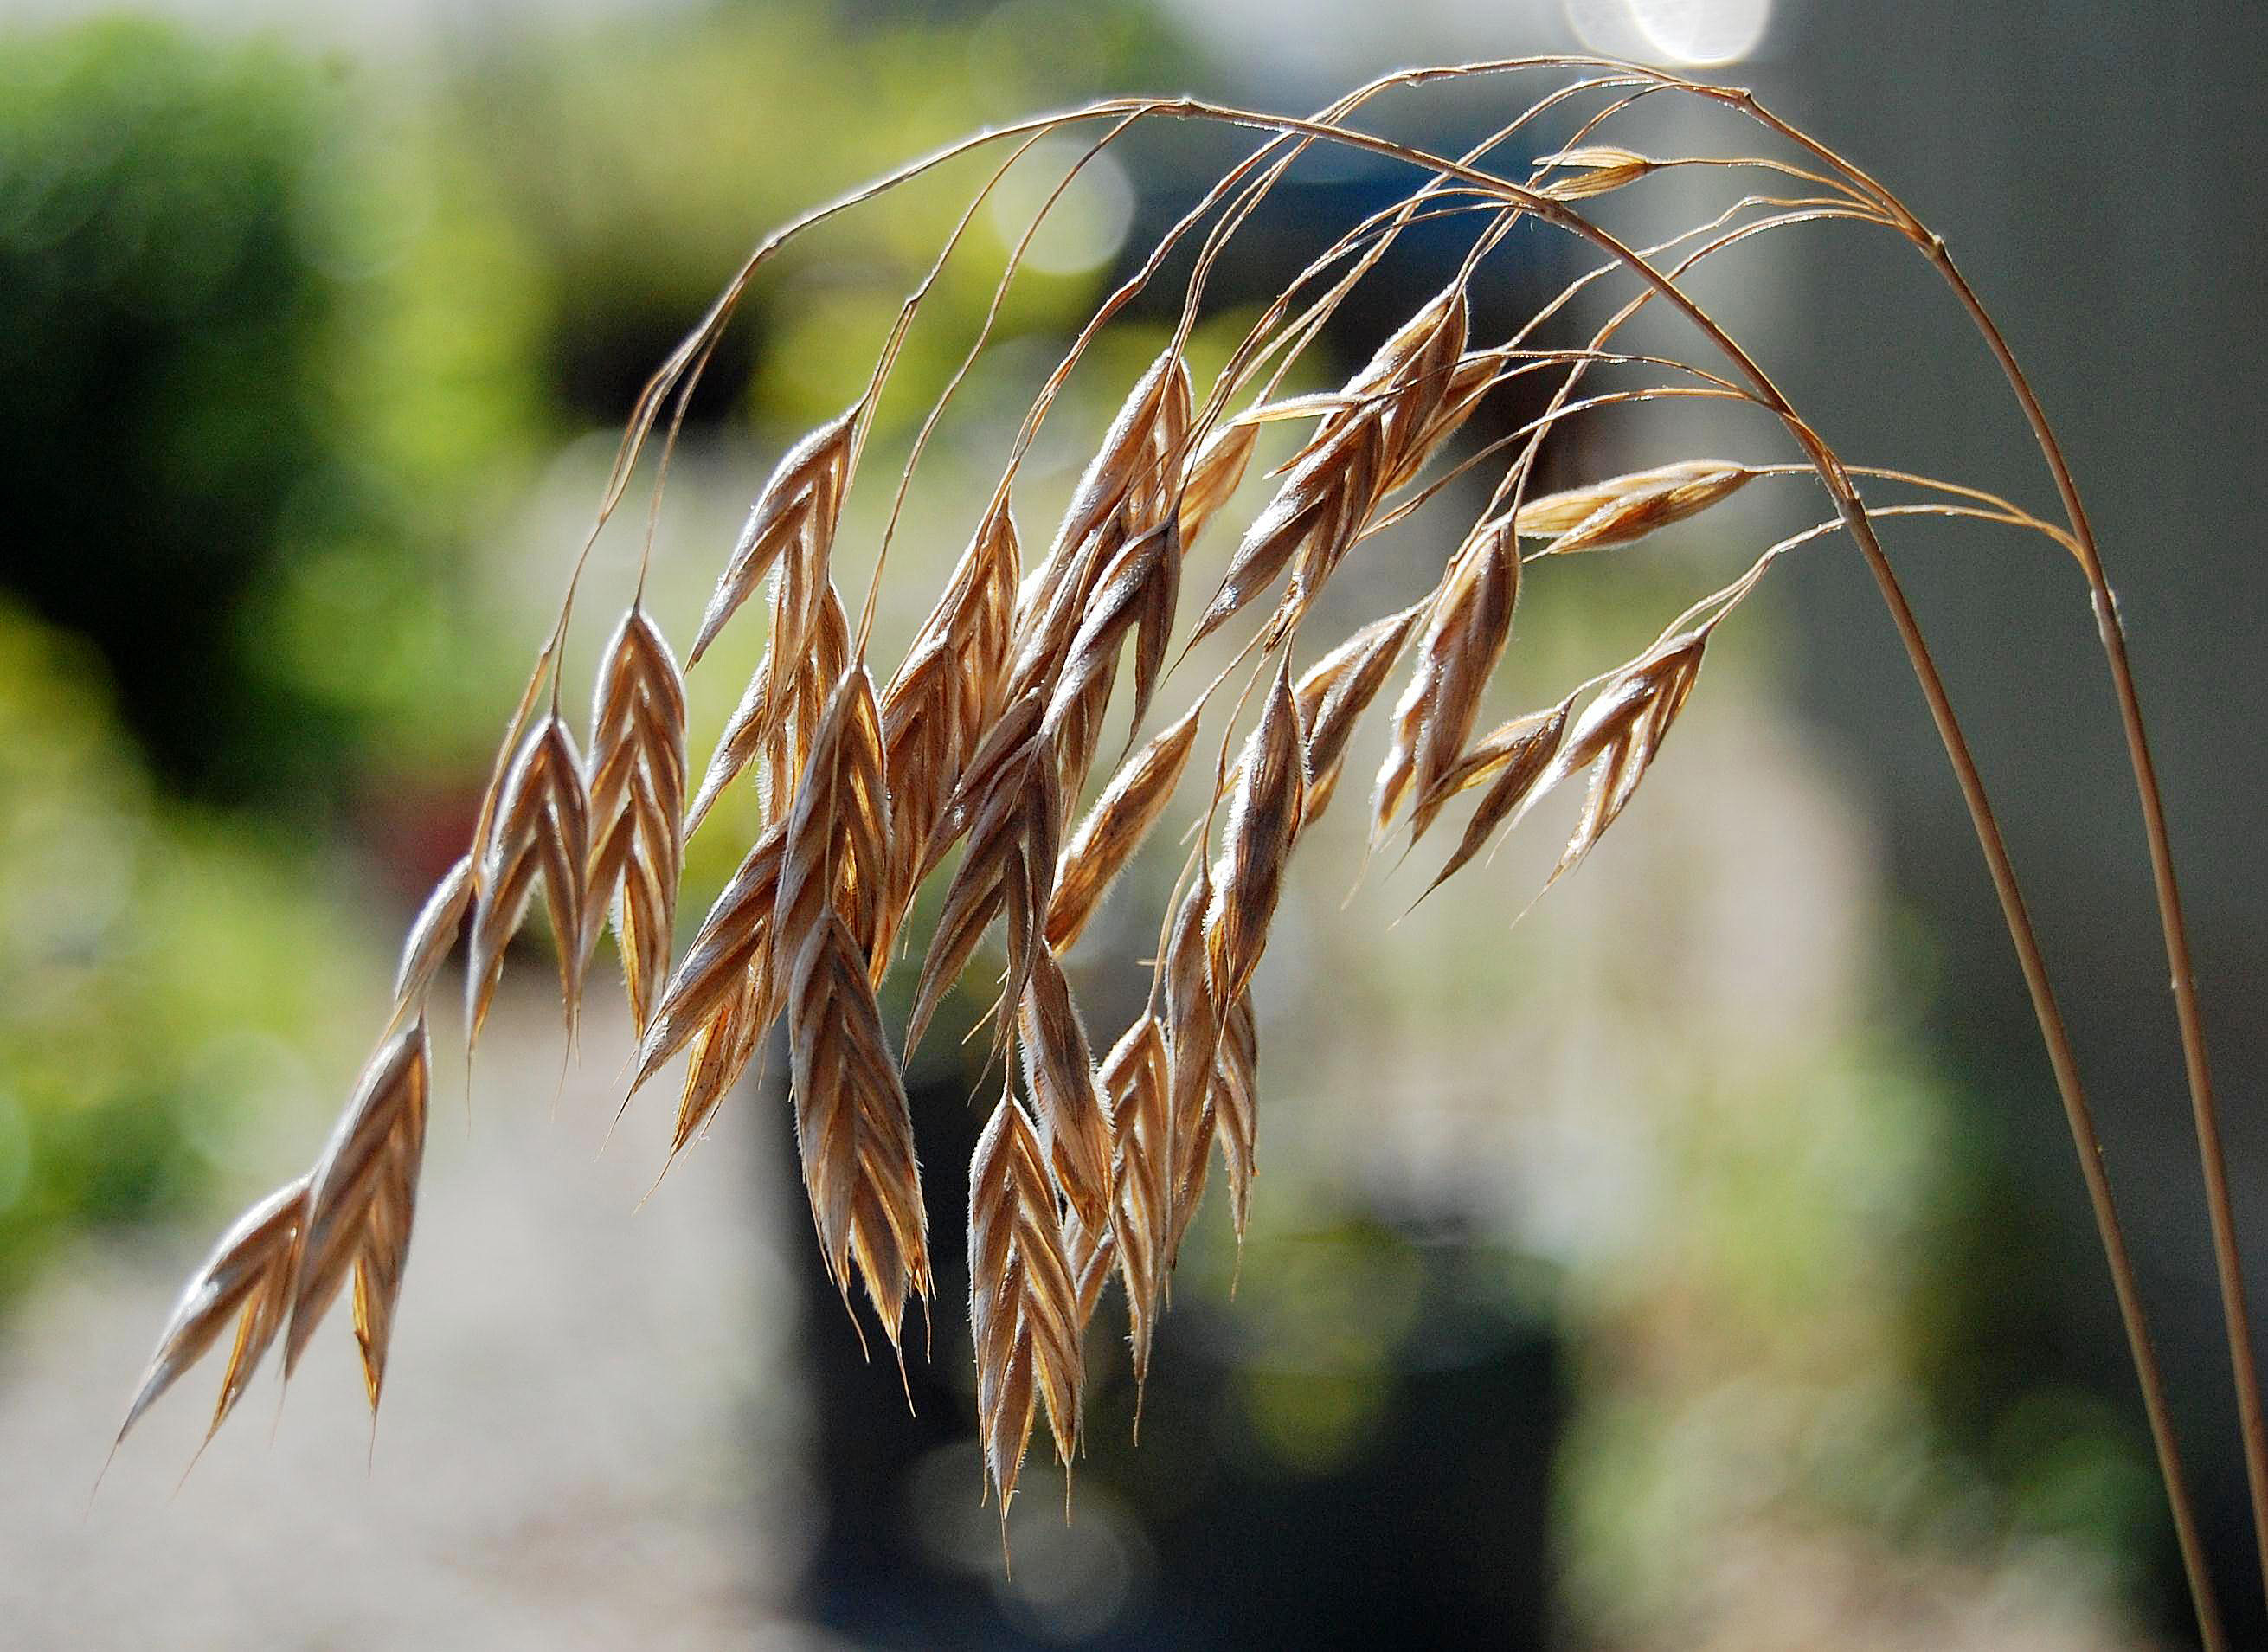
This group includes species normally referred to as grasses, sedges, reeds and rushes (Families: Poaceae, Cyperaceae, and Juncaceae); all are wind-pollinated.
Collection, handling and germination procedures vary among the members of this group; details for each species are given in the individual species notes.
To return to the Species List for this group, Click on the Grasses, Rushes & Sedges box above.
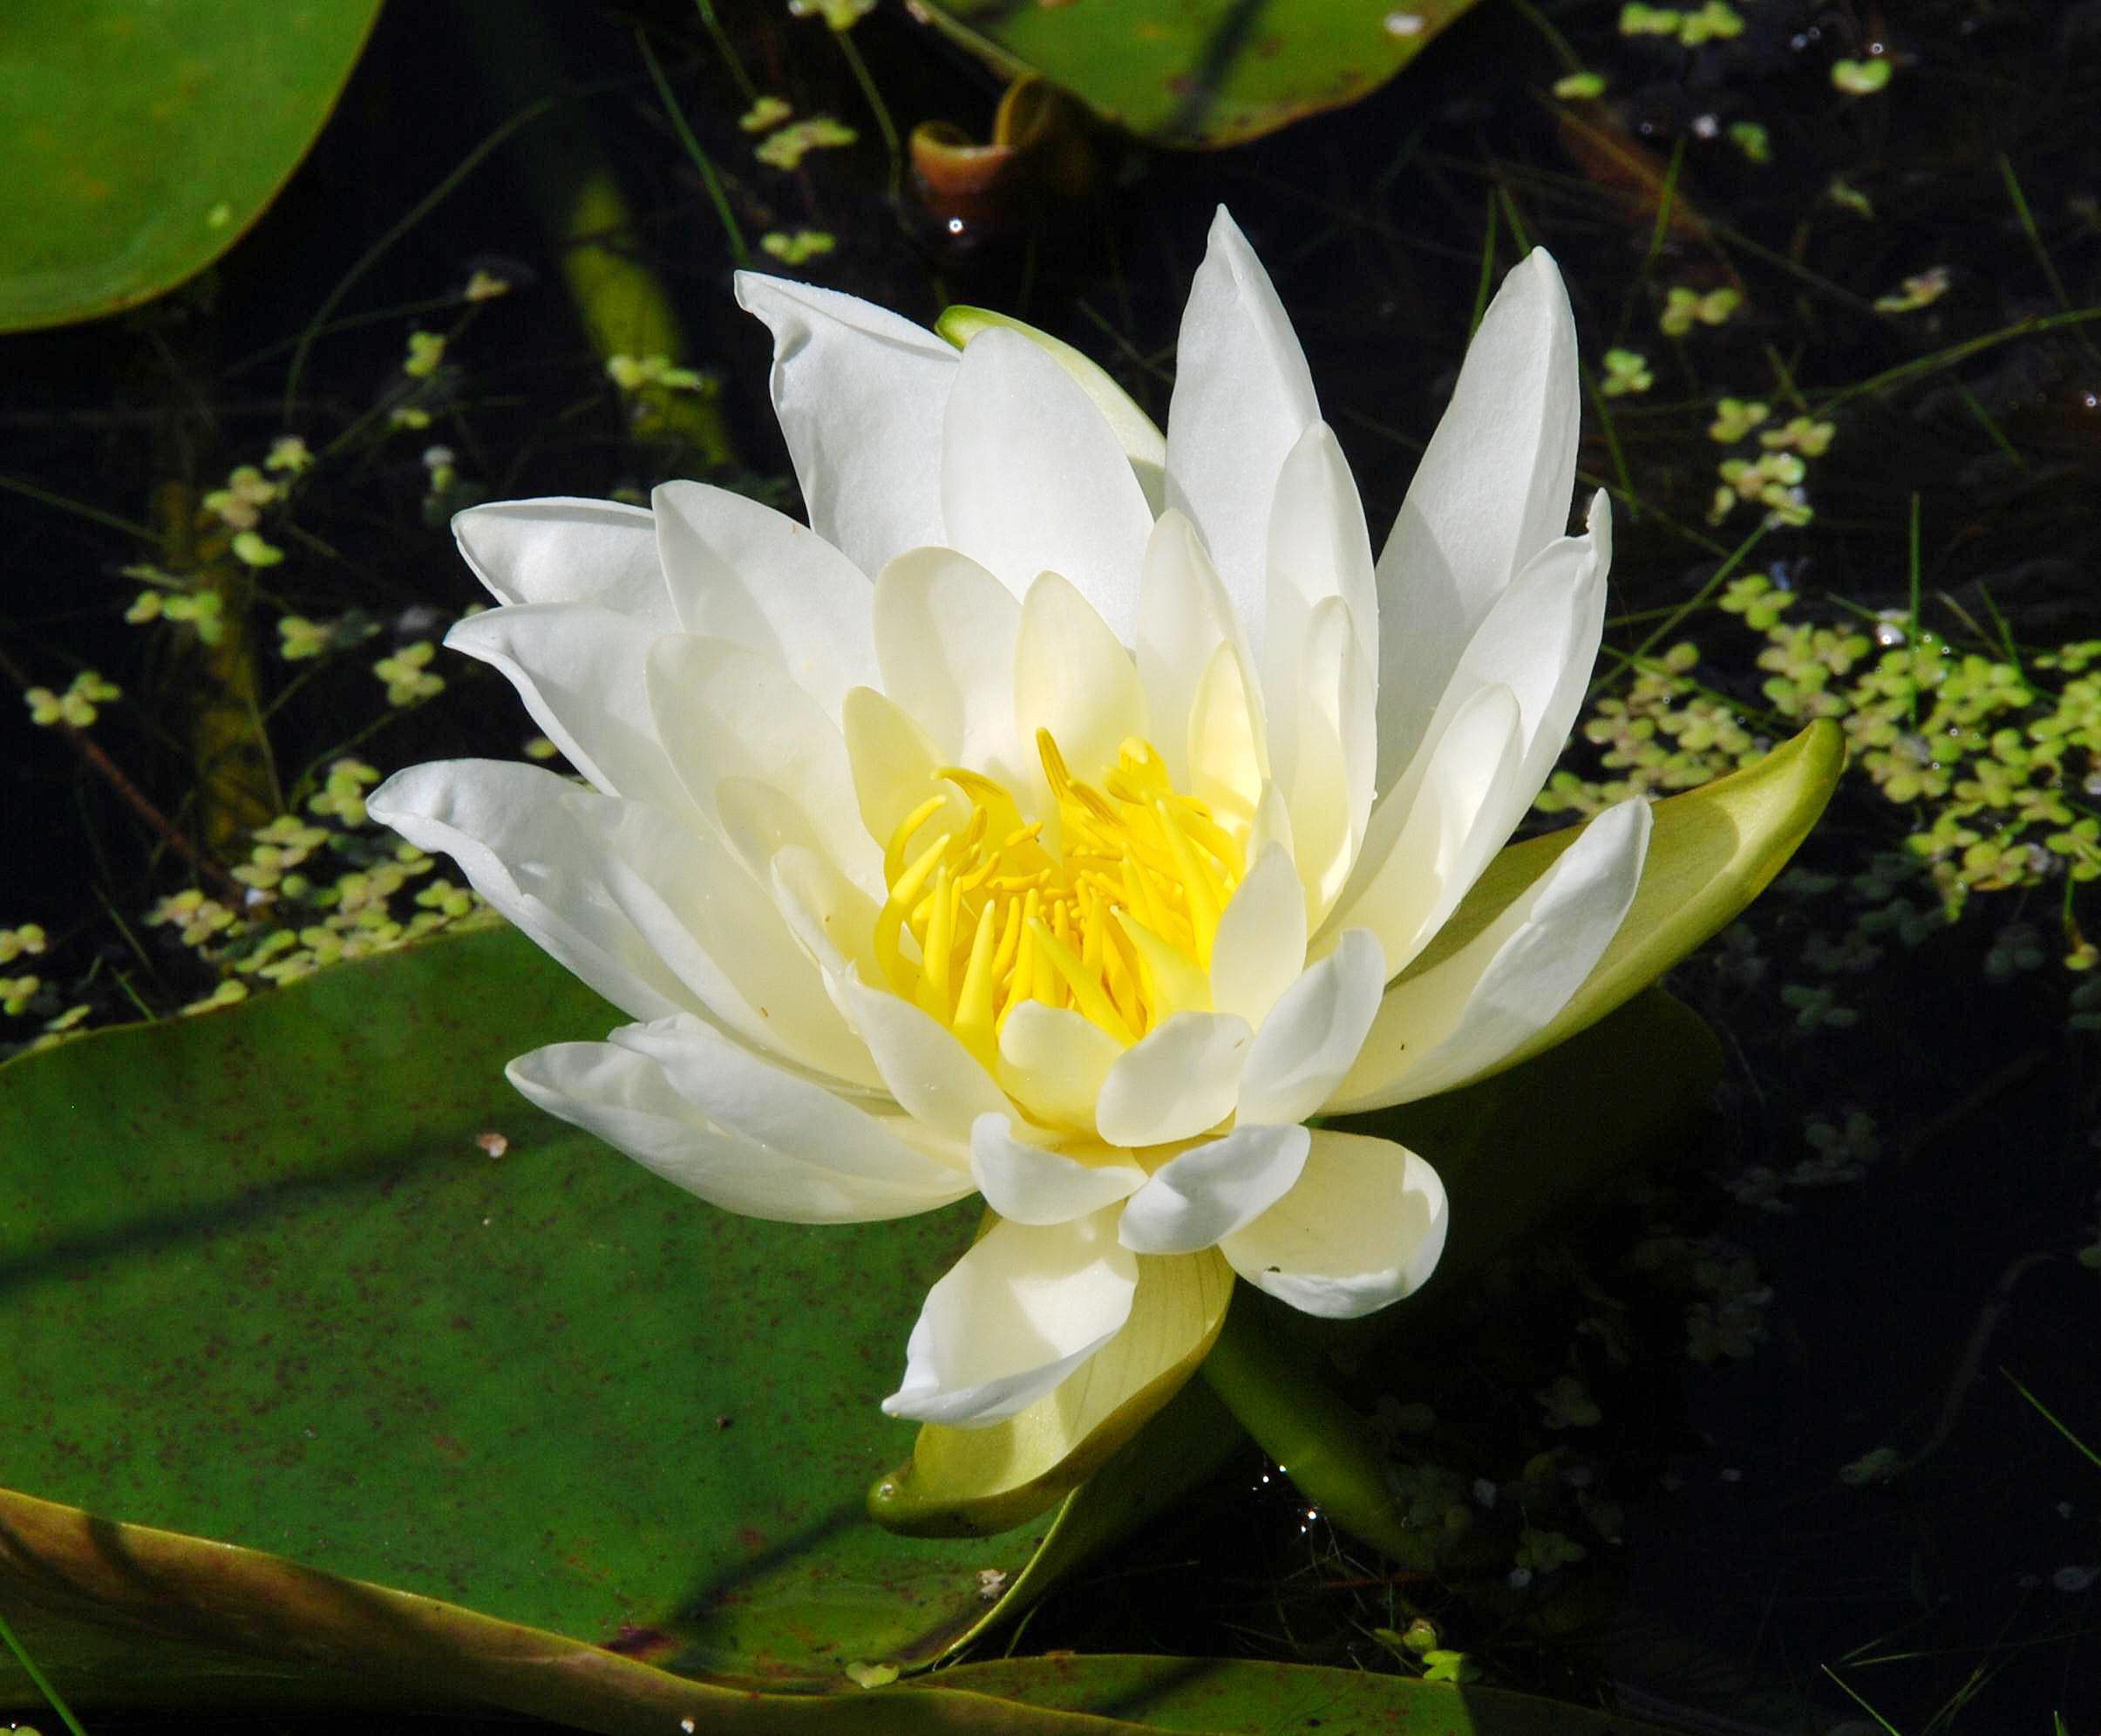
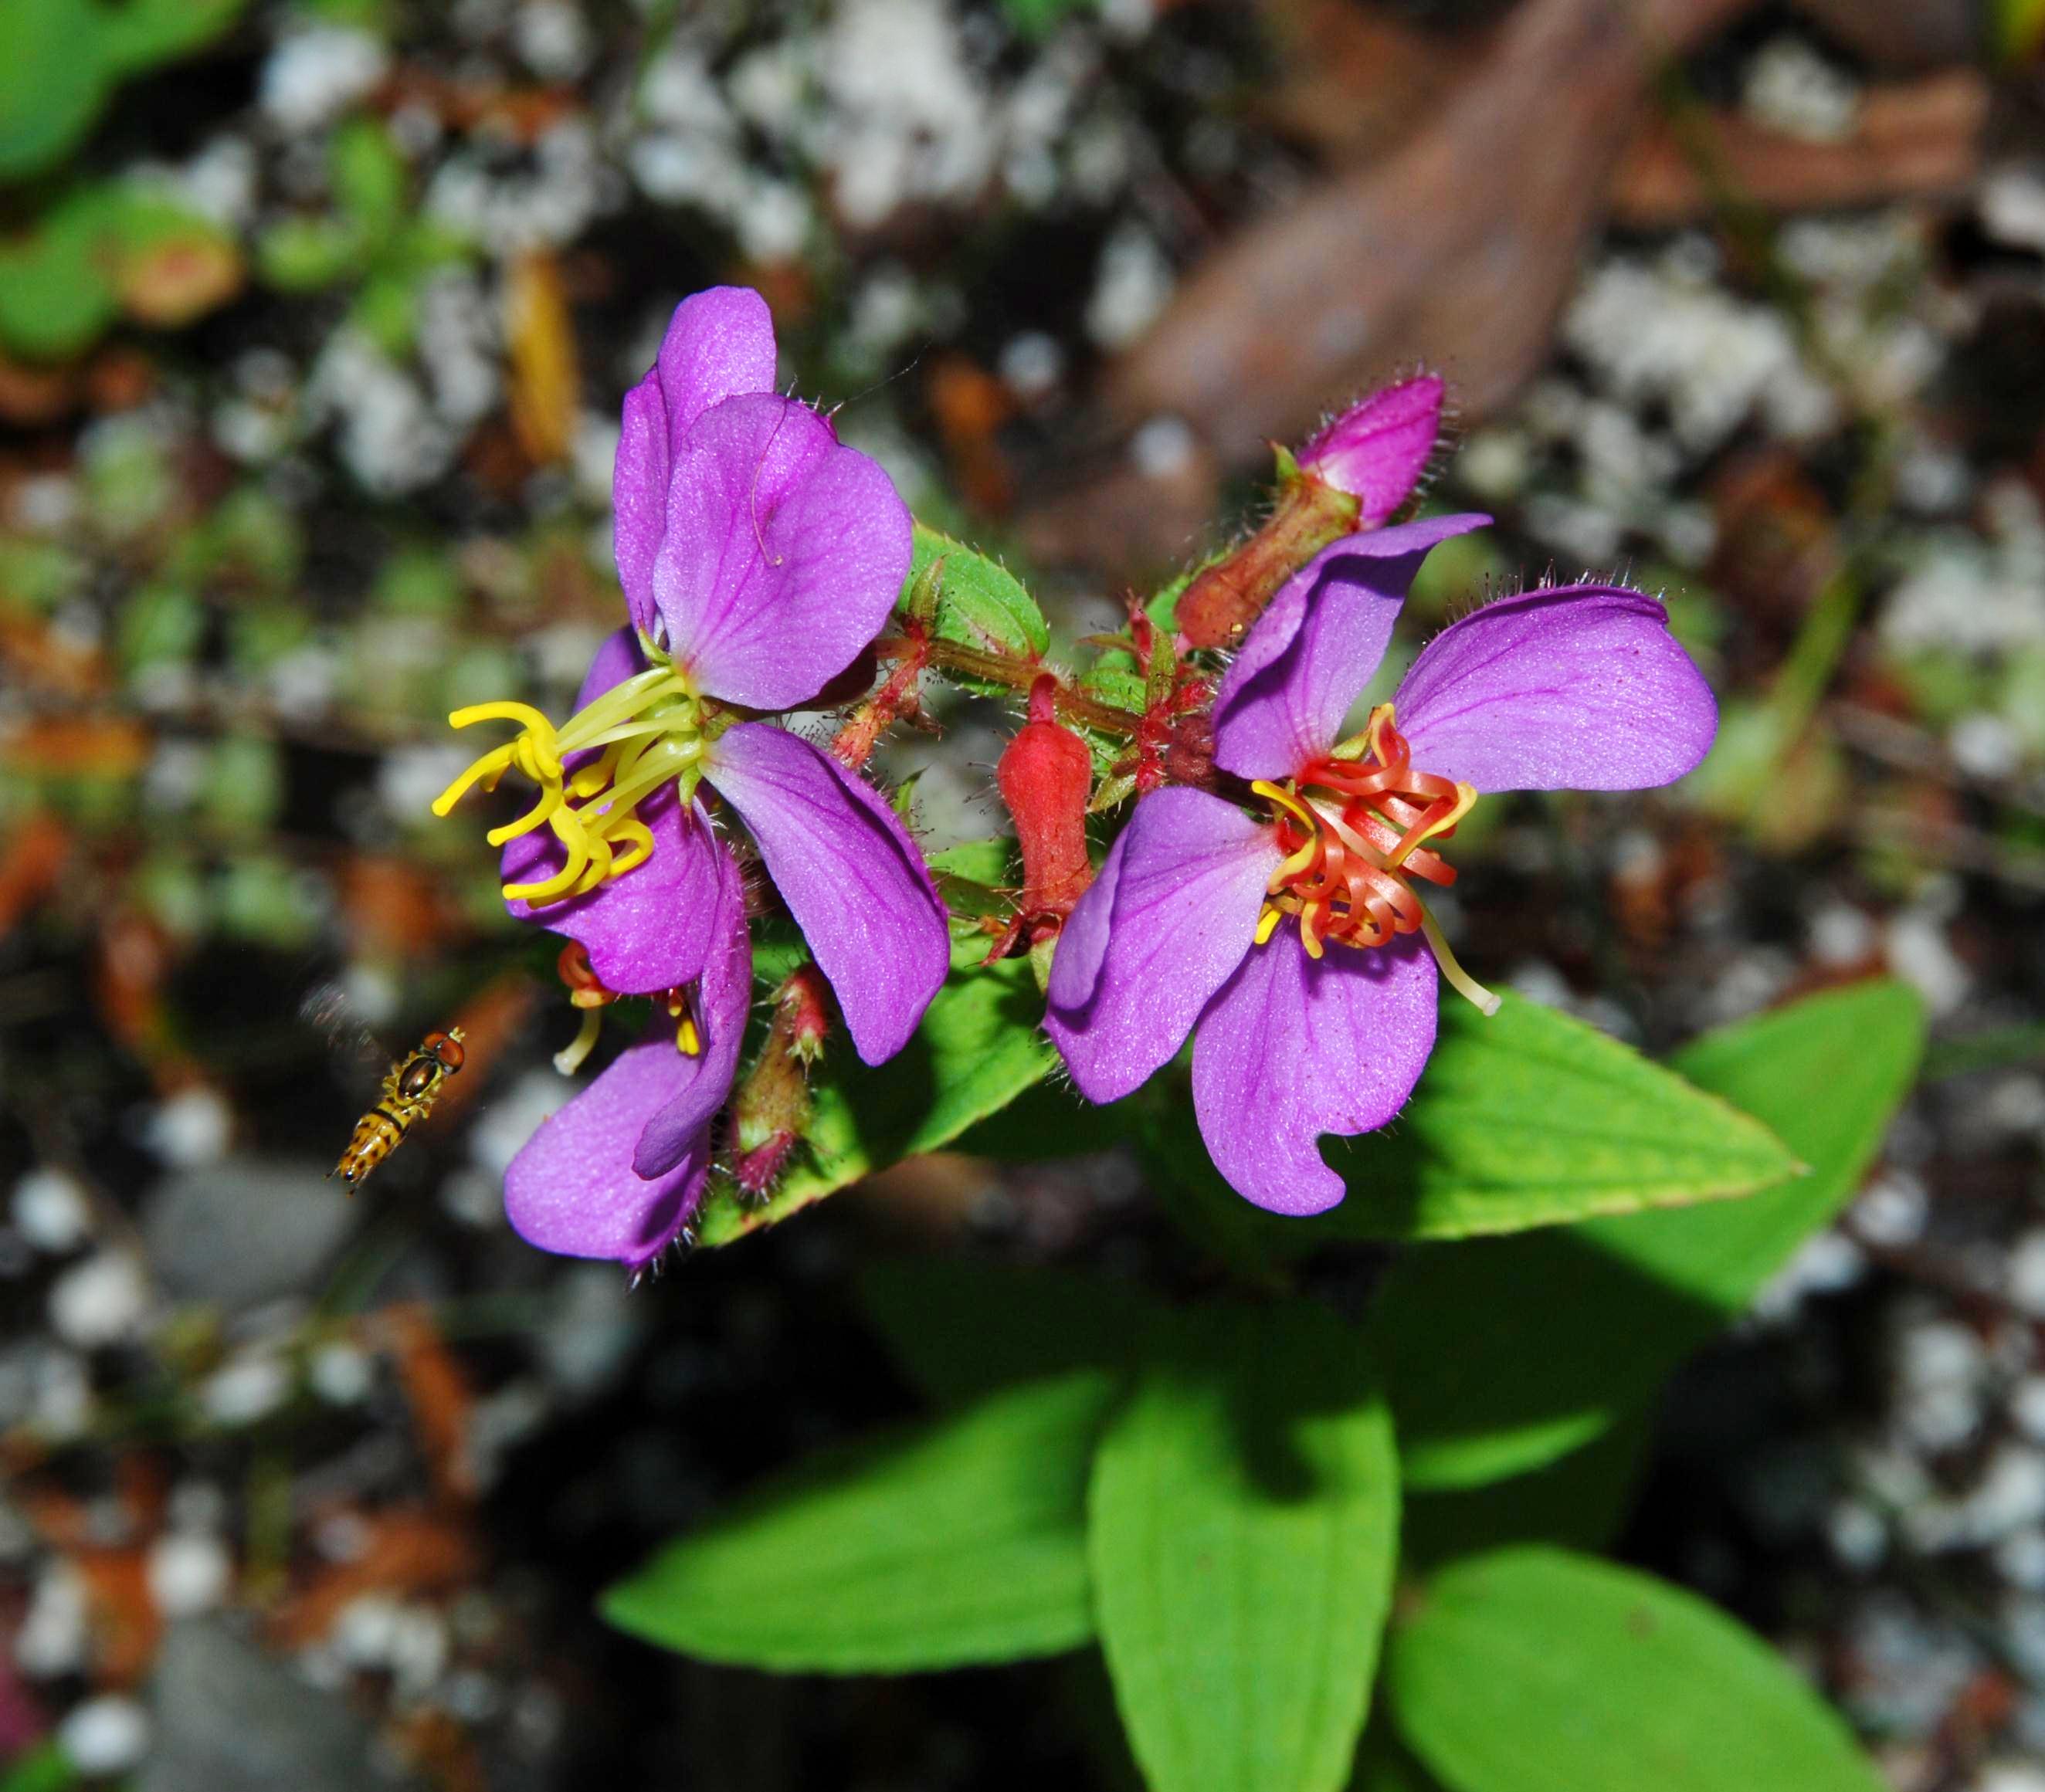
HERBACEOUS PLANTS: AQUATICS & OTHER MOISTURE-LOVING SPECIES
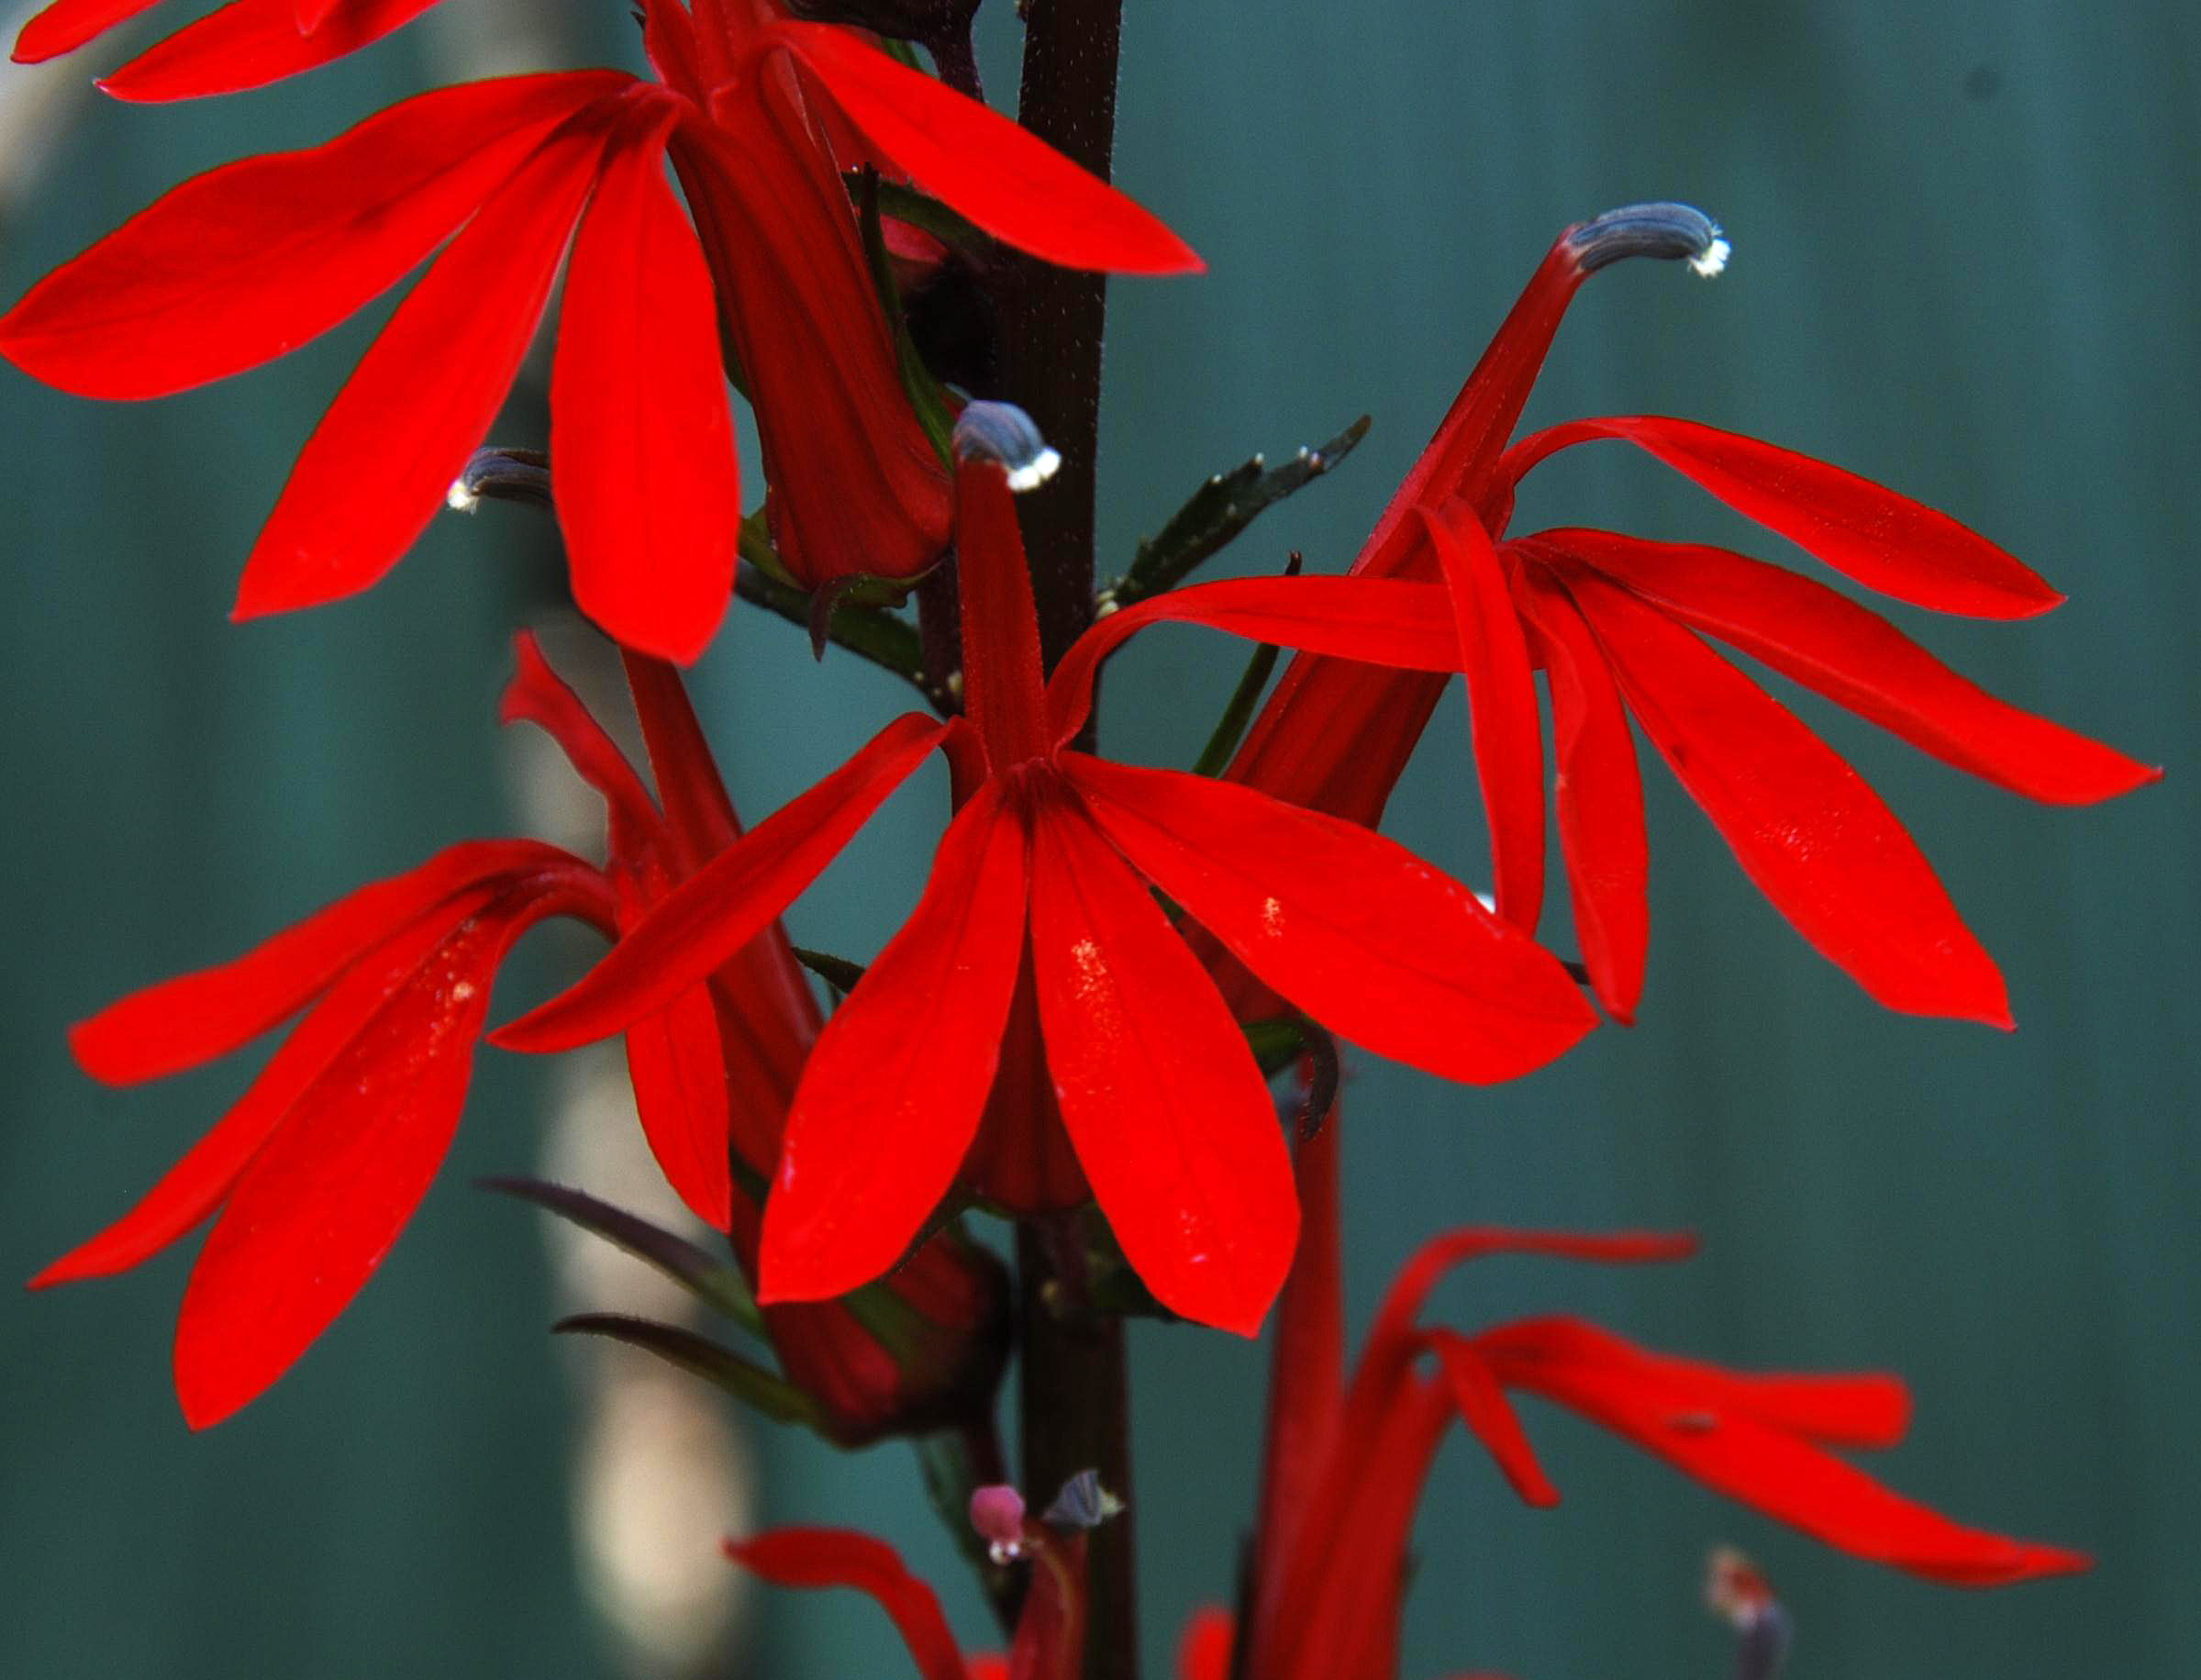
This group includes annual, biennial and perennial herbaceous species that are dependent upon a more-or-less continuous supply of moisture during the growing season, including the true aquatics, along with other moisture-loving, terrestrial species that typically grow along lake and river shores, in fens, bogs and marshes, in open and treed swamps, wet woods, wetter parts of alvars, and other similar, consistently moist to wet sites.
Collection, handling and germination procedures vary among the members of this group; details for each species are given in the individual species notes.
To return to the Species List for this group, Click on the Herbs - Water Loving box above.
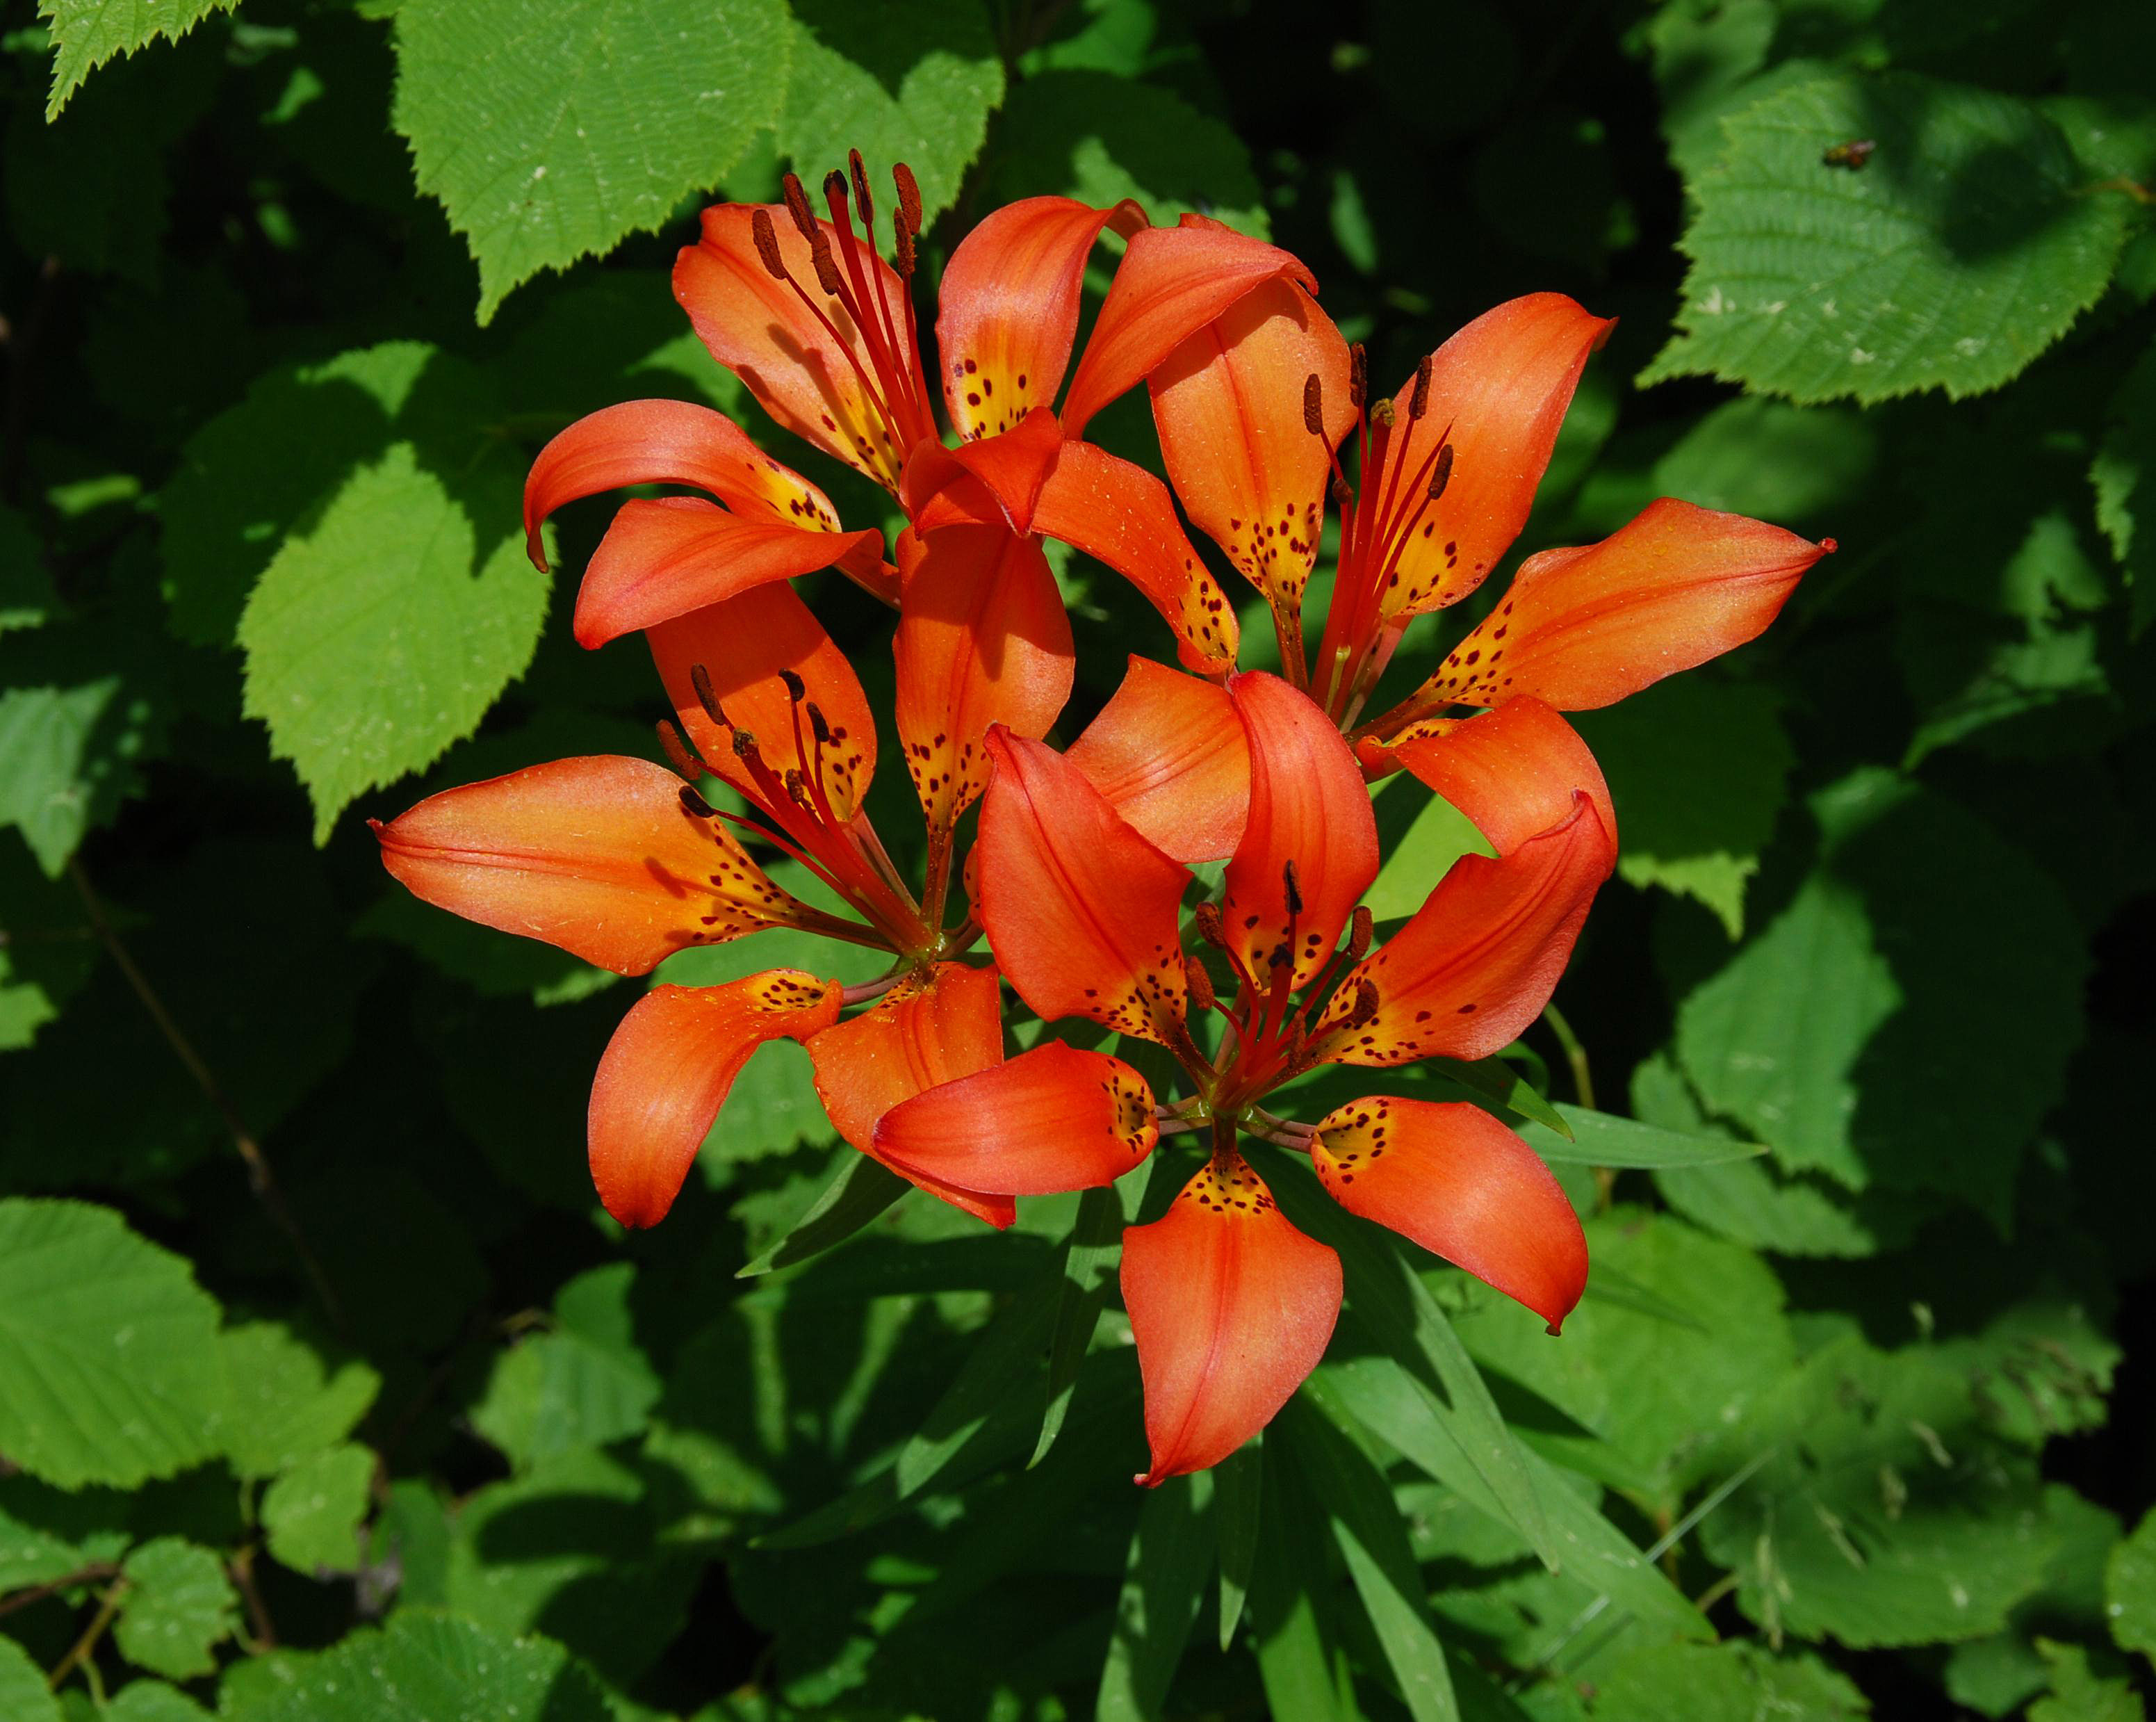
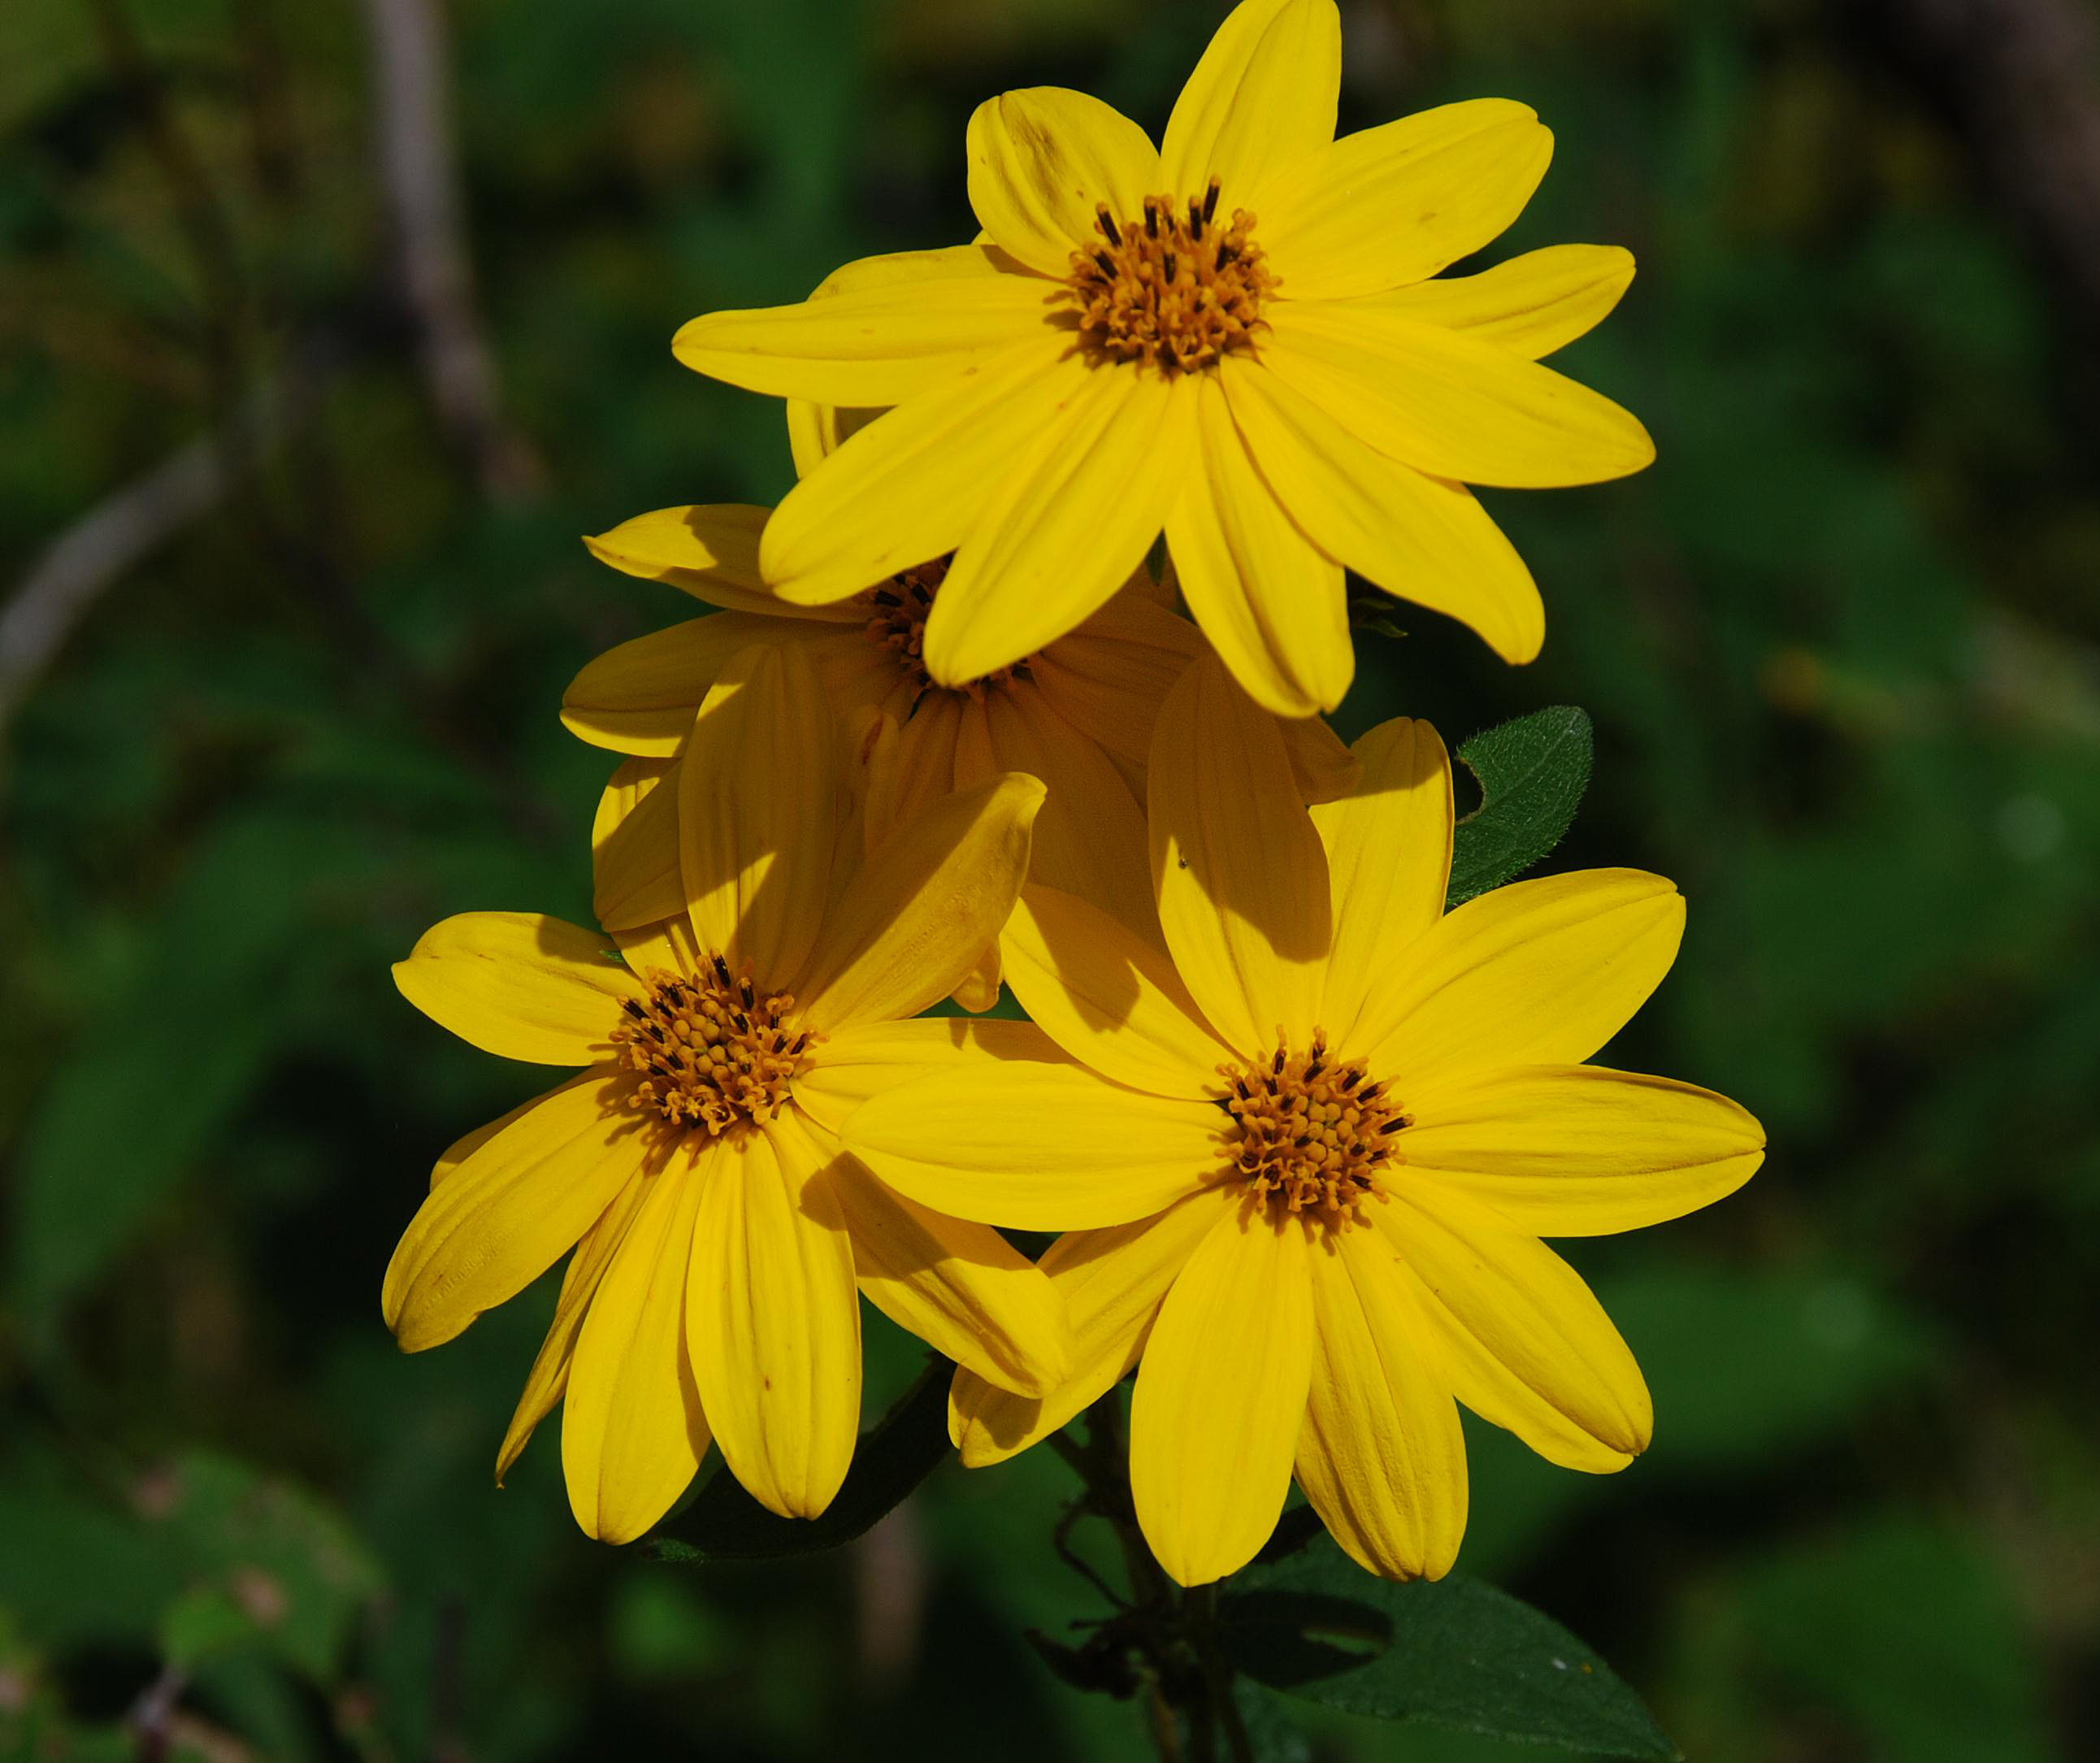
HERBACEOUS PLANTS: SPECIES OF OPEN SITES
This group includes annual, biennial and perennial herbaceous species that typically grow on open sites, including alvars, rock barrens, cliffs and rocky slopes, meadows, roadsides, and larger woodland openings, in full sun or very light shade, and soil moisture conditions ranging from dry to moist.
Collection, handling and germination procedures vary among the members of this group; details for each species are given in the individual species notes.
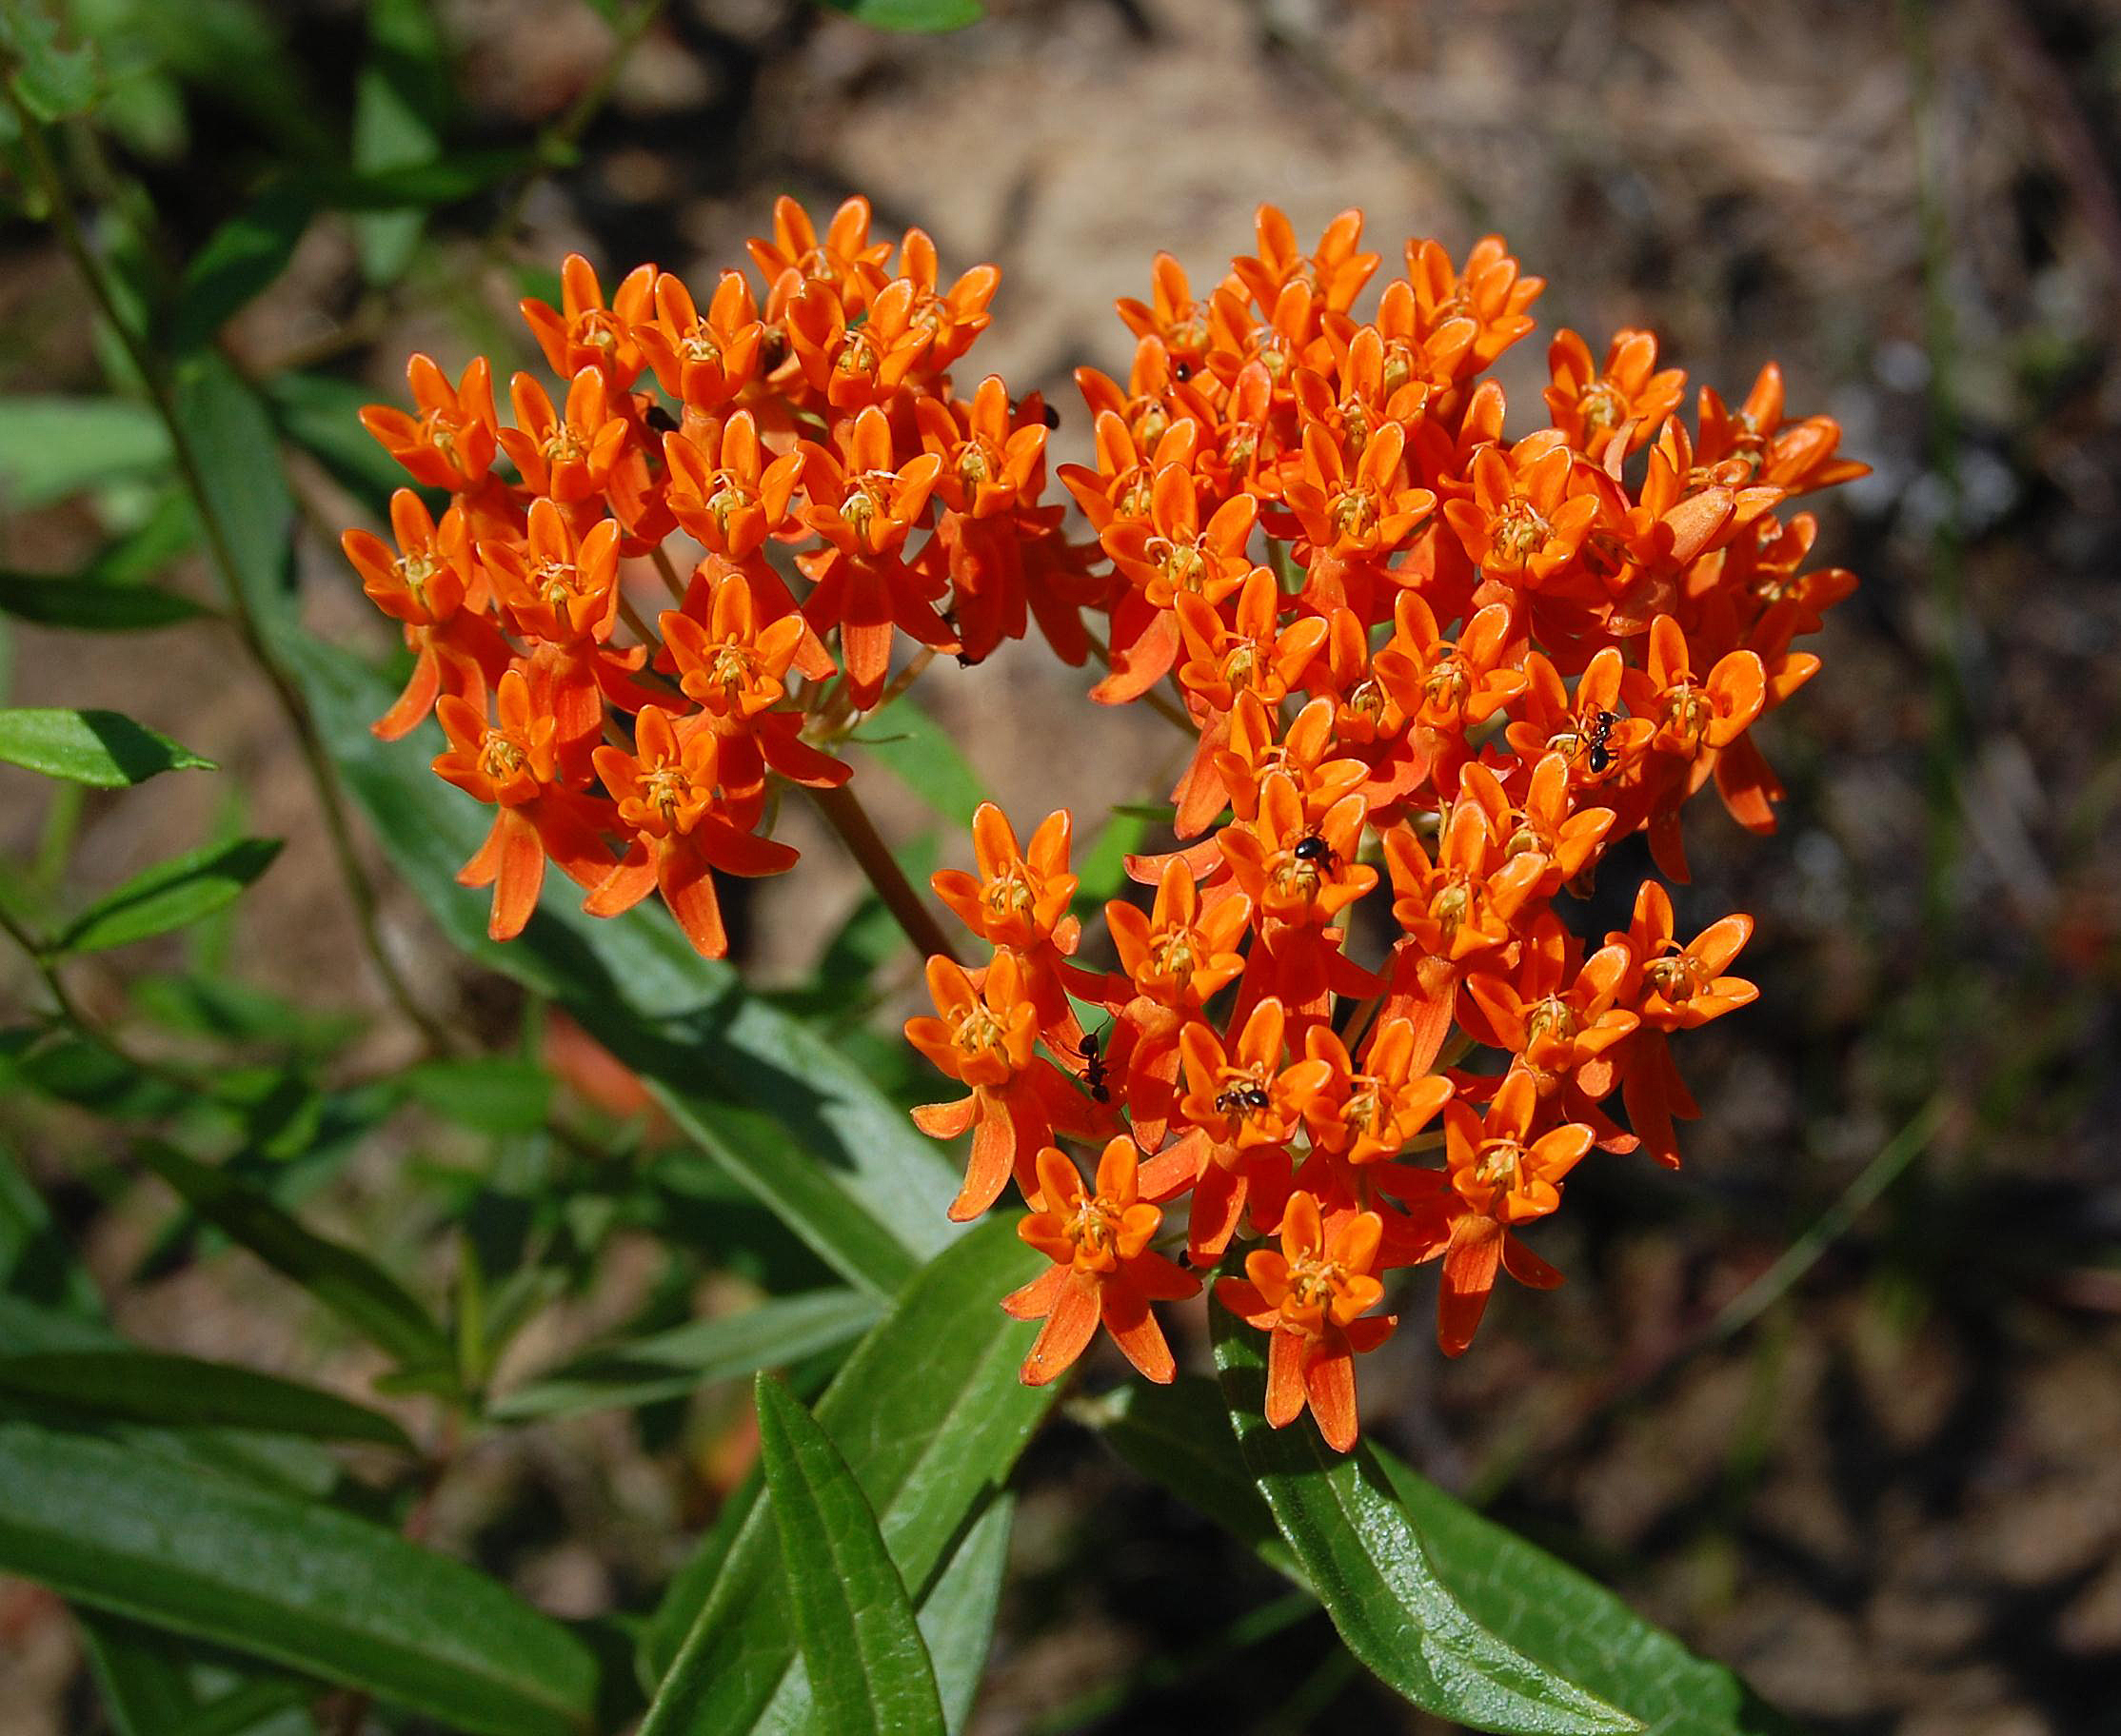
To return to the Species List for this group, Click on the Herbs - Open Sites box above.
HERBACEOUS PLANTS: WOODLAND SPECIES
This group includes annual, biennial and perennial herbaceous species that typically grow in woodlands, under light to dense shade, and soil moisture conditions ranging from dry to moist or somewhat wet. Some of these species may occasionally be encountered in larger woodland openings or at woodland margins.
Collection, handling and germination procedures vary among the members of this group; details for each species are given in the individual species notes.
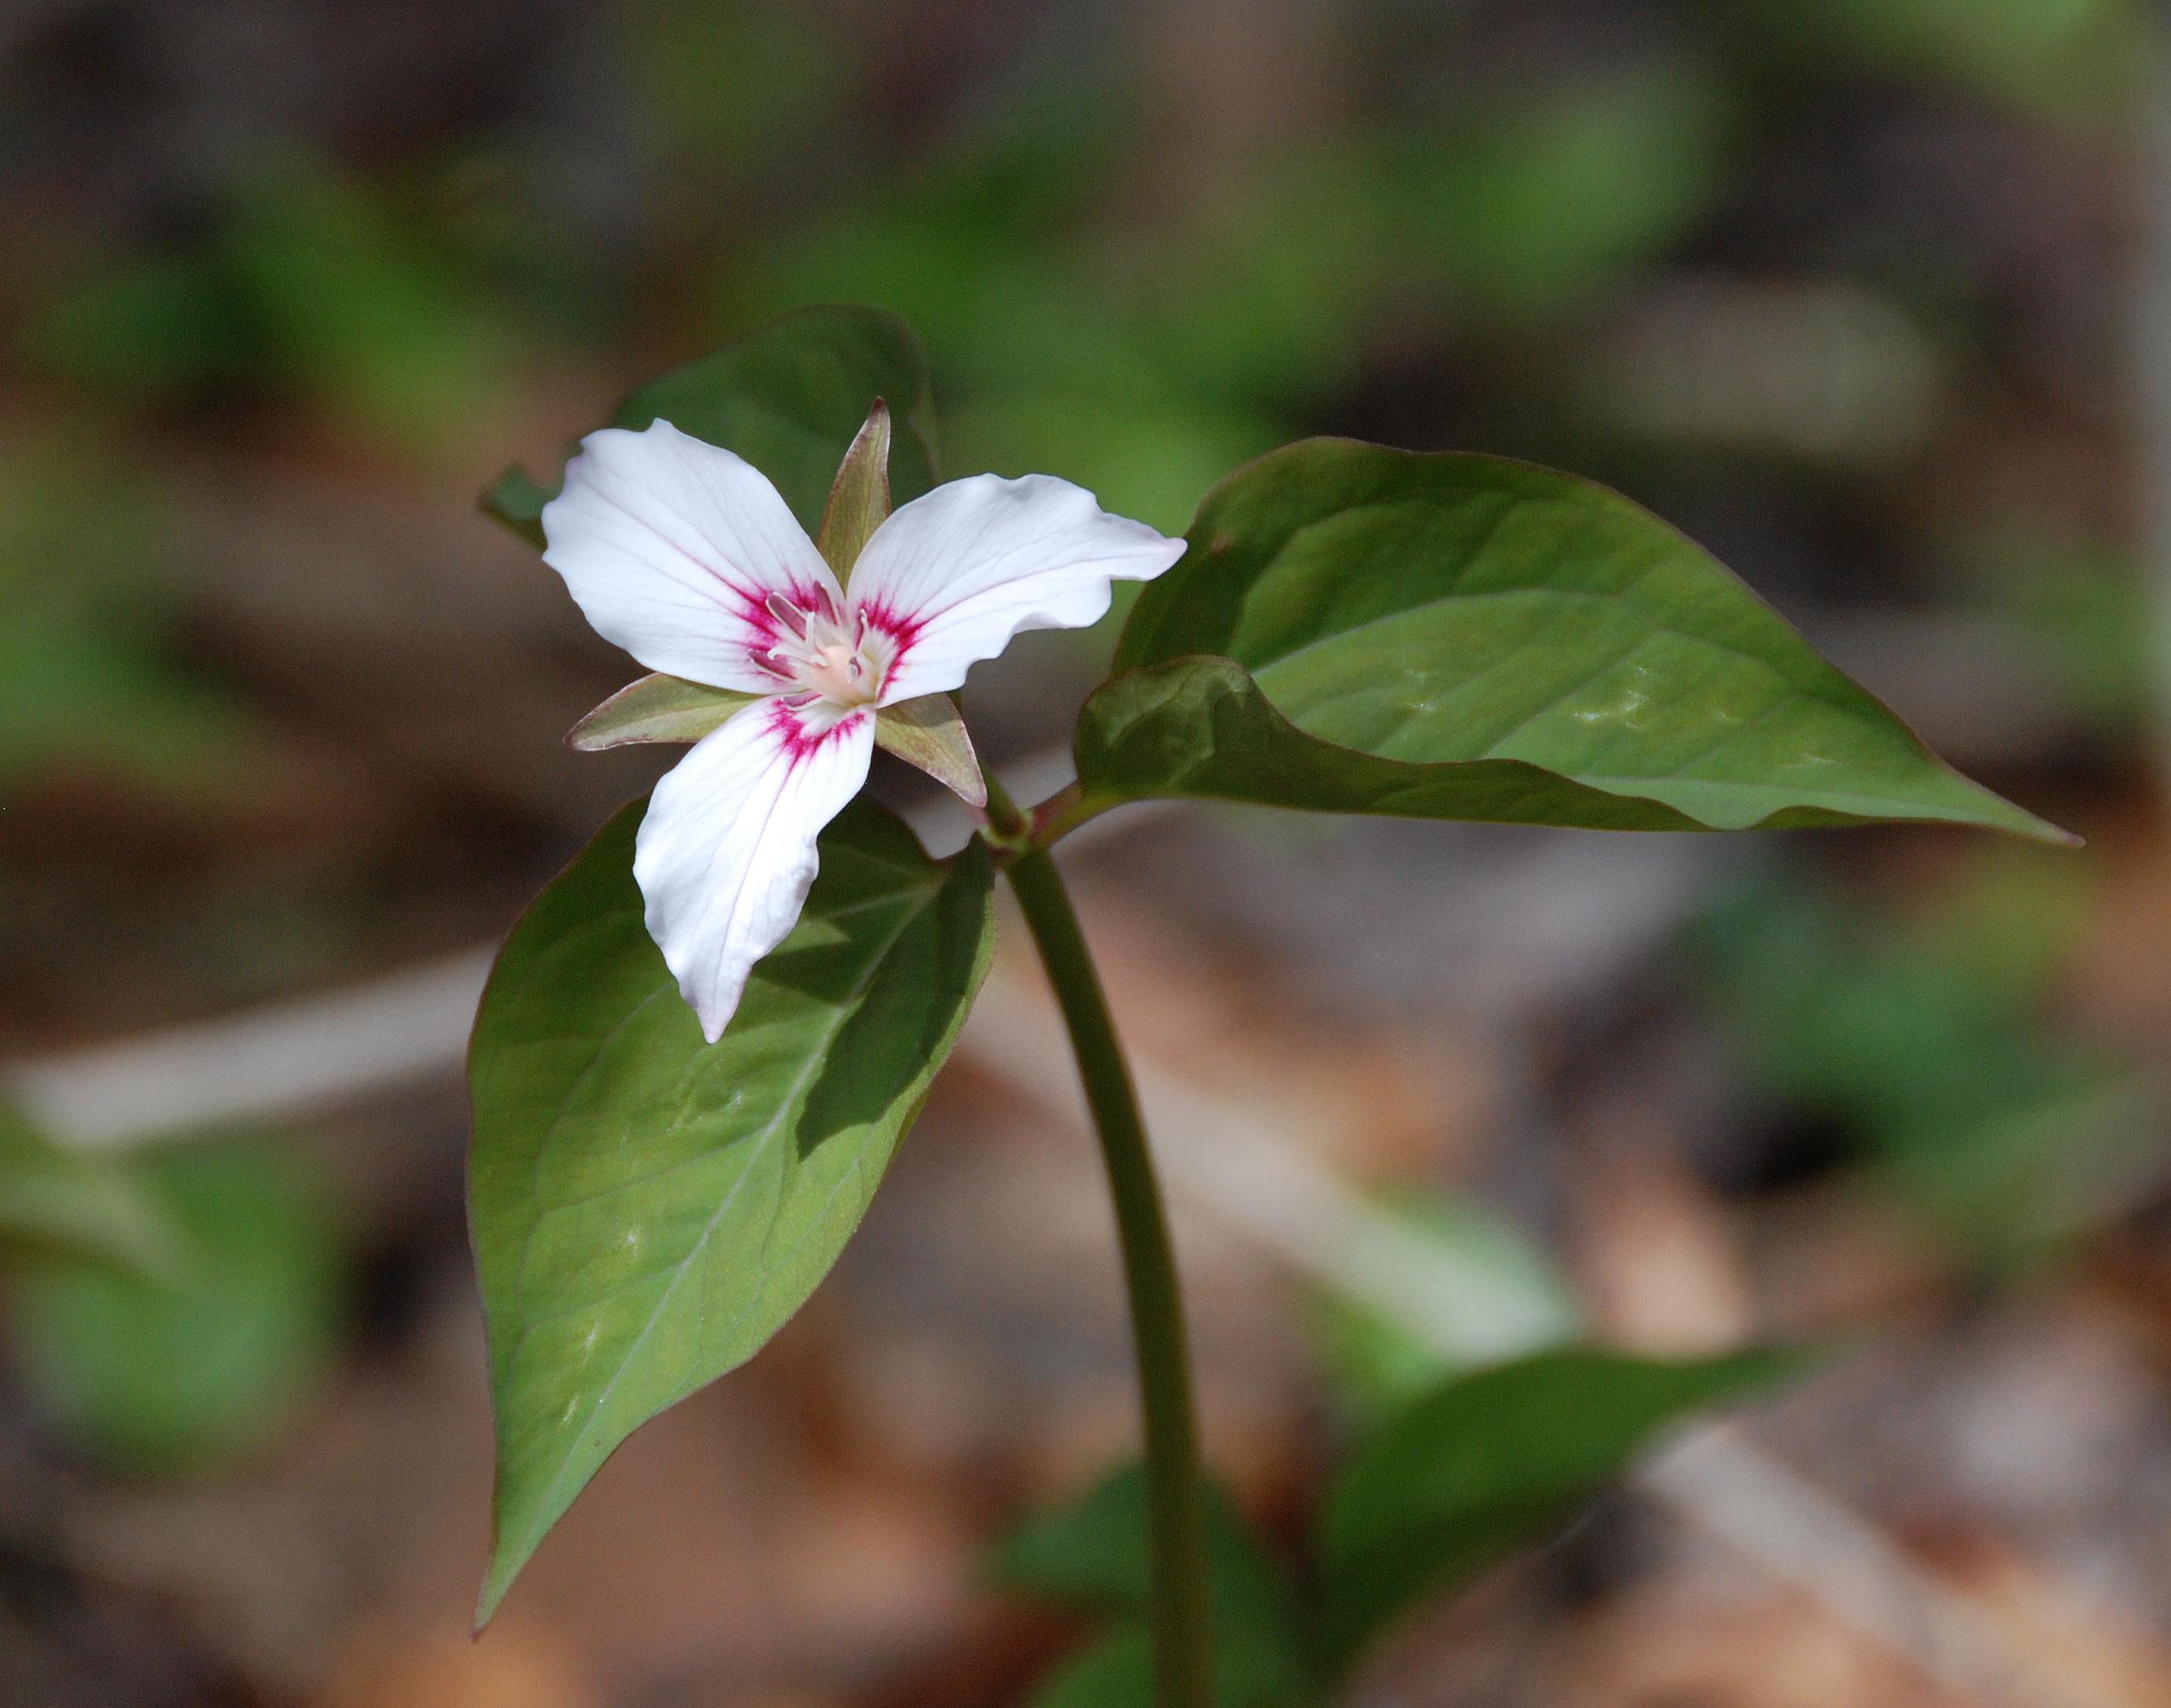
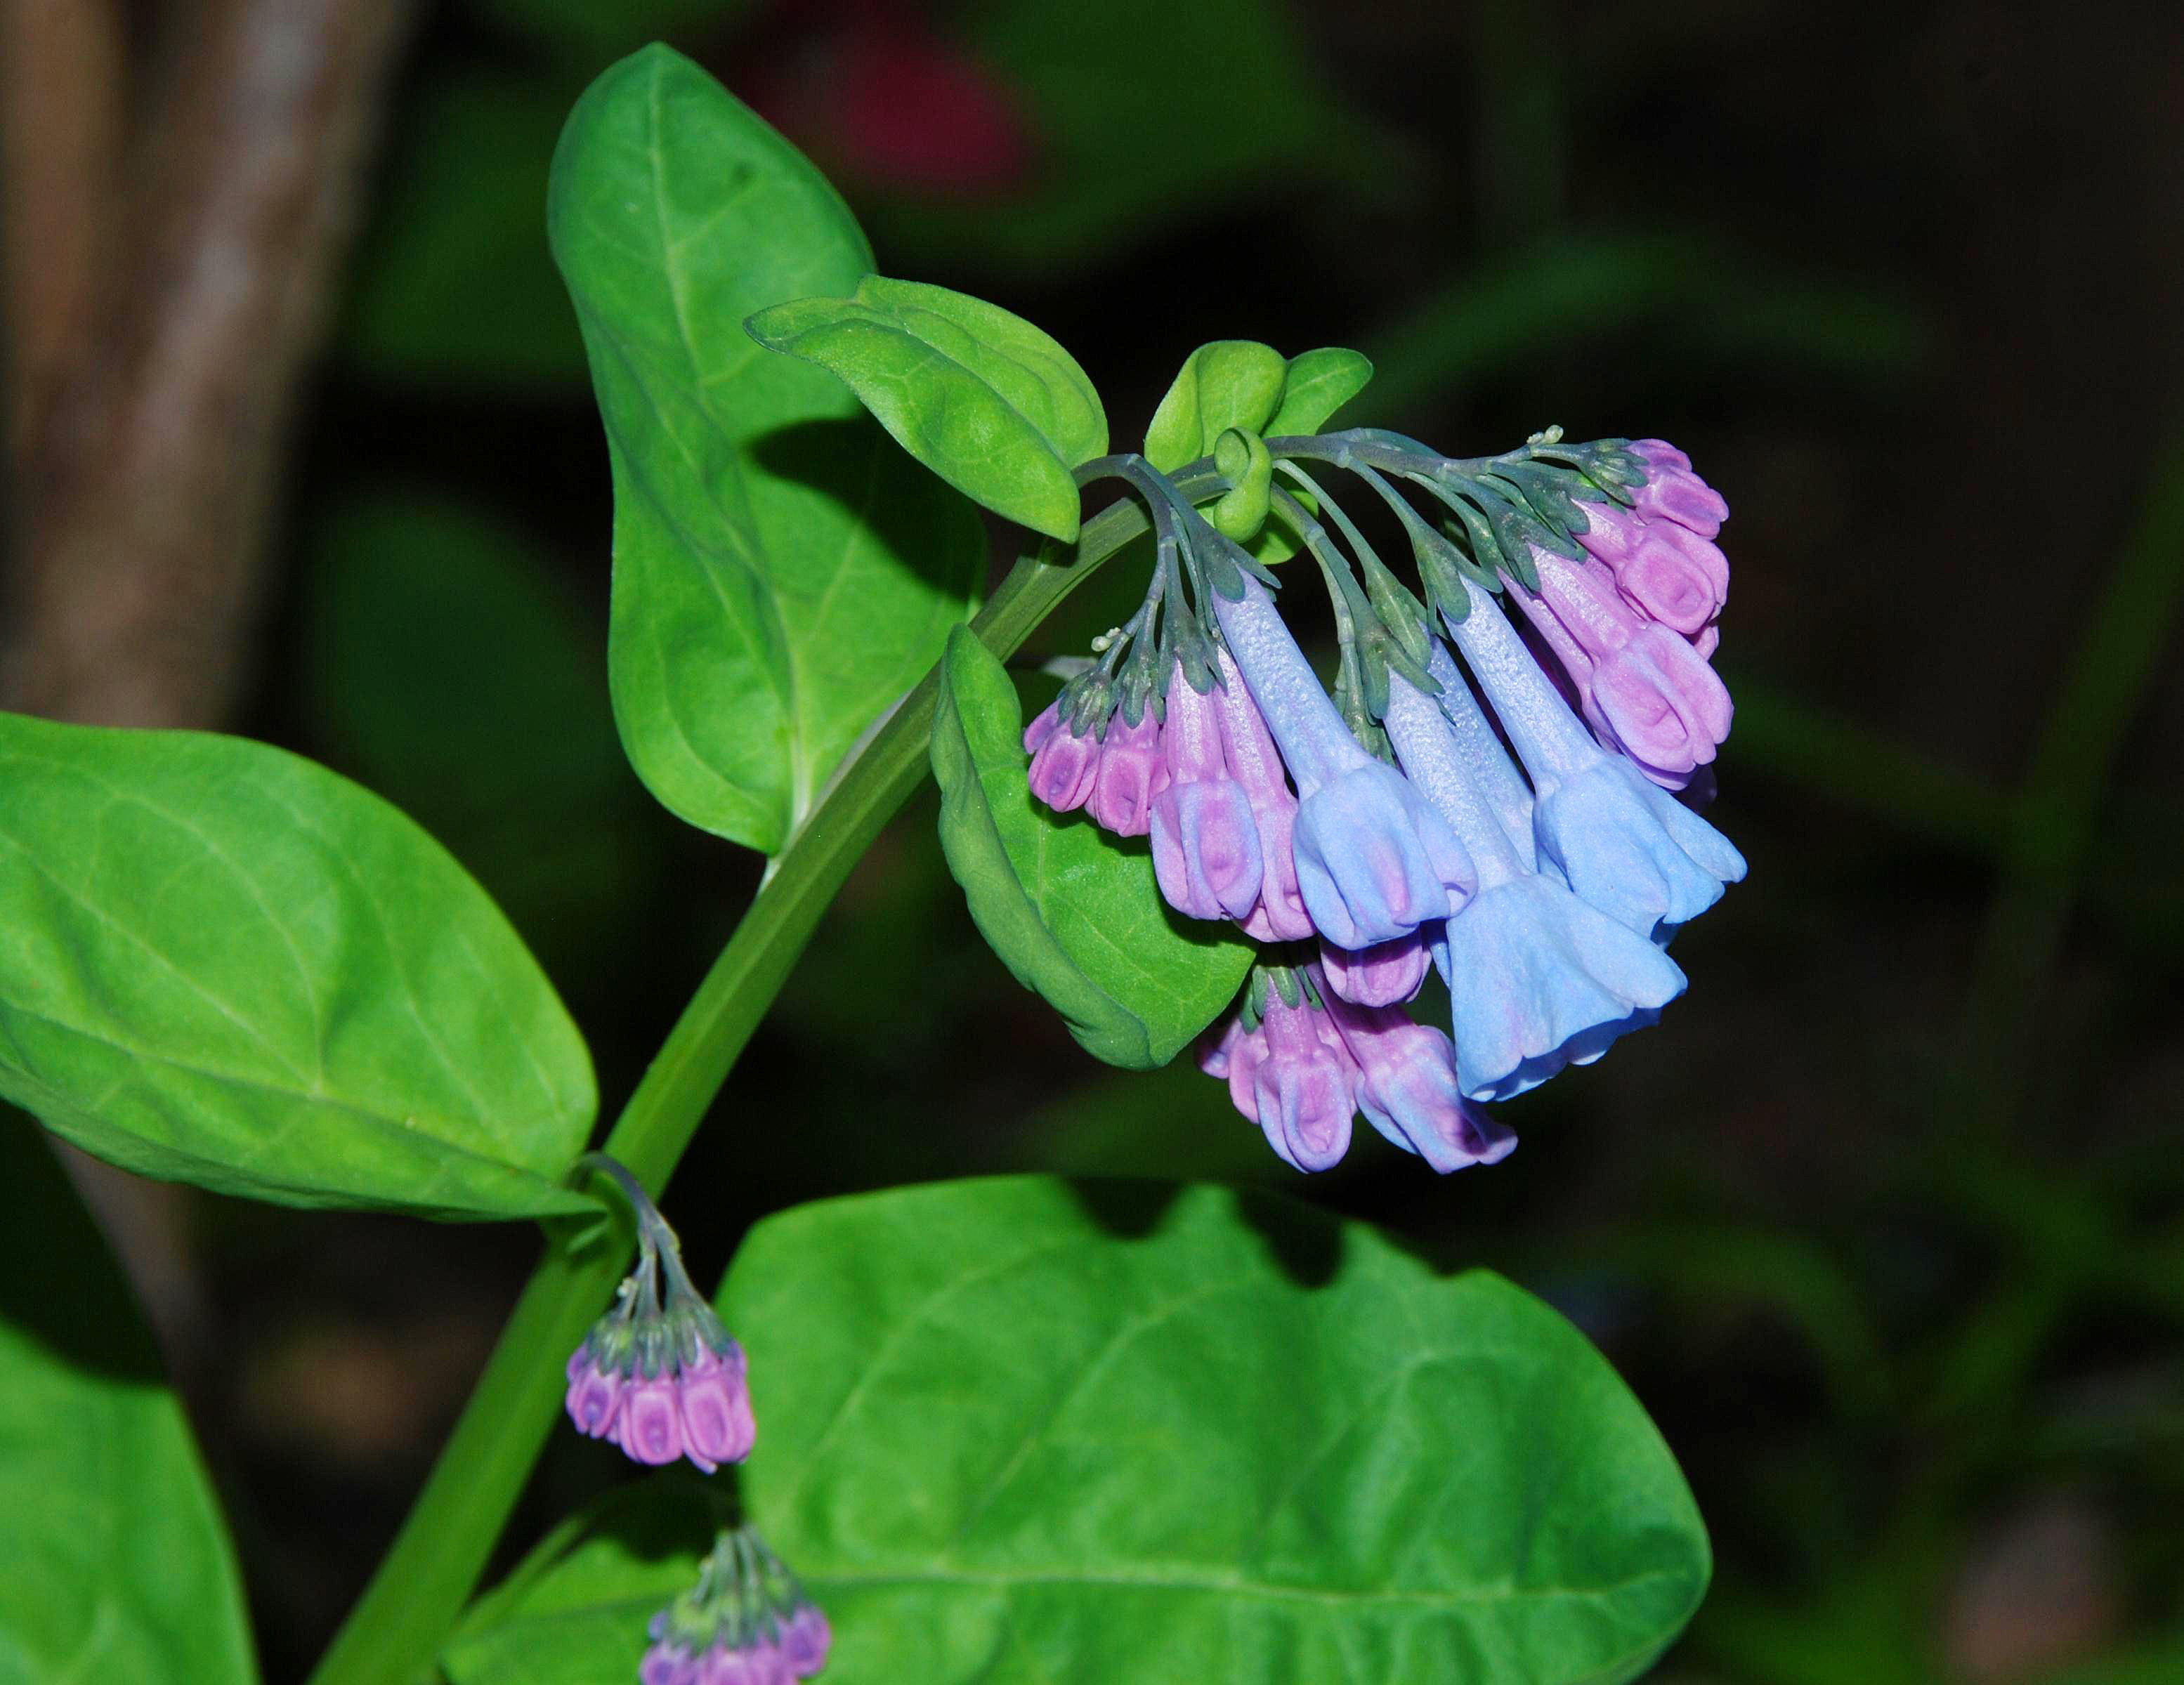
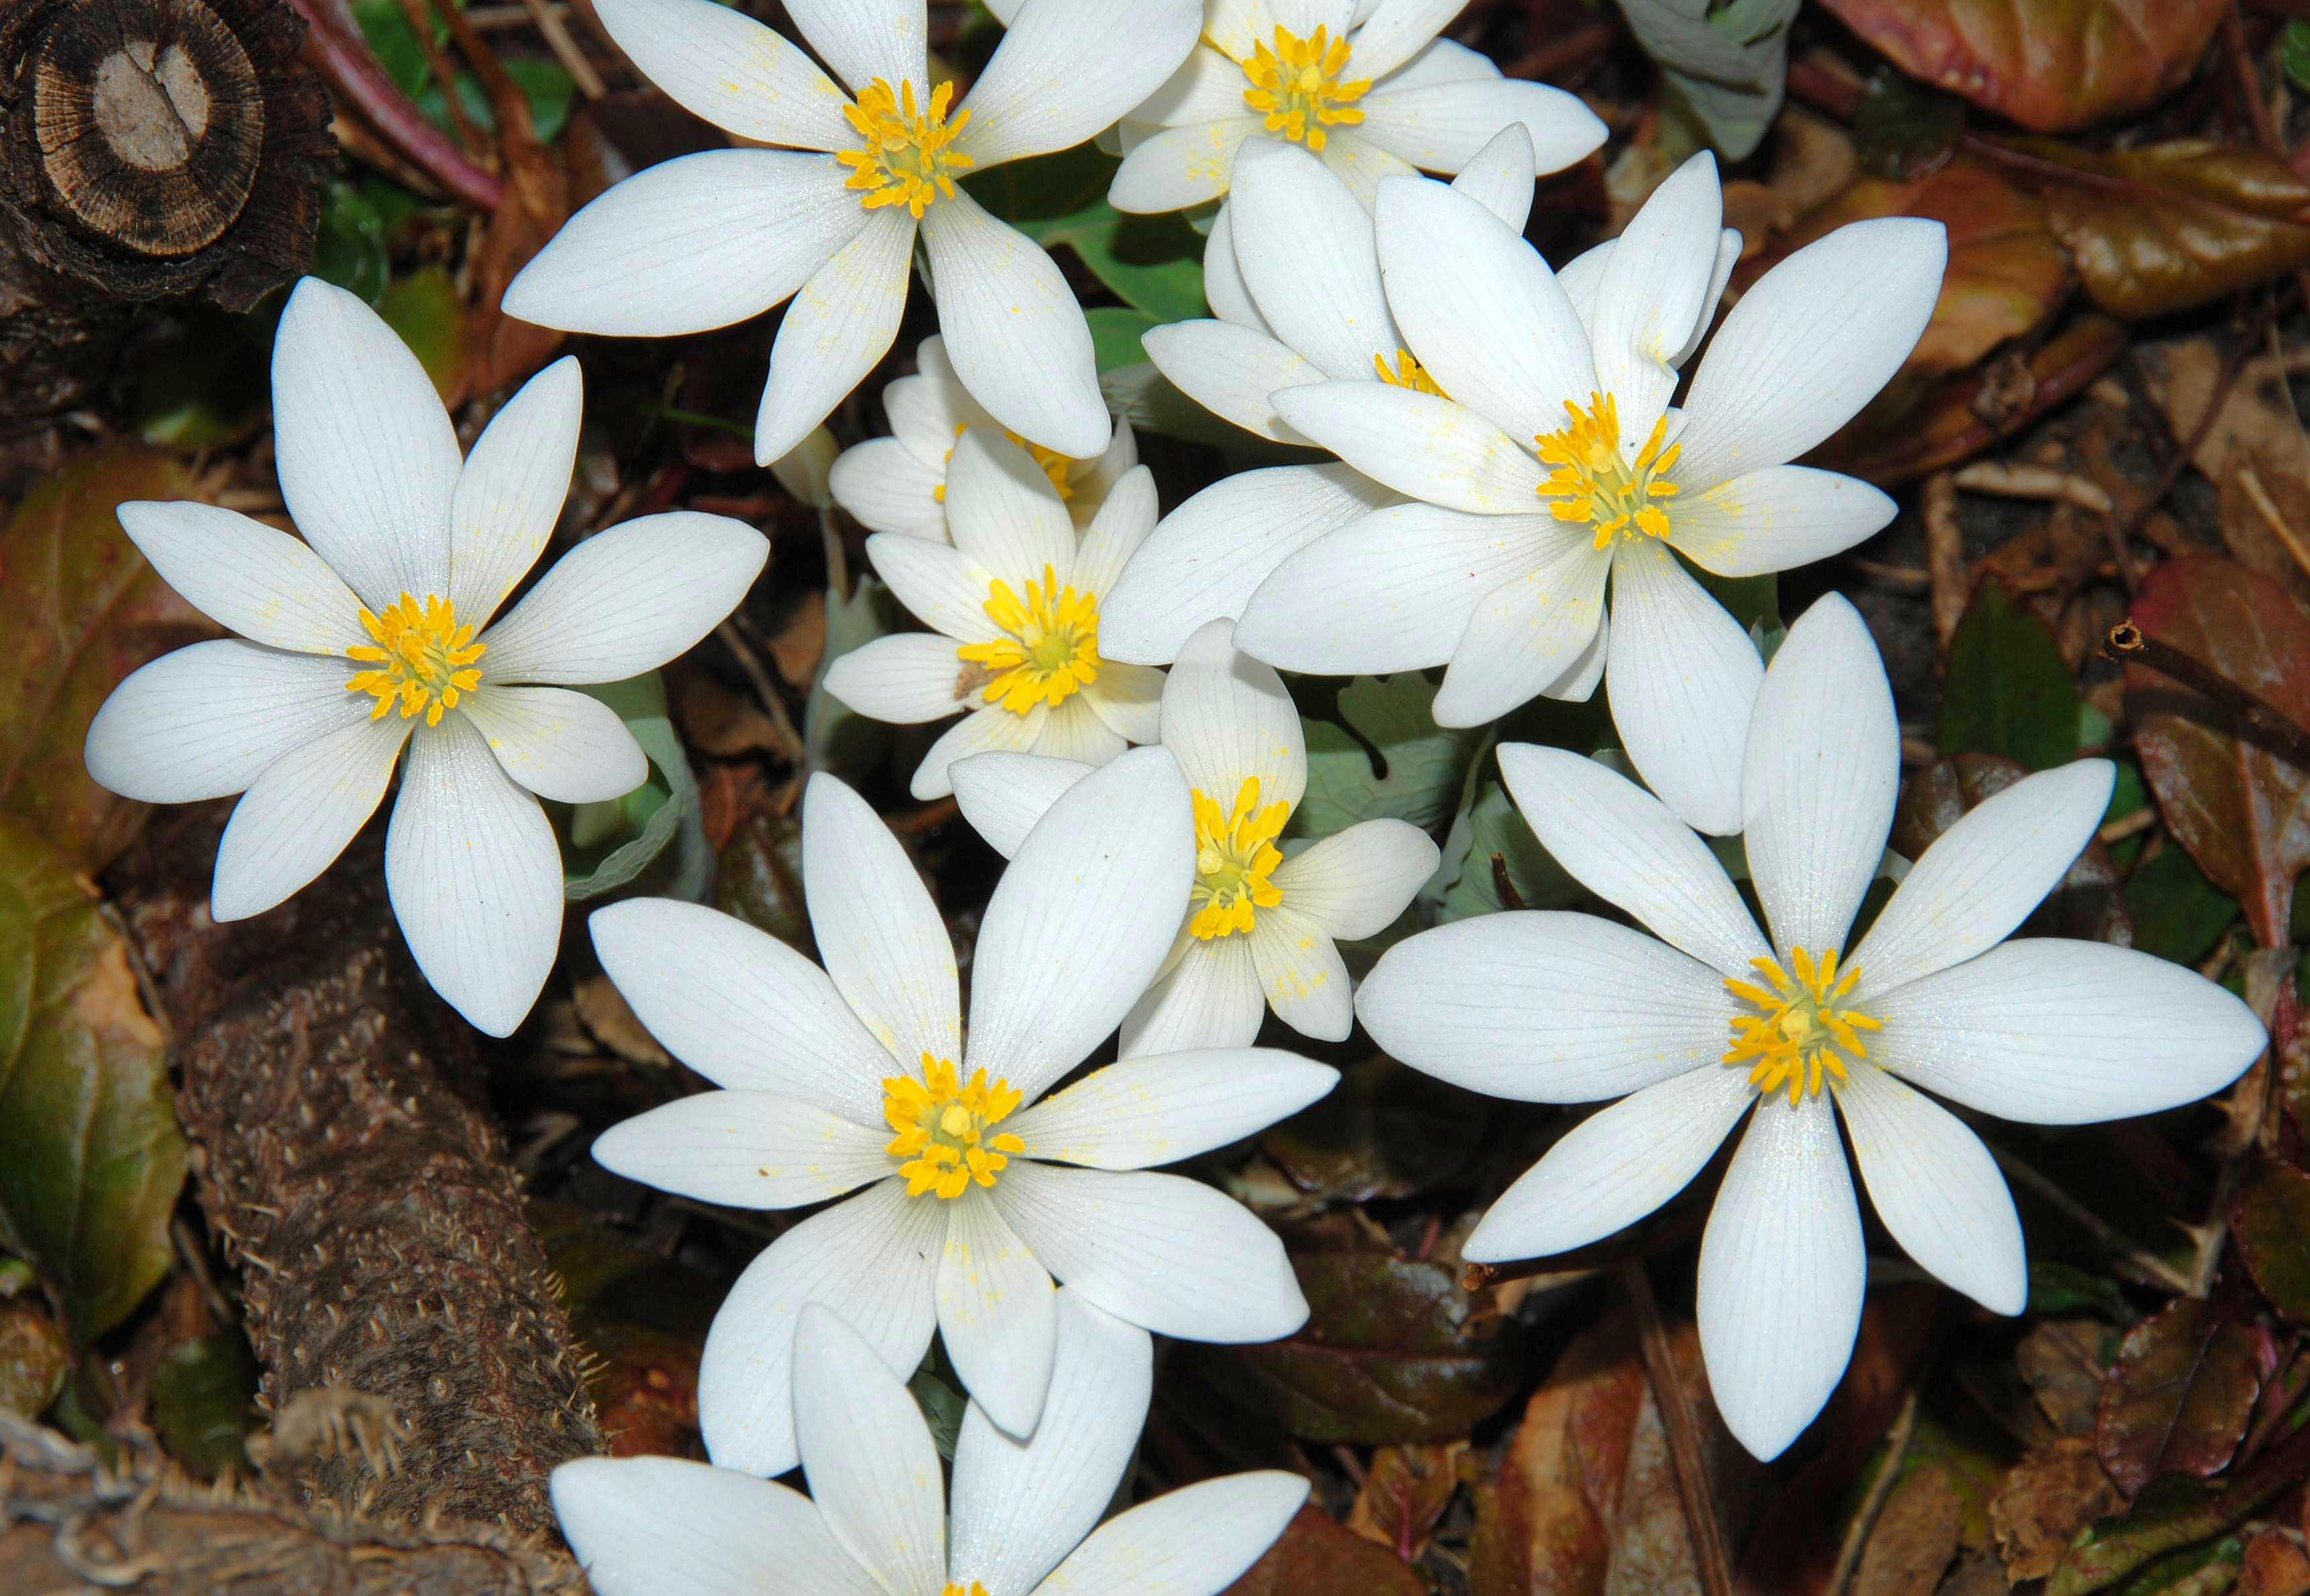
To return to the Species List for this group, Click on the Herbs - Woodland box above.
HERBACEOUS PLANTS: ORCHIDS
There are over 40 species of orchids native to our region; a few are relatively common, many more have a very widespread but patchy distribution in association with very specific site conditions, while others are extremely rare, both regionally and continent-wide. Unquestionably, this family contains some of the loveliest of all our wildflowers, but at the same time there are many others that, while still fascinating, are most decidedly not showy and, indeed, are often overlooked.
Orchids are conventional flowering and seed-producing plants. However, their flower structure has become highly modified in association with very precise pollination mechanisms and specific pollinating insects. Their site requirements are also in most cases very specific, including a near-absolute requirement for symbiotic associations with particular soil fungi that enable germination, nutrient uptake, and long-term success, in ways unique to each species. Orchid seeds are minute and dust-like, consisting of little more than a tiny embryo and a surrounding 'wing' (testa); most have no food supply within the seed, and they must therefore find suitable soil, moisture, and fungal associates immediately after dispersal if they are to survive and develop; to compensate somewhat for these difficulties, most orchid species produce vast numbers of these tiny seeds every year.
It is hardly surprising, therefore, that no reliable and reasonably straightforward protocols have yet been developed for propagating our native orchids from seed. We hope this situation may eventually change, but for the present we would recommend that anyone without specialised knowledge, expertise and facilities not attempt to artificially propagate any of our native orchids from seed (to which, of course, must be added that orchid plants should never be dug from the wild since that too, with very few exceptions, is unlikely to be successful). Better by far to just enjoy the good fortune of encountering some of them in flower in their natural habitats.
In recent years, great strides have been made in developing tissue culture techniques for propagating orchids, including at least some of the species native to E. Canada. This also requires specialised equipment and carefully controlled conditions, and is not something the home gardener should attempt, but it does at least offer the possibility that plants of some of our showiest native orchids may become available commercially in the not-too-distant future.
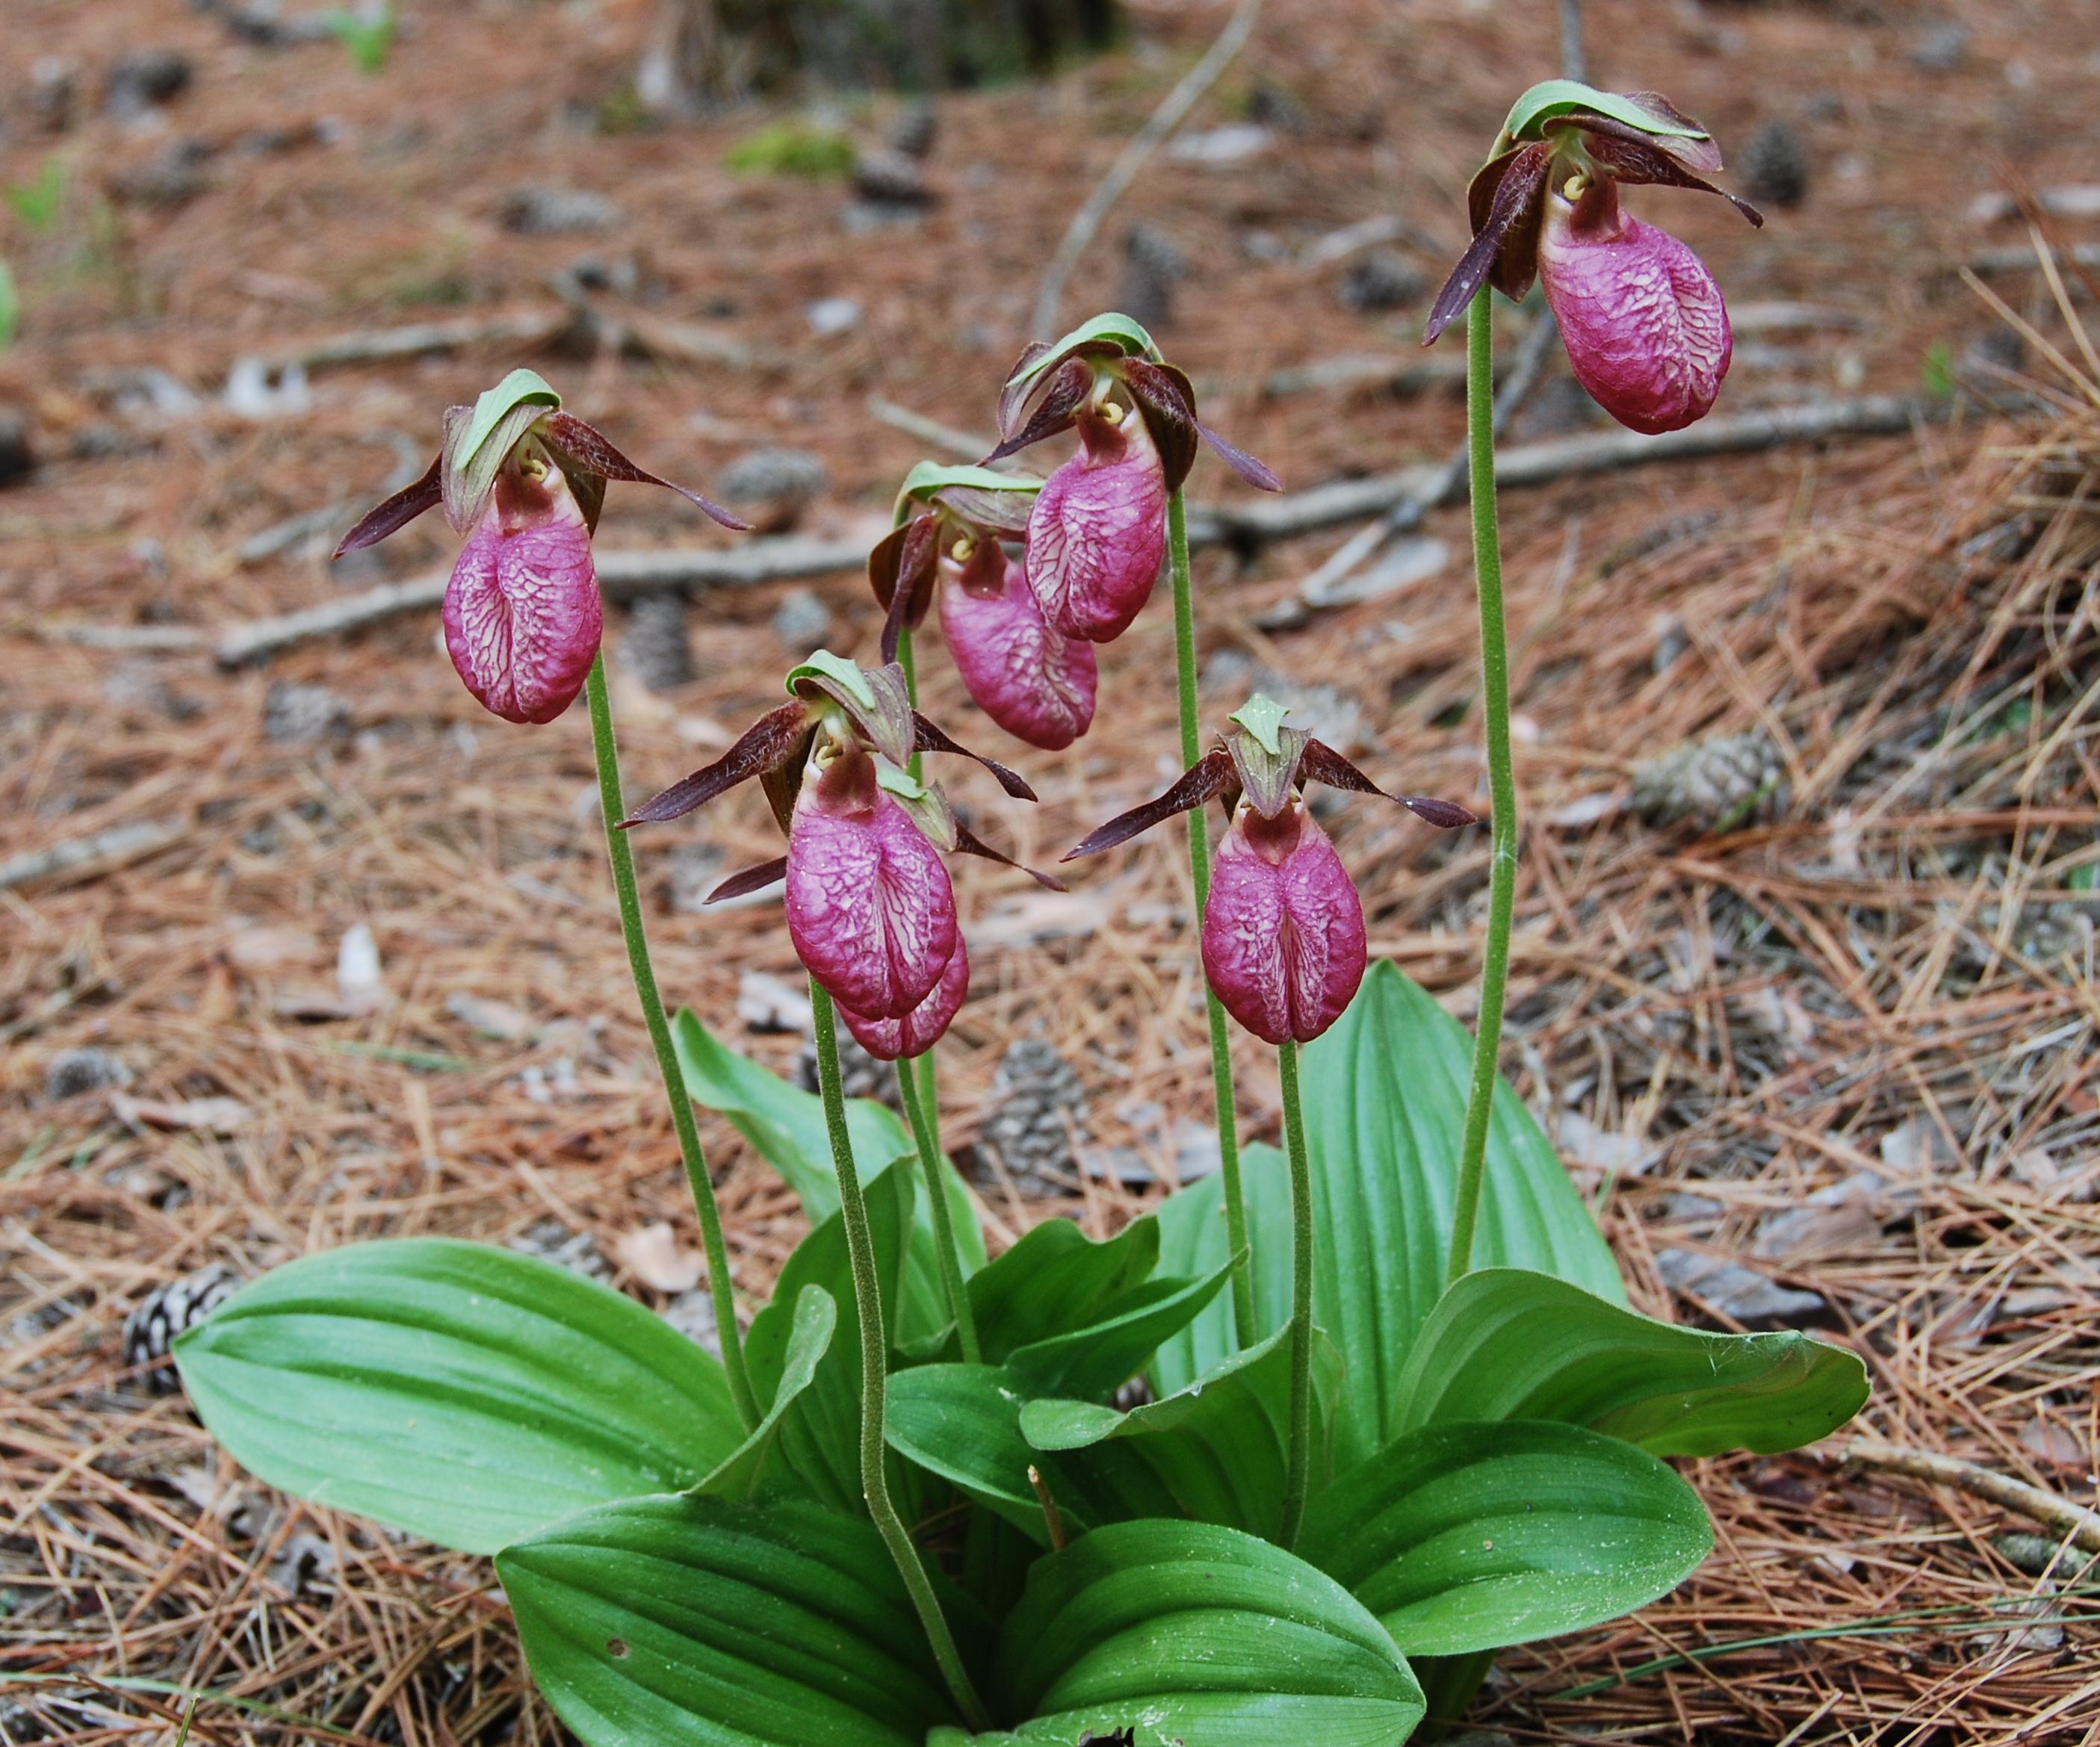
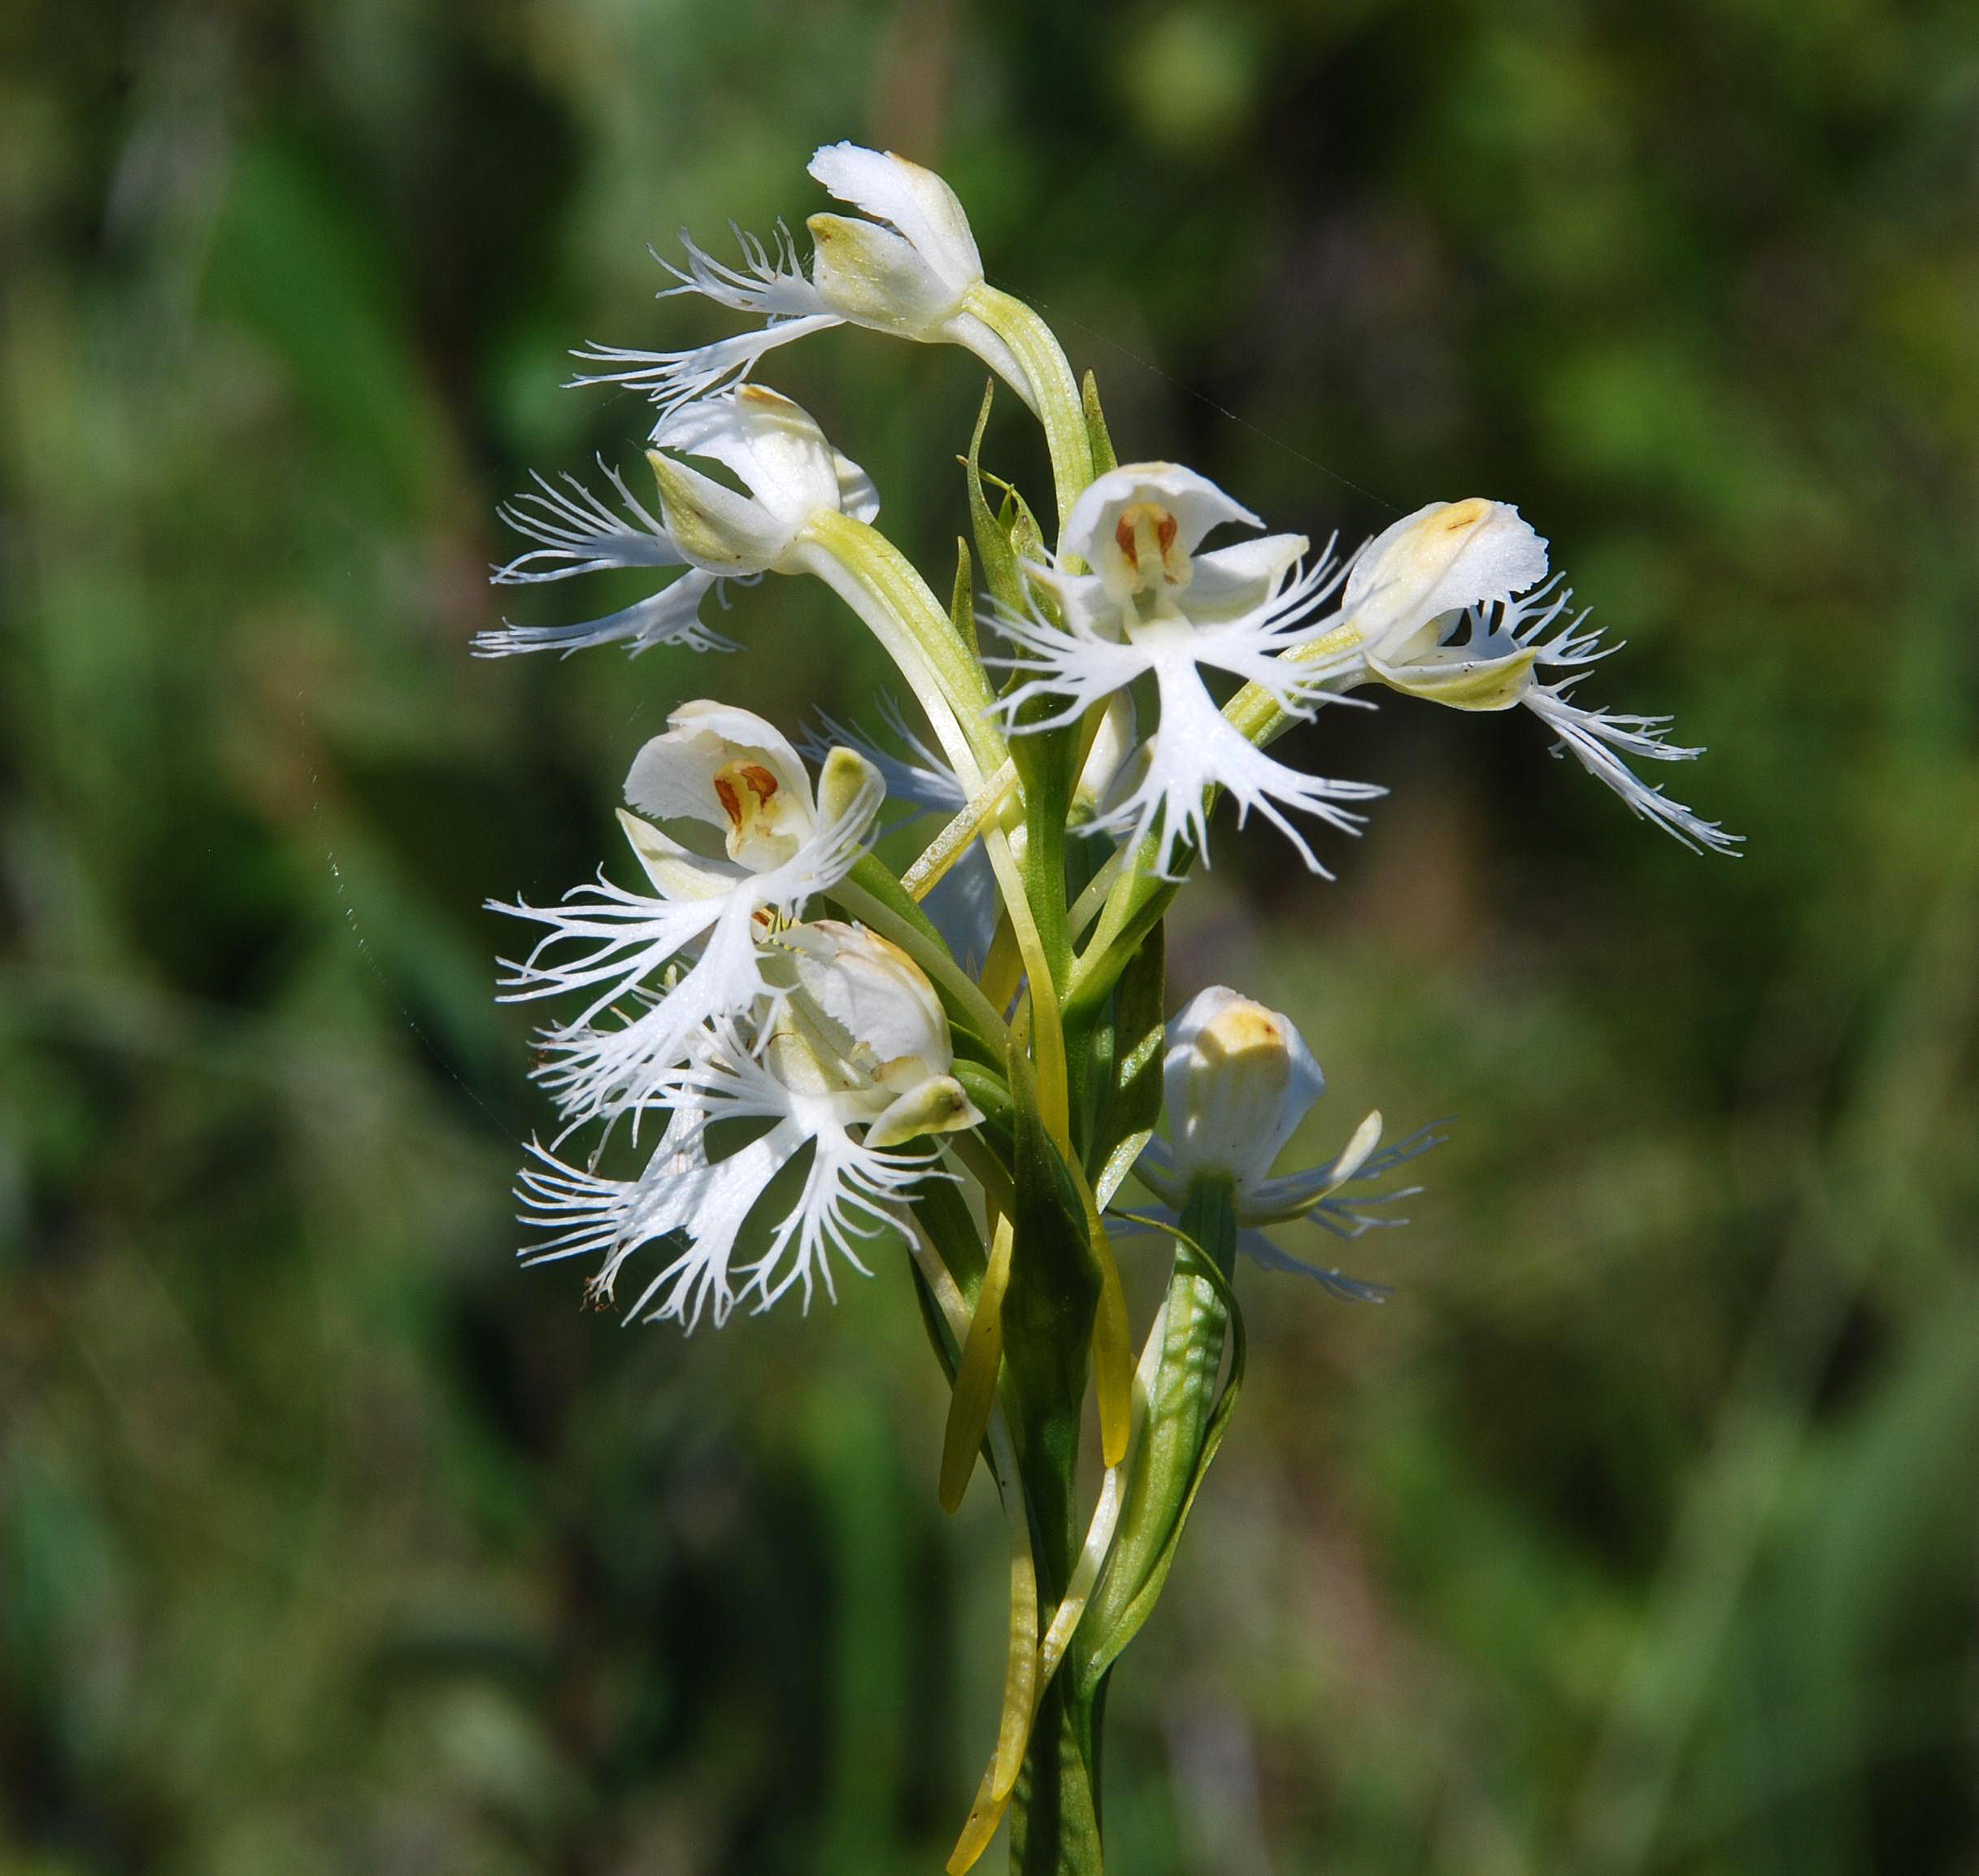
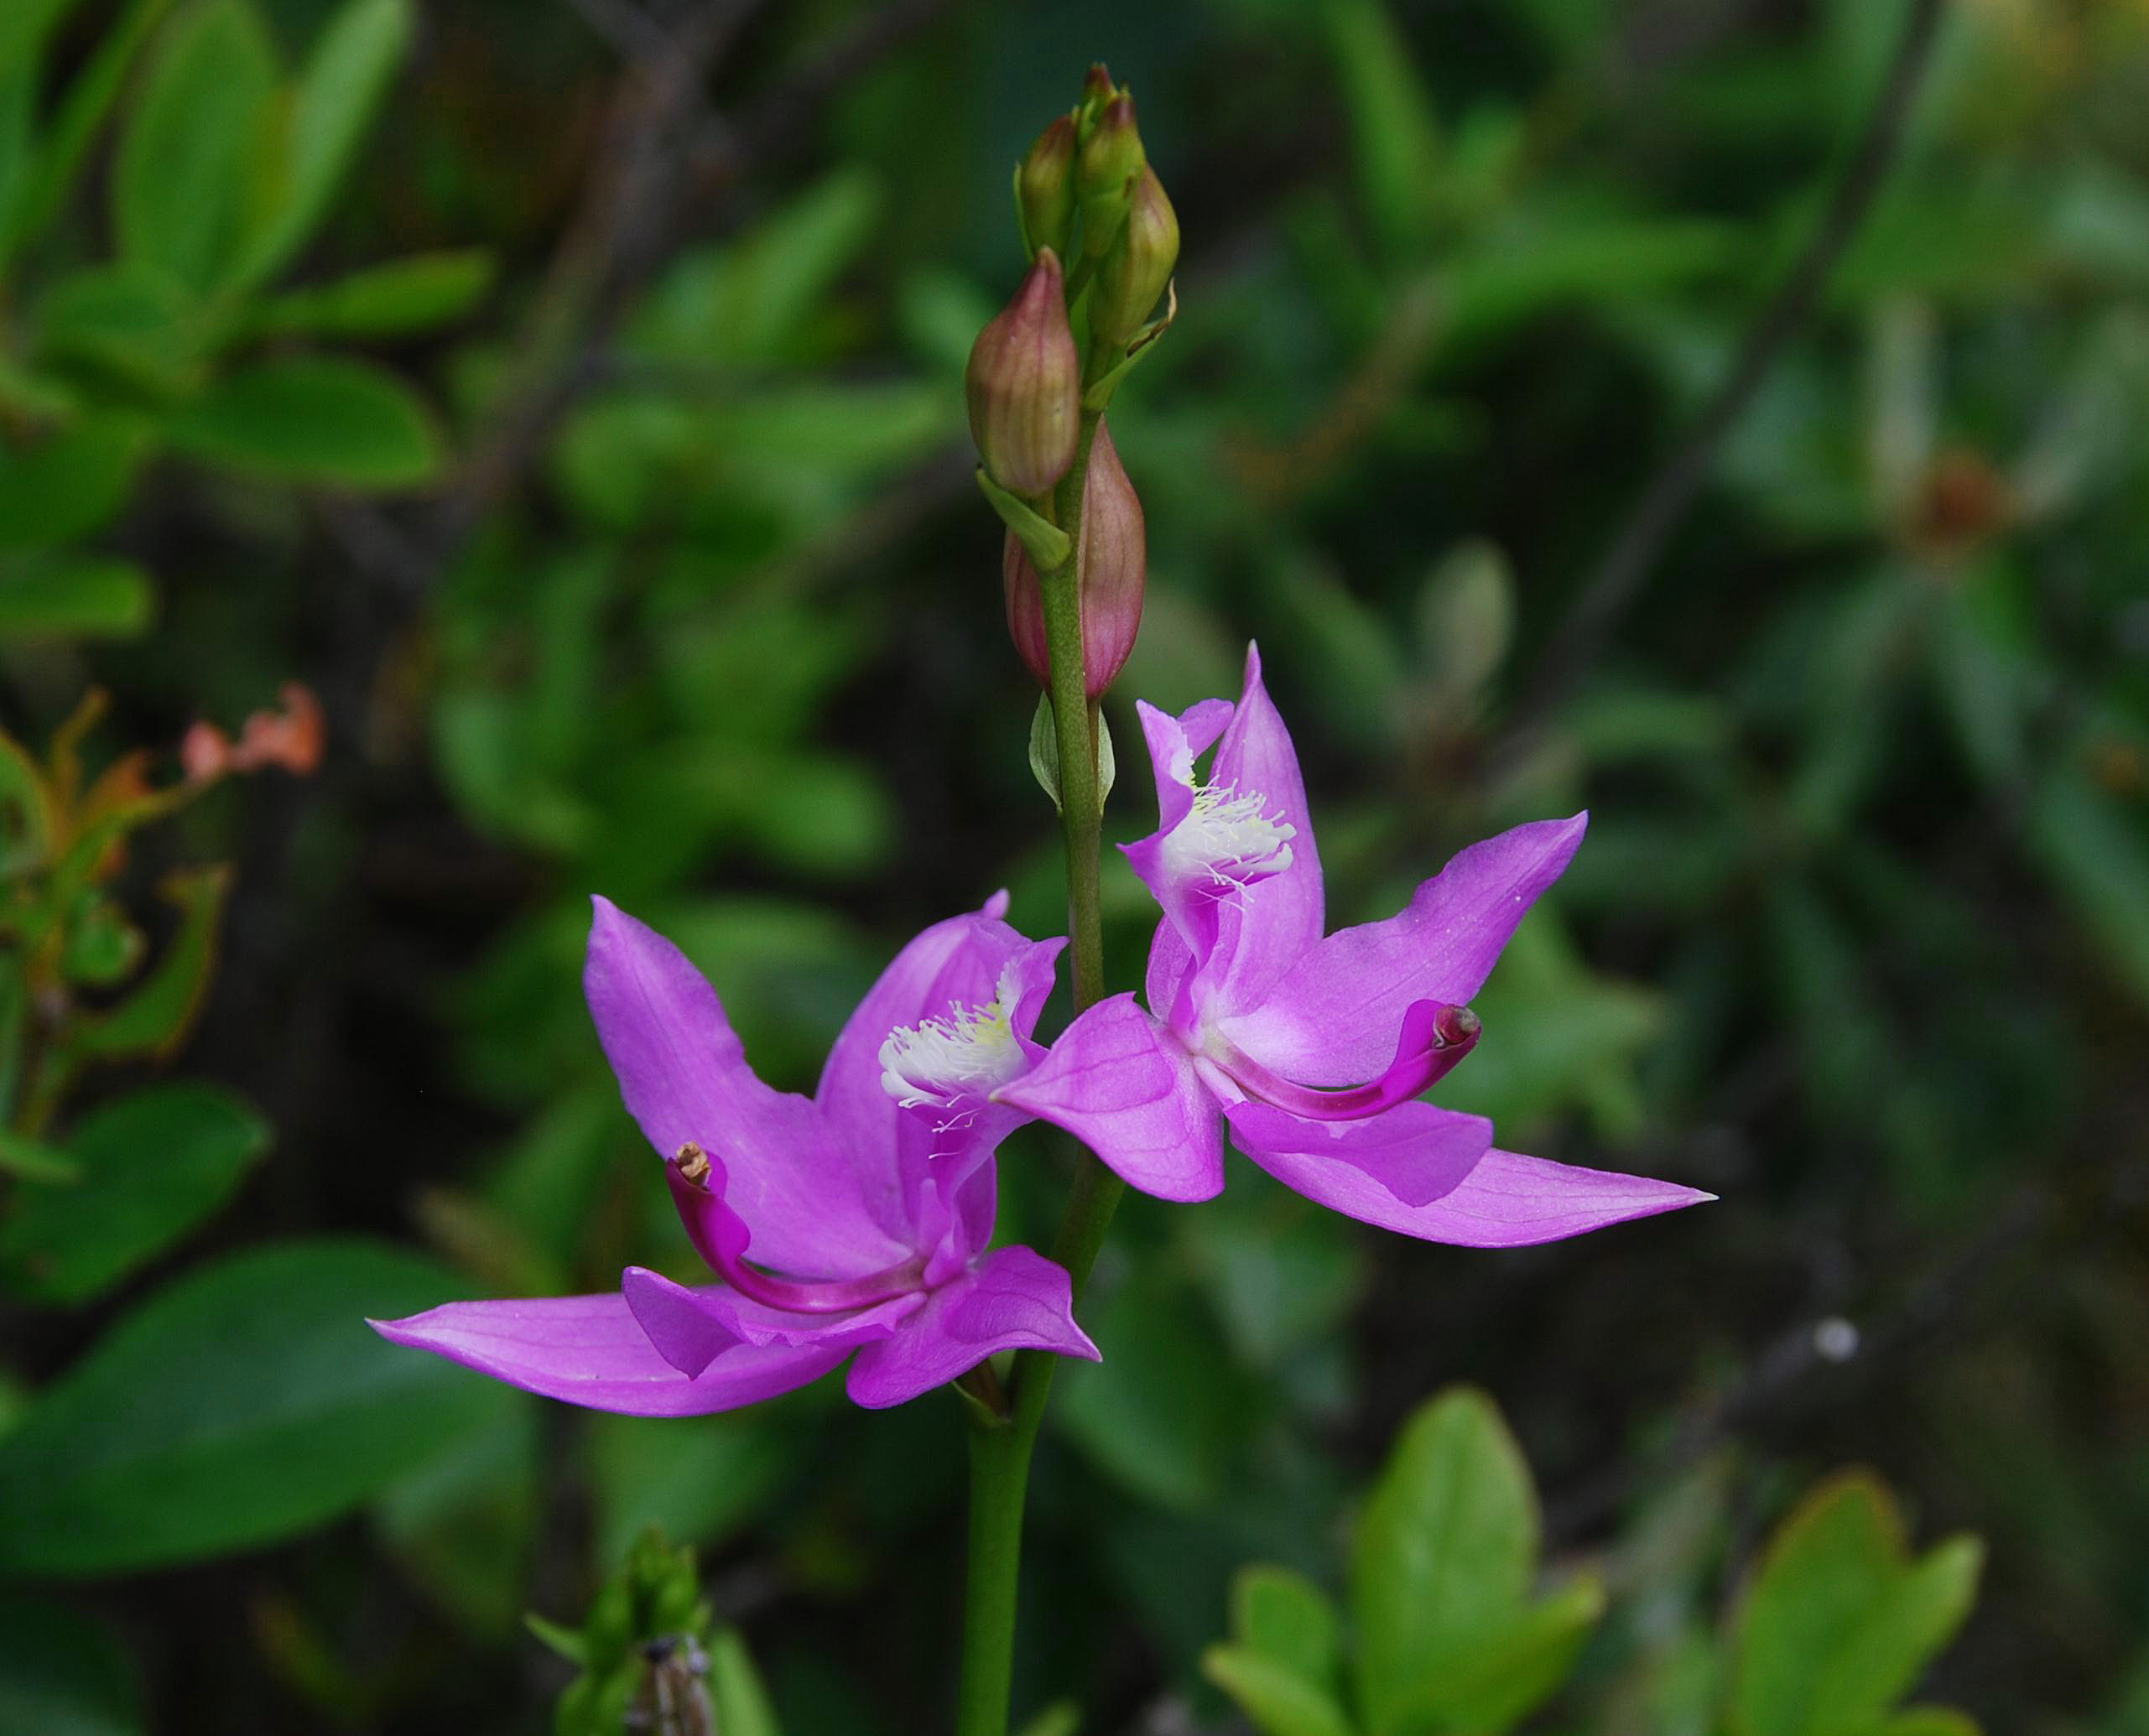
With this situation in mind, we provide in this section only an abbreviated series of notes concerning the identities and typical habitats of some of our native orchid species. The photographs show flowering, and in most cases also fruiting, plants, to assist in their recognition at all stages of their annual life cycle. Note that the fruits of all our native orchid species are capsules, each containing huge numbers of tiny seeds; when mature, the capsules eventually become dry and split longitudinally to release the seeds. The ripening dates cited are when (closed) mature capsules are normally present; average dates when they split open to release the seeds are often up to a month or more later.
To return to the Species List for this group, Click on the Orchids box above.
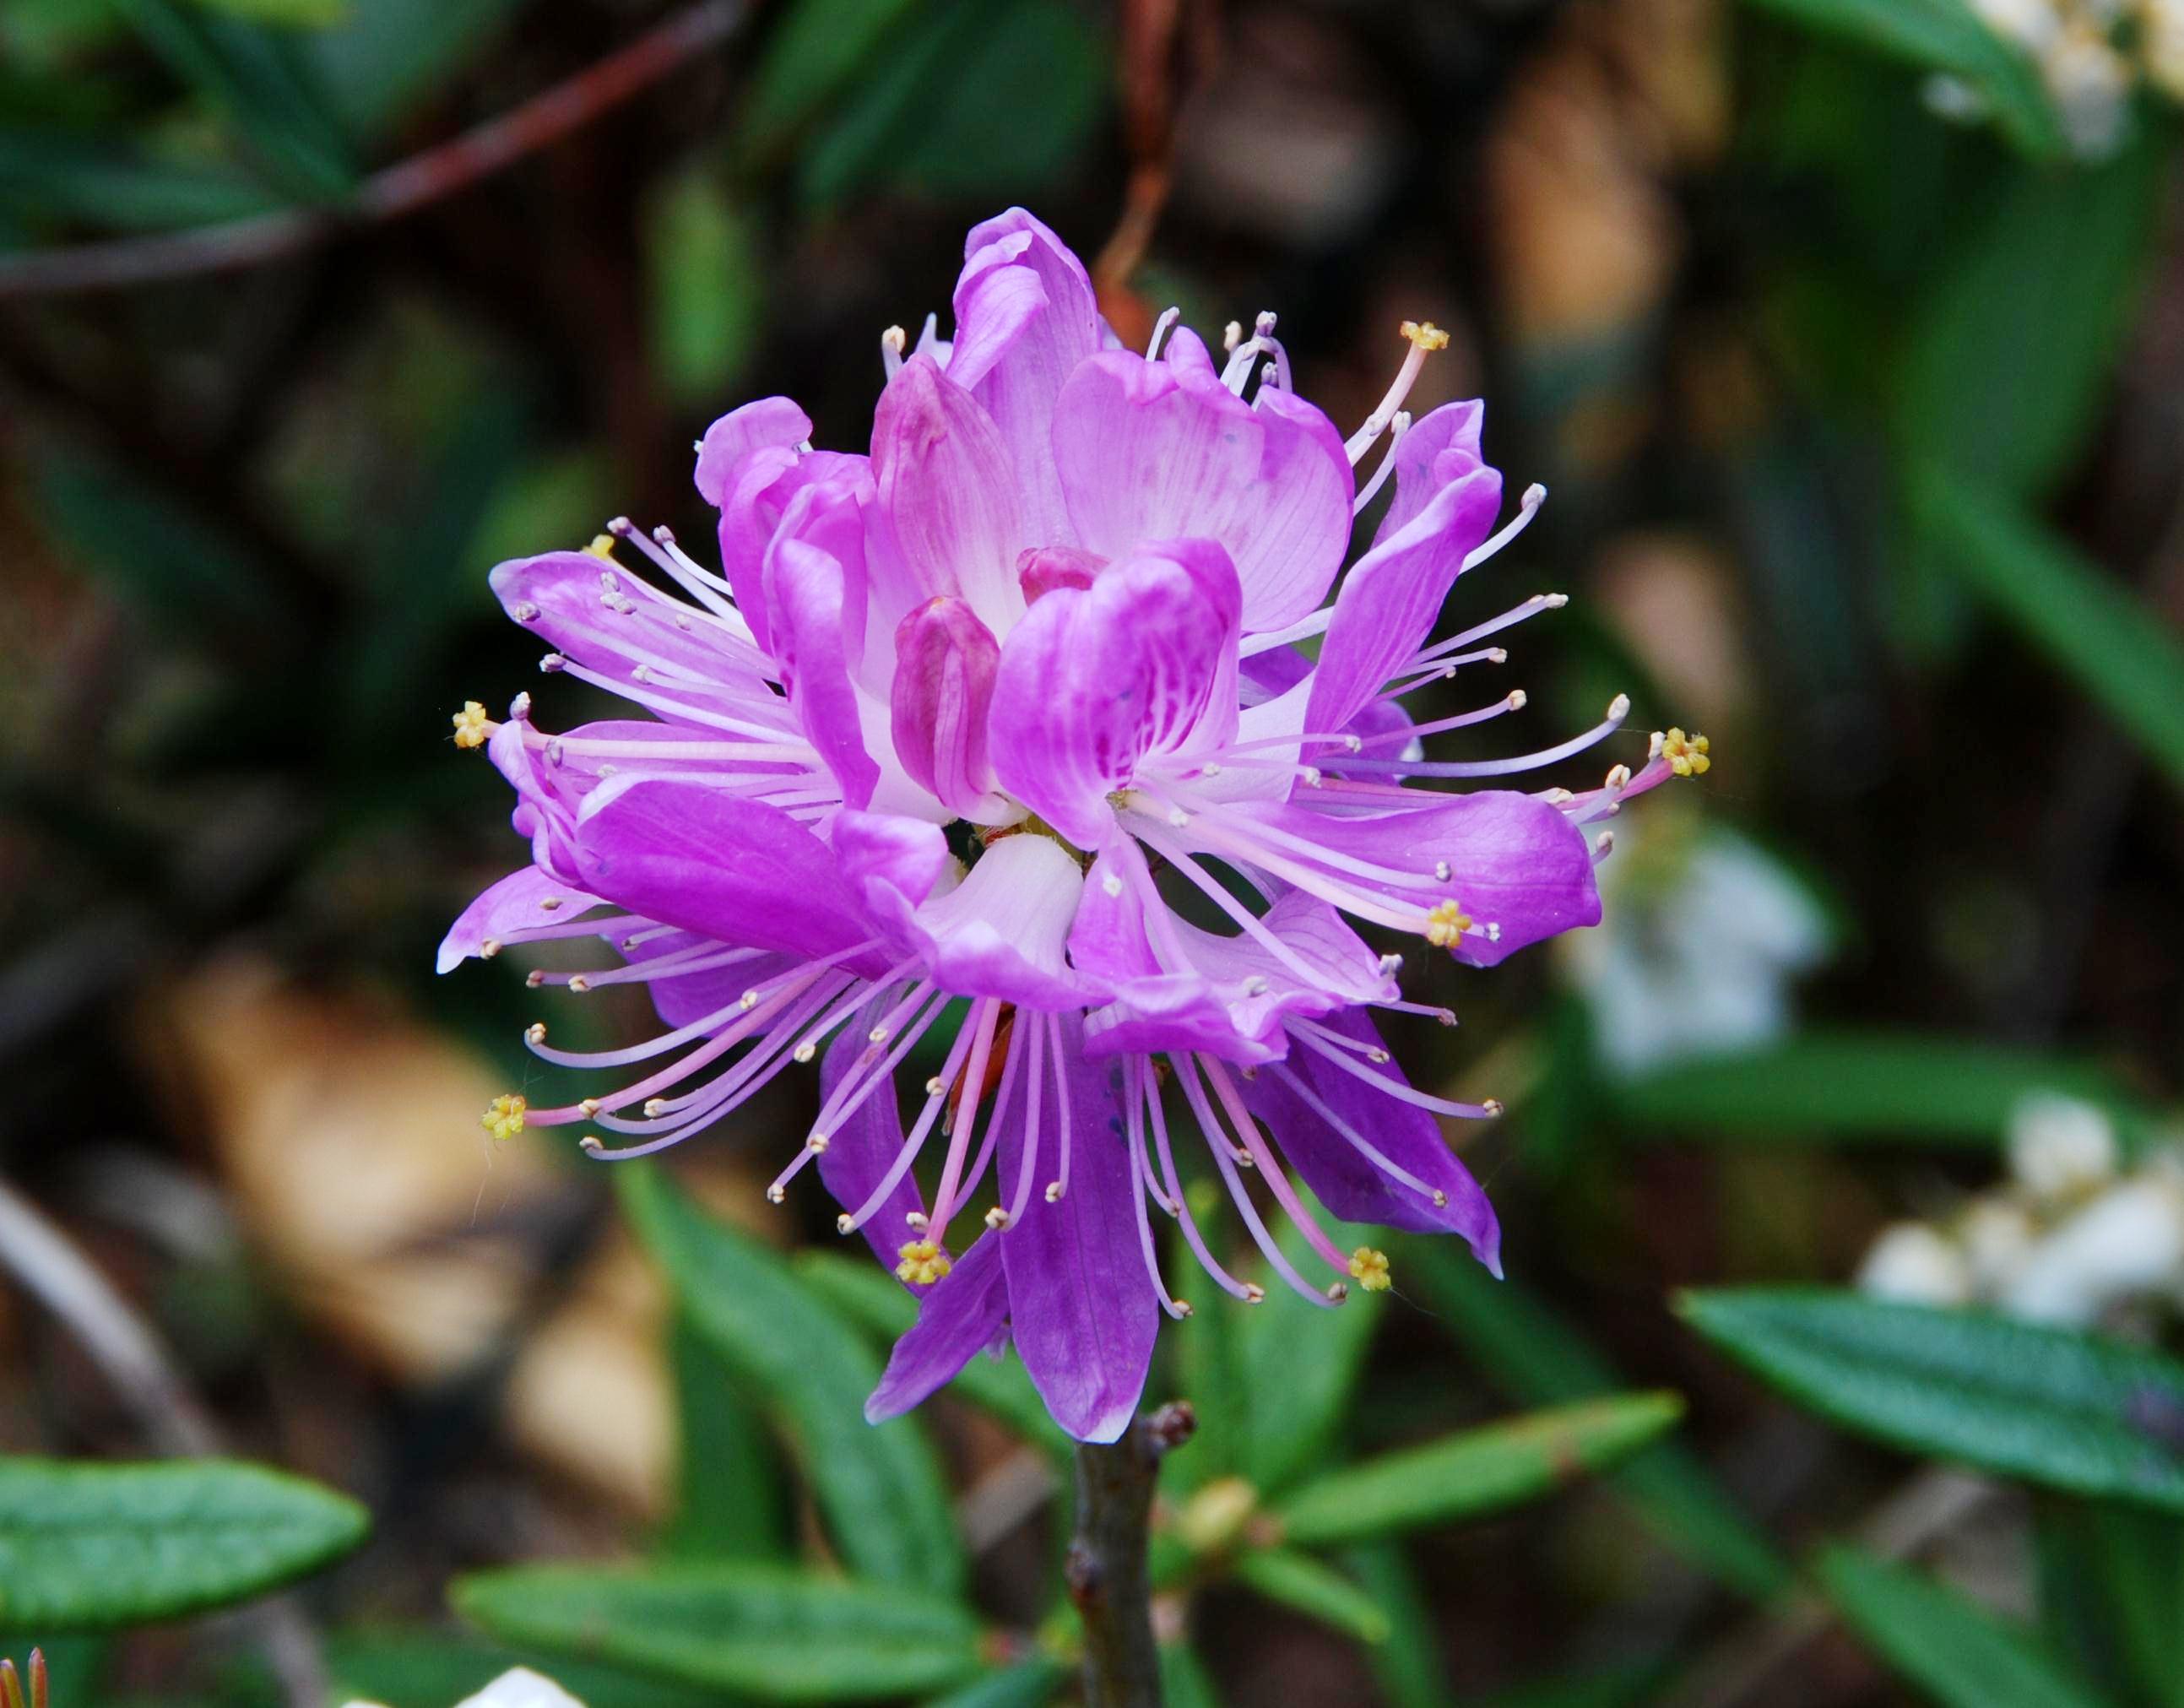
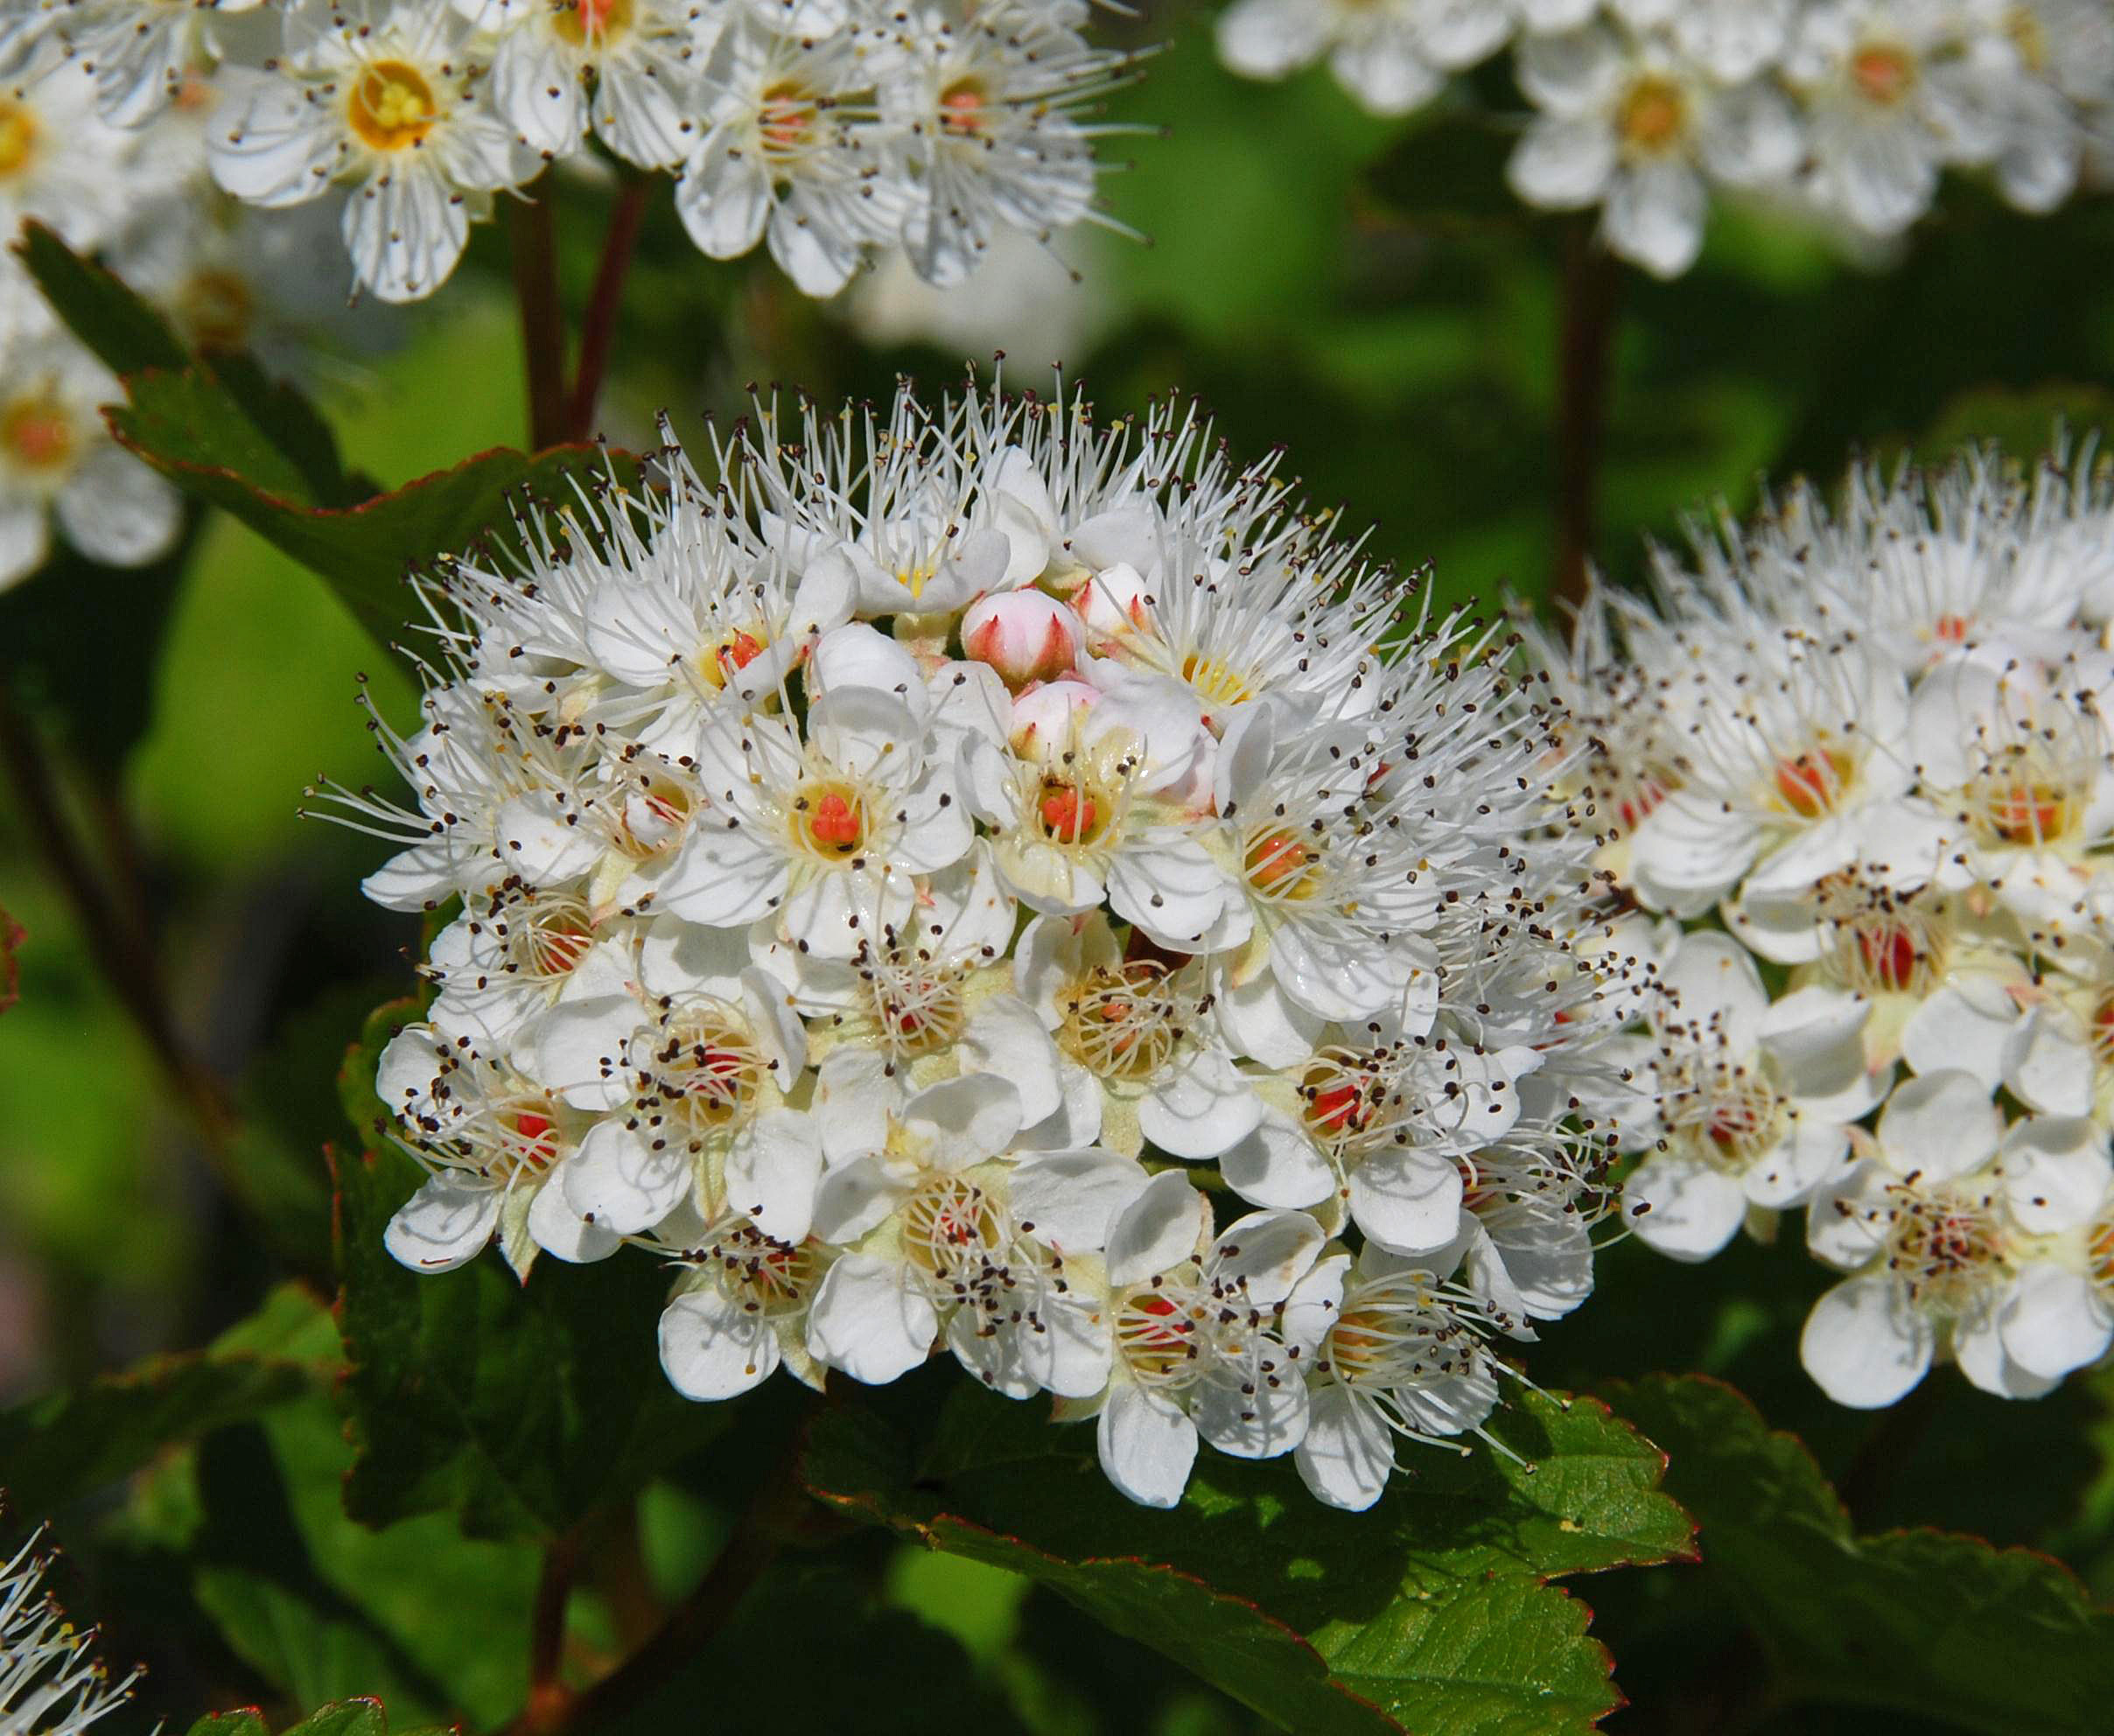
SHRUBS AND SUB-SHRUBS
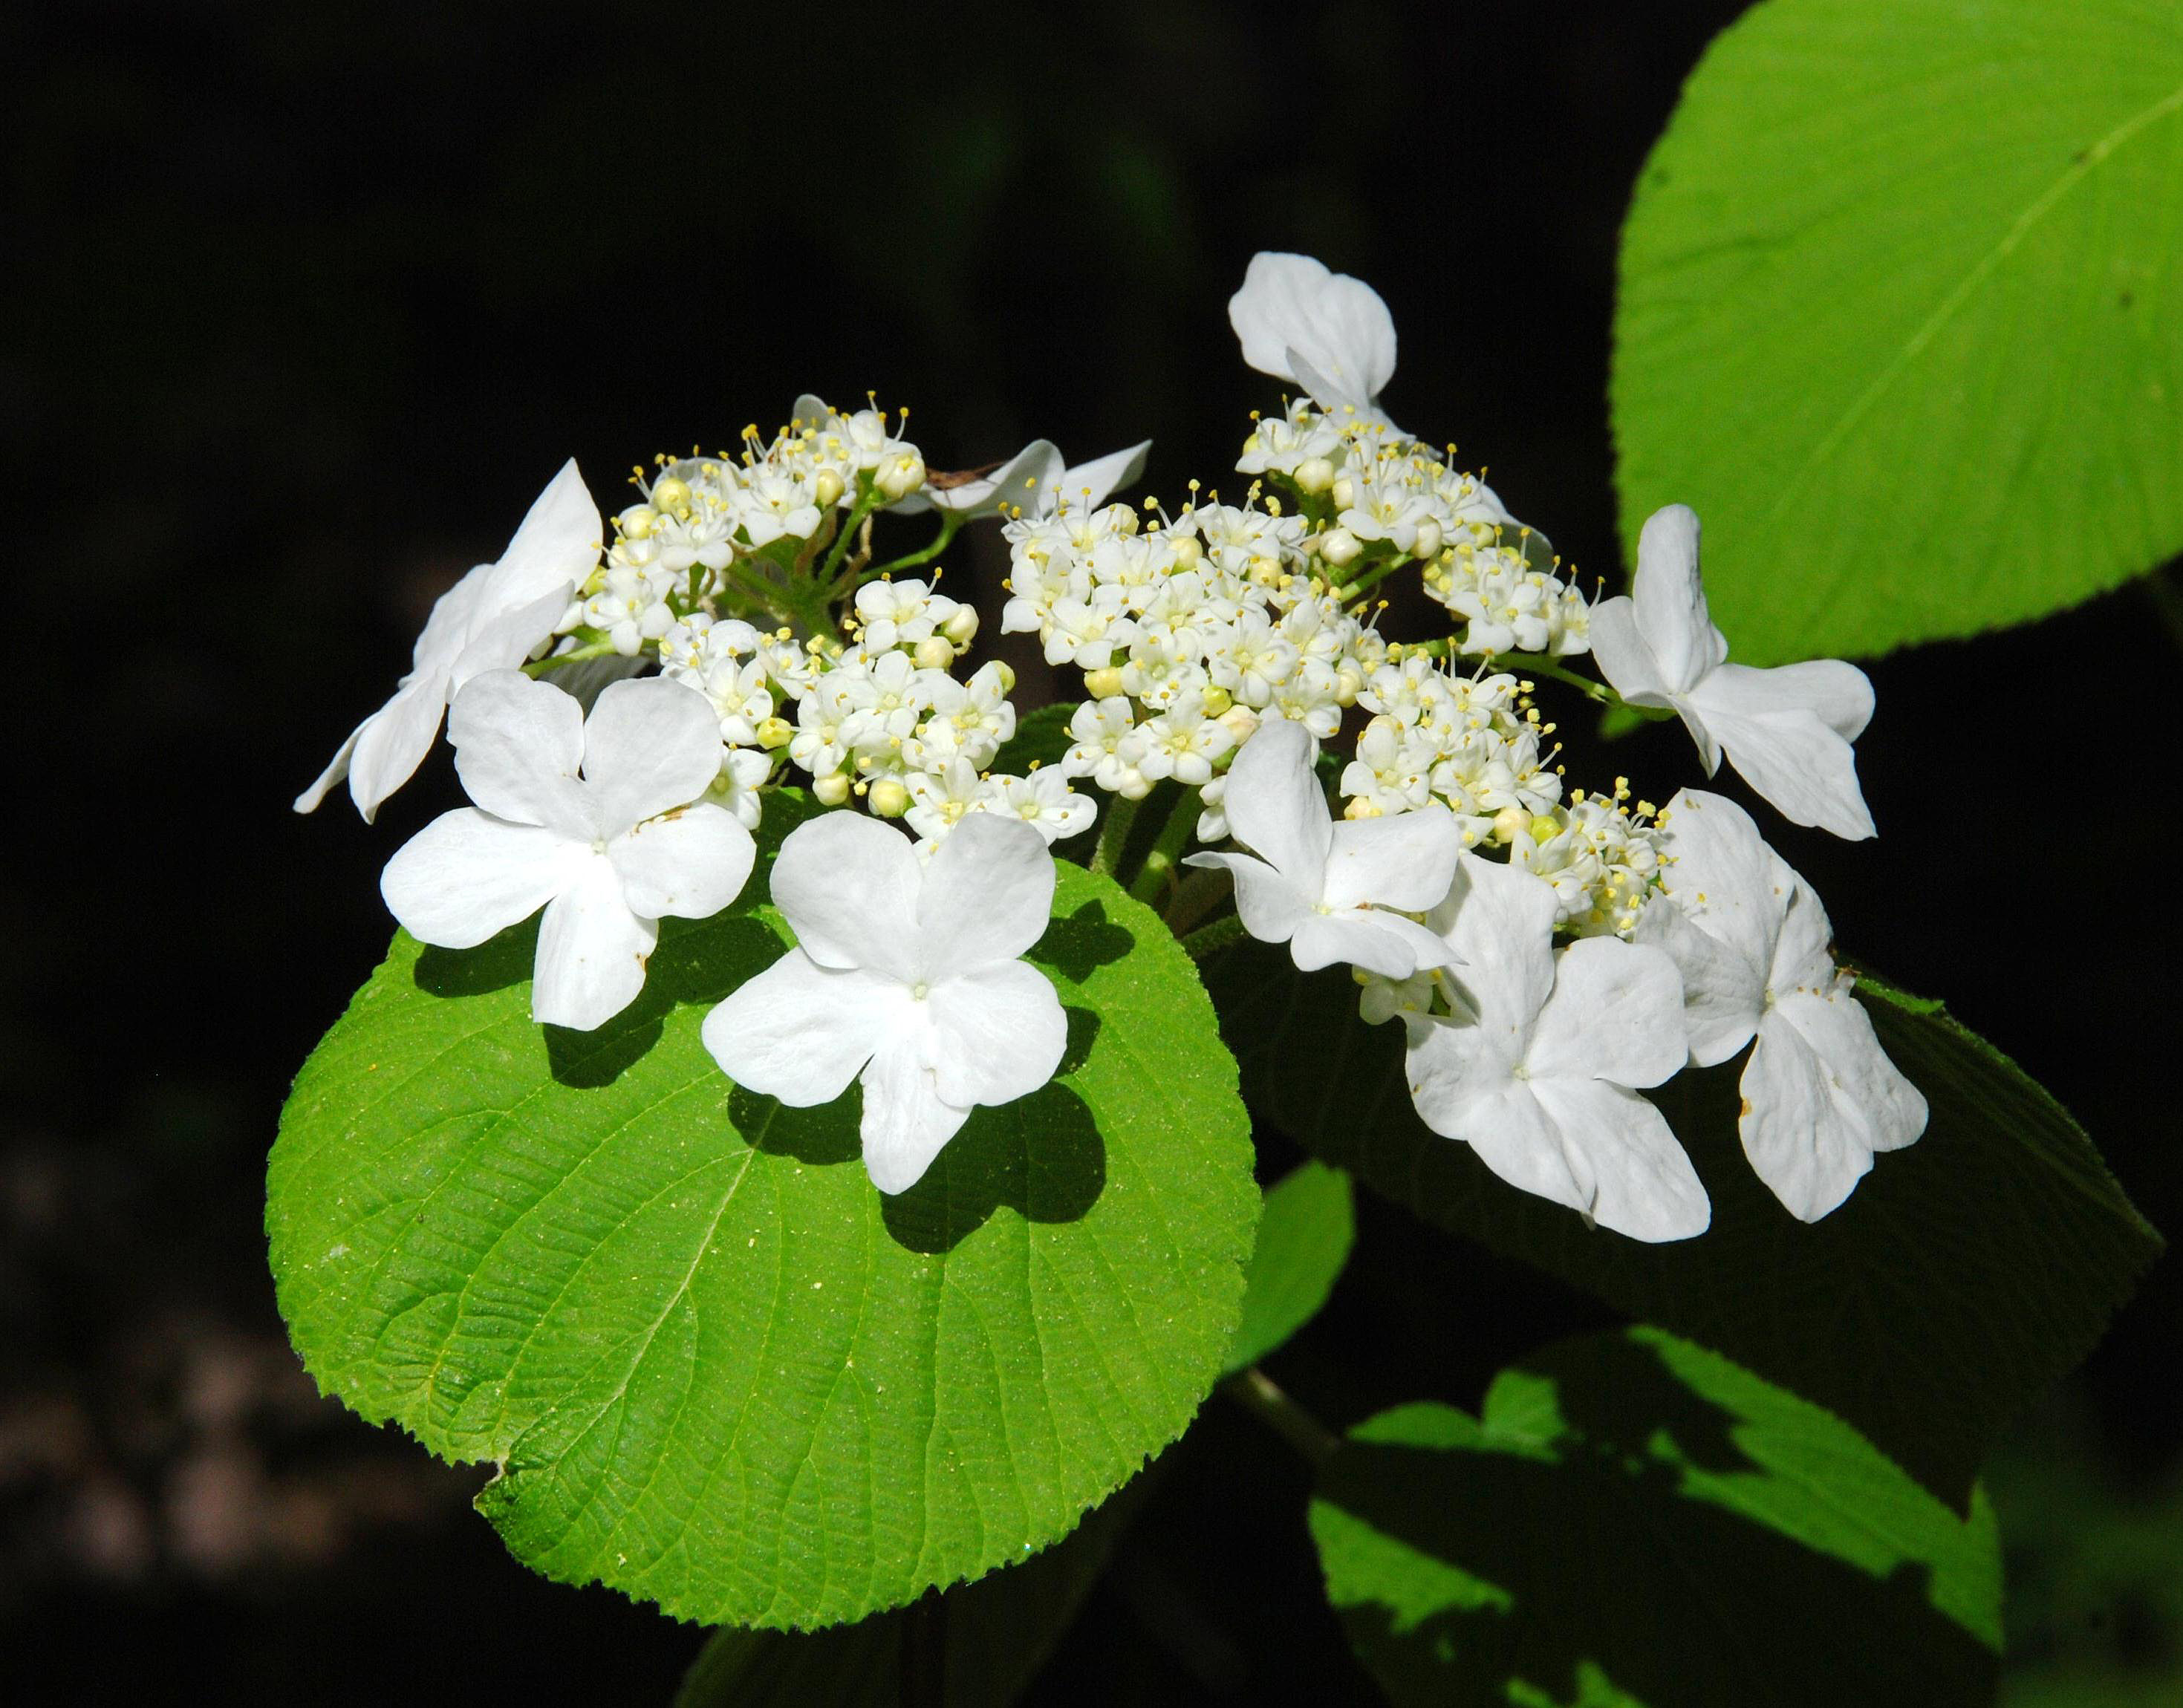
This group includes perennial, woody species that are normally encountered as multi-stemmed and/or much-branched shrubs, along with a number of partially-woody, often trailing species (the sub-shrubs); occasionally a few of the larger shrubs may attain small tree size and form on favourable sites.
Collection, handling and germination procedures vary among the members of this group; details for each species are given in the individual species notes.
To return to the Species List for this group, Click on the Shrubs box above.
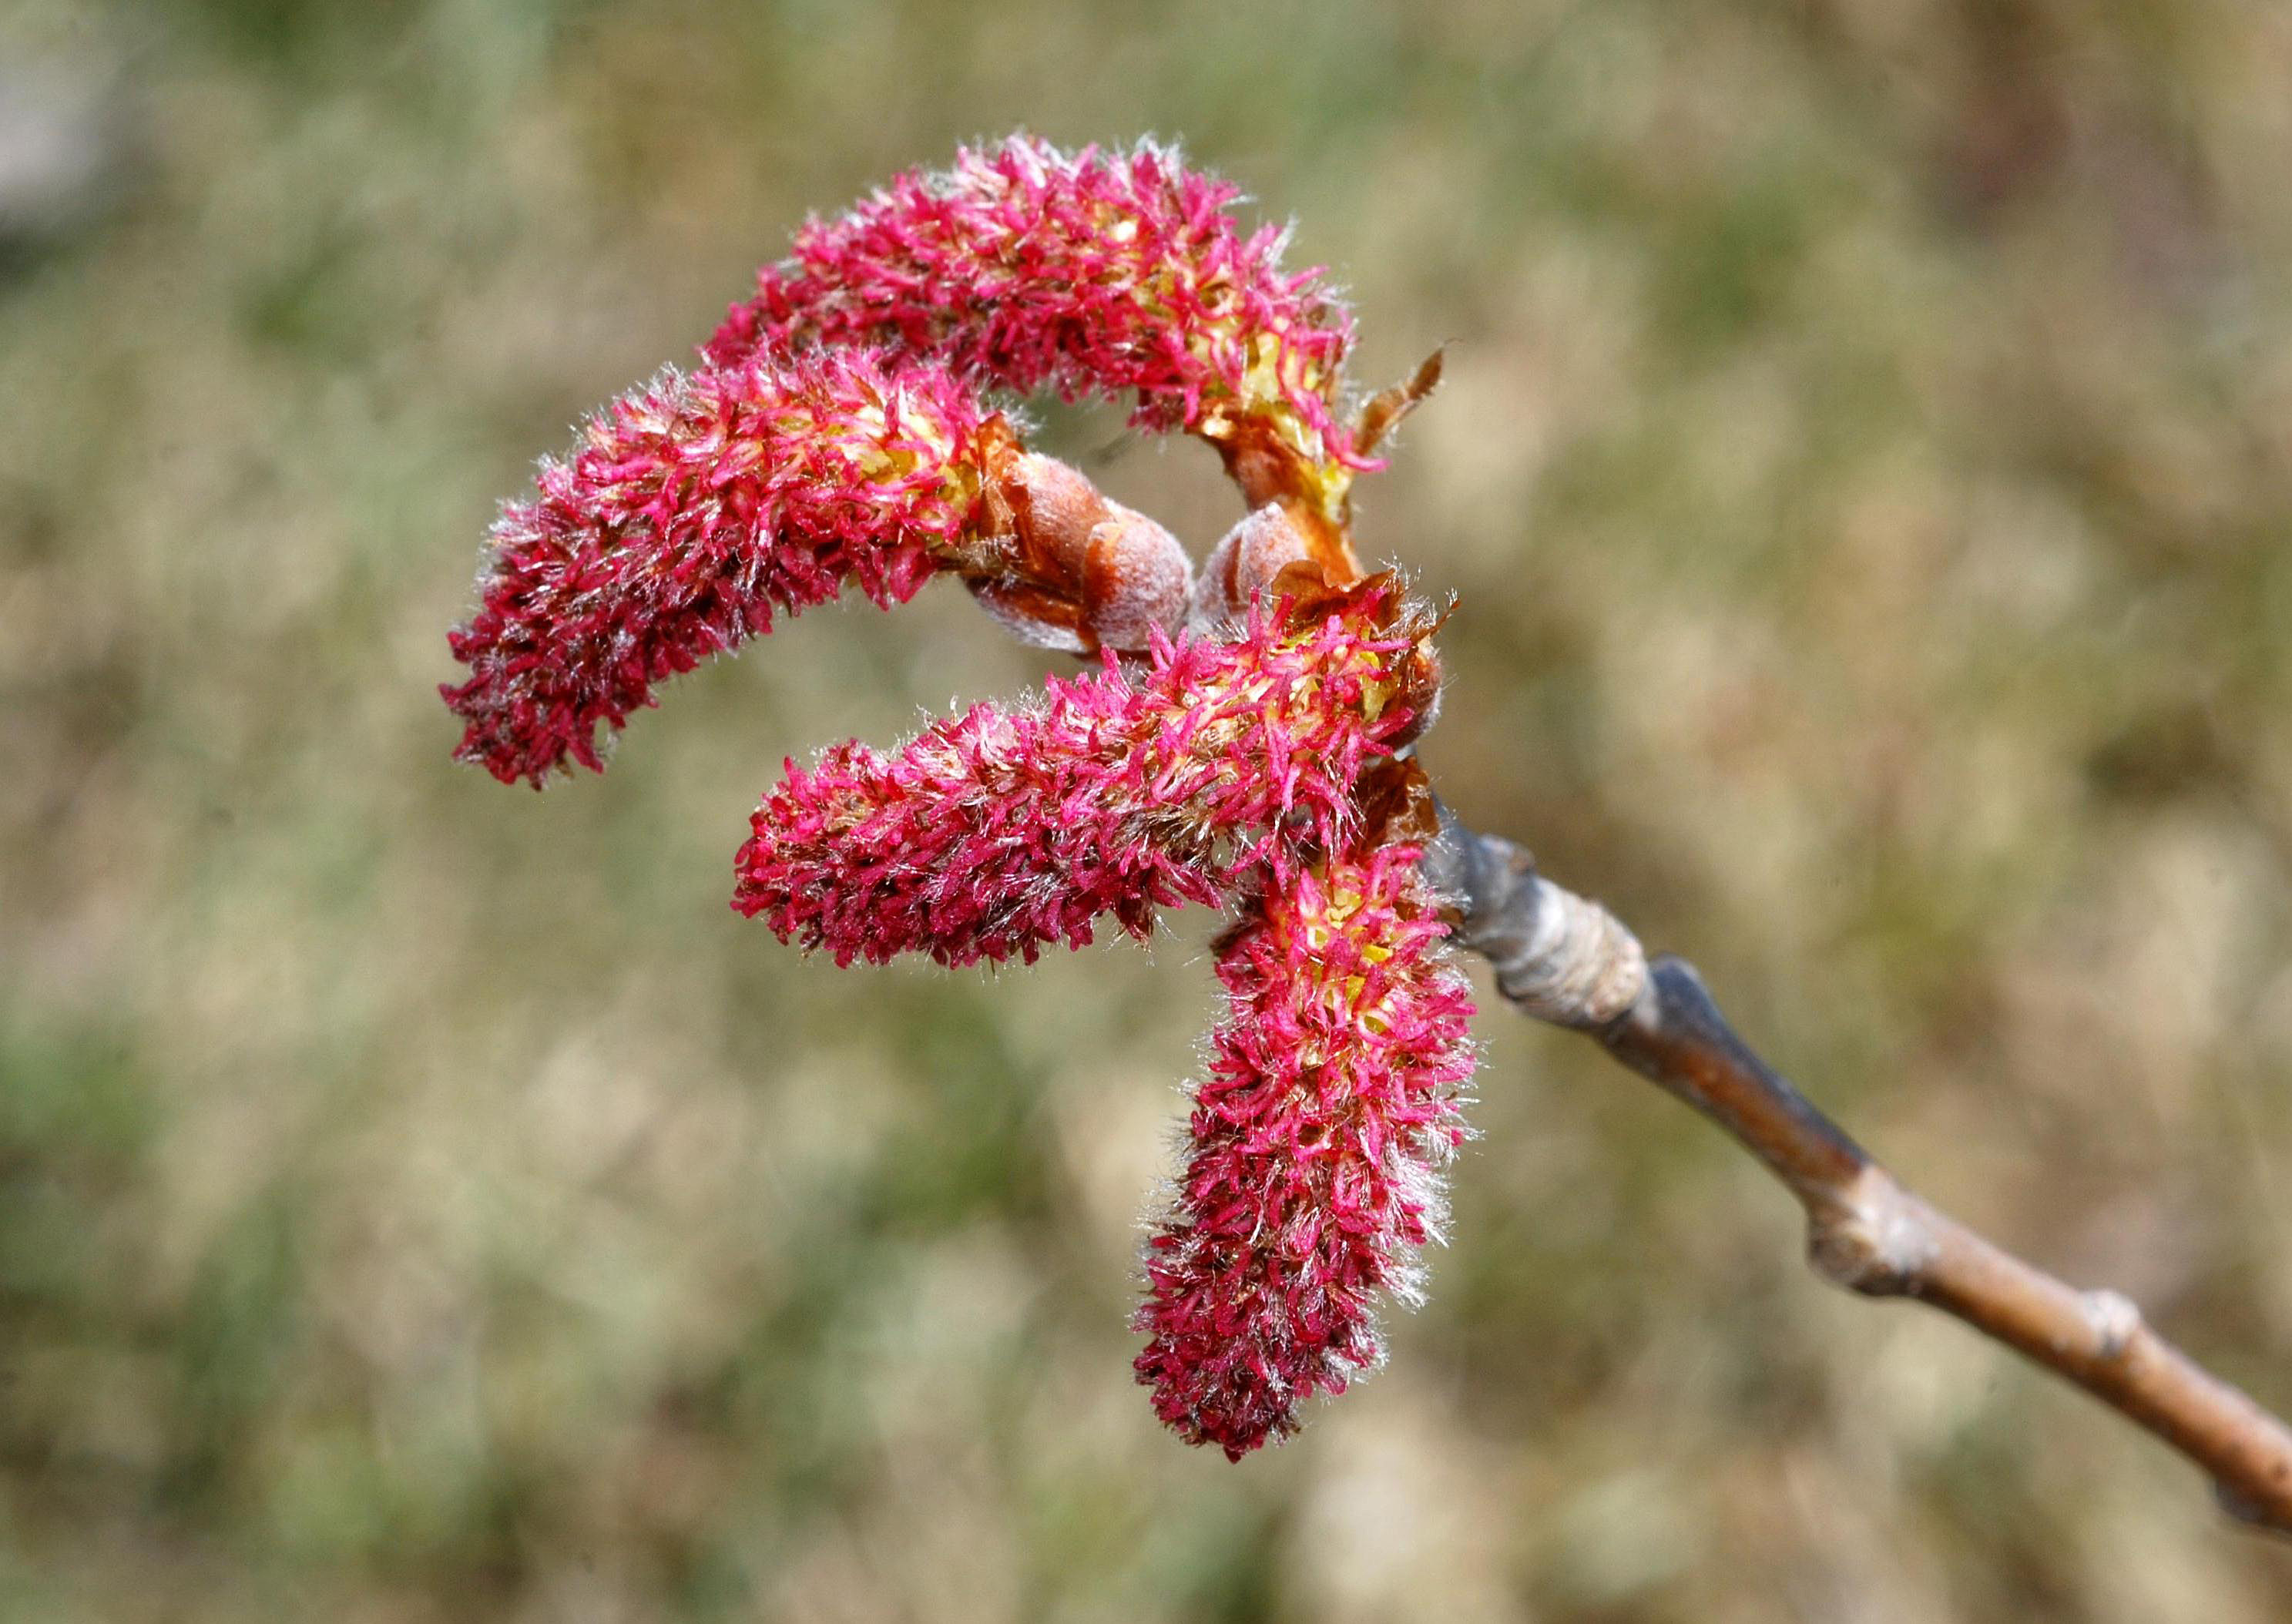
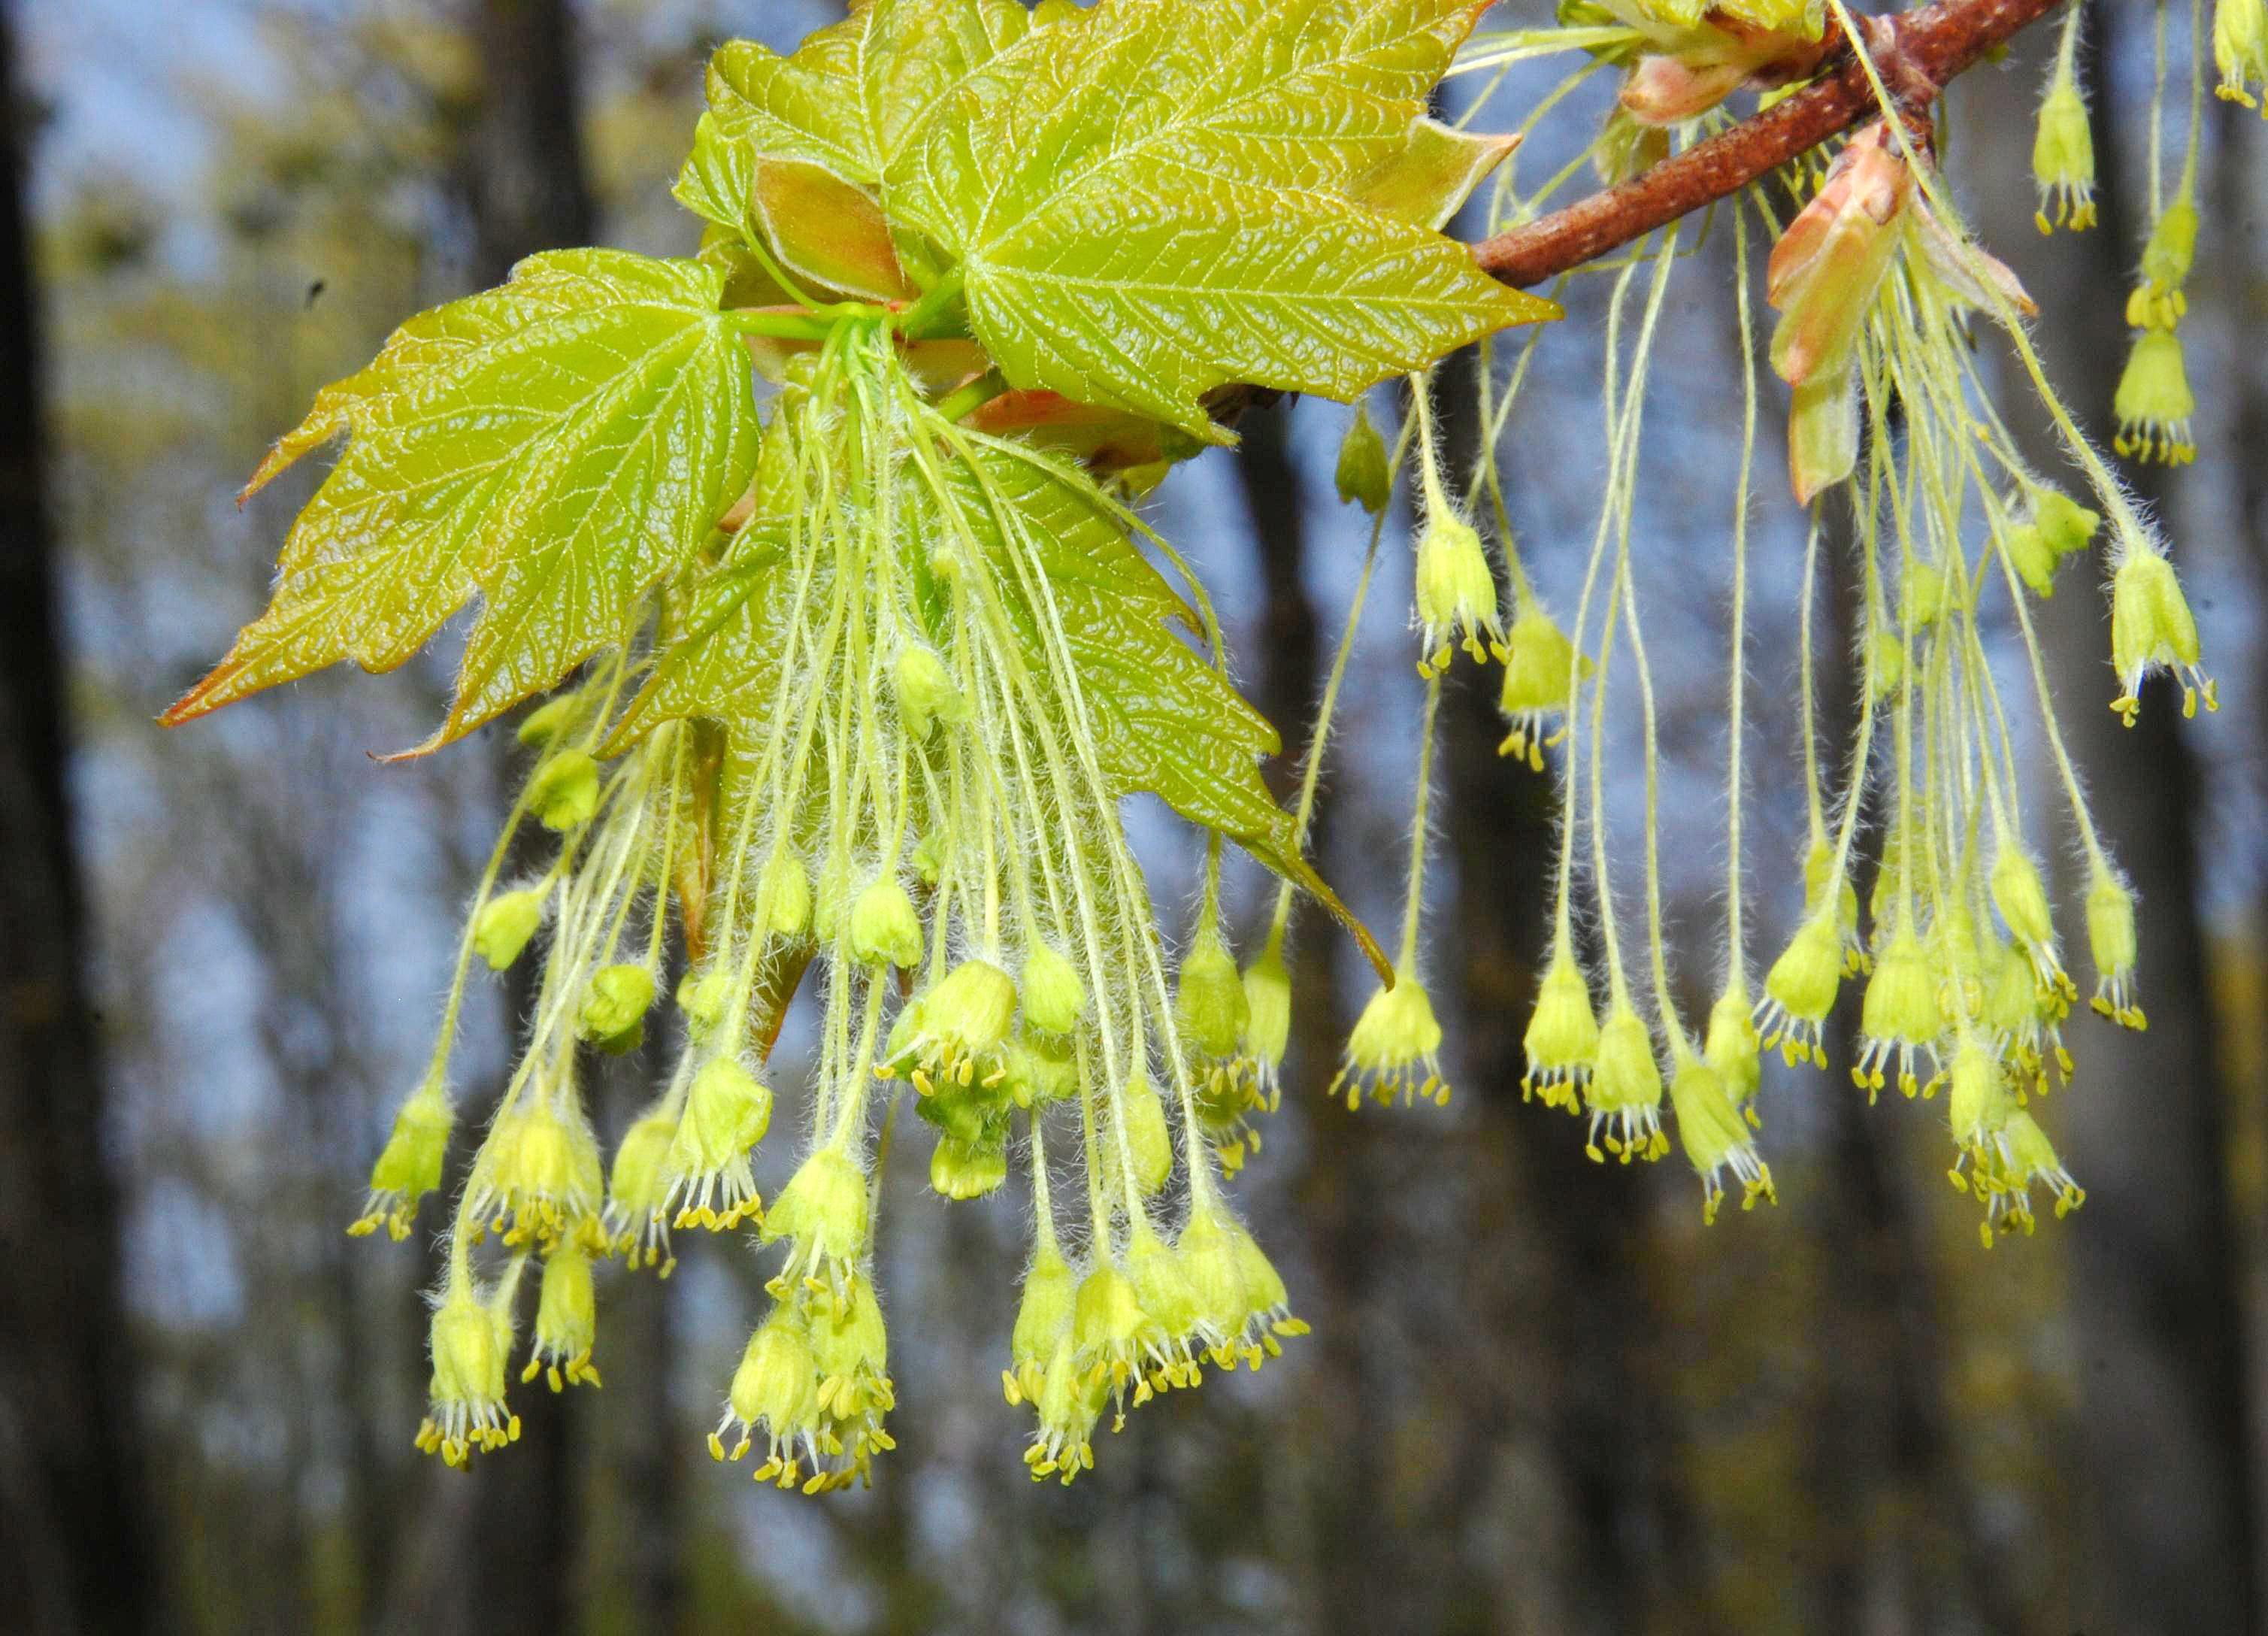
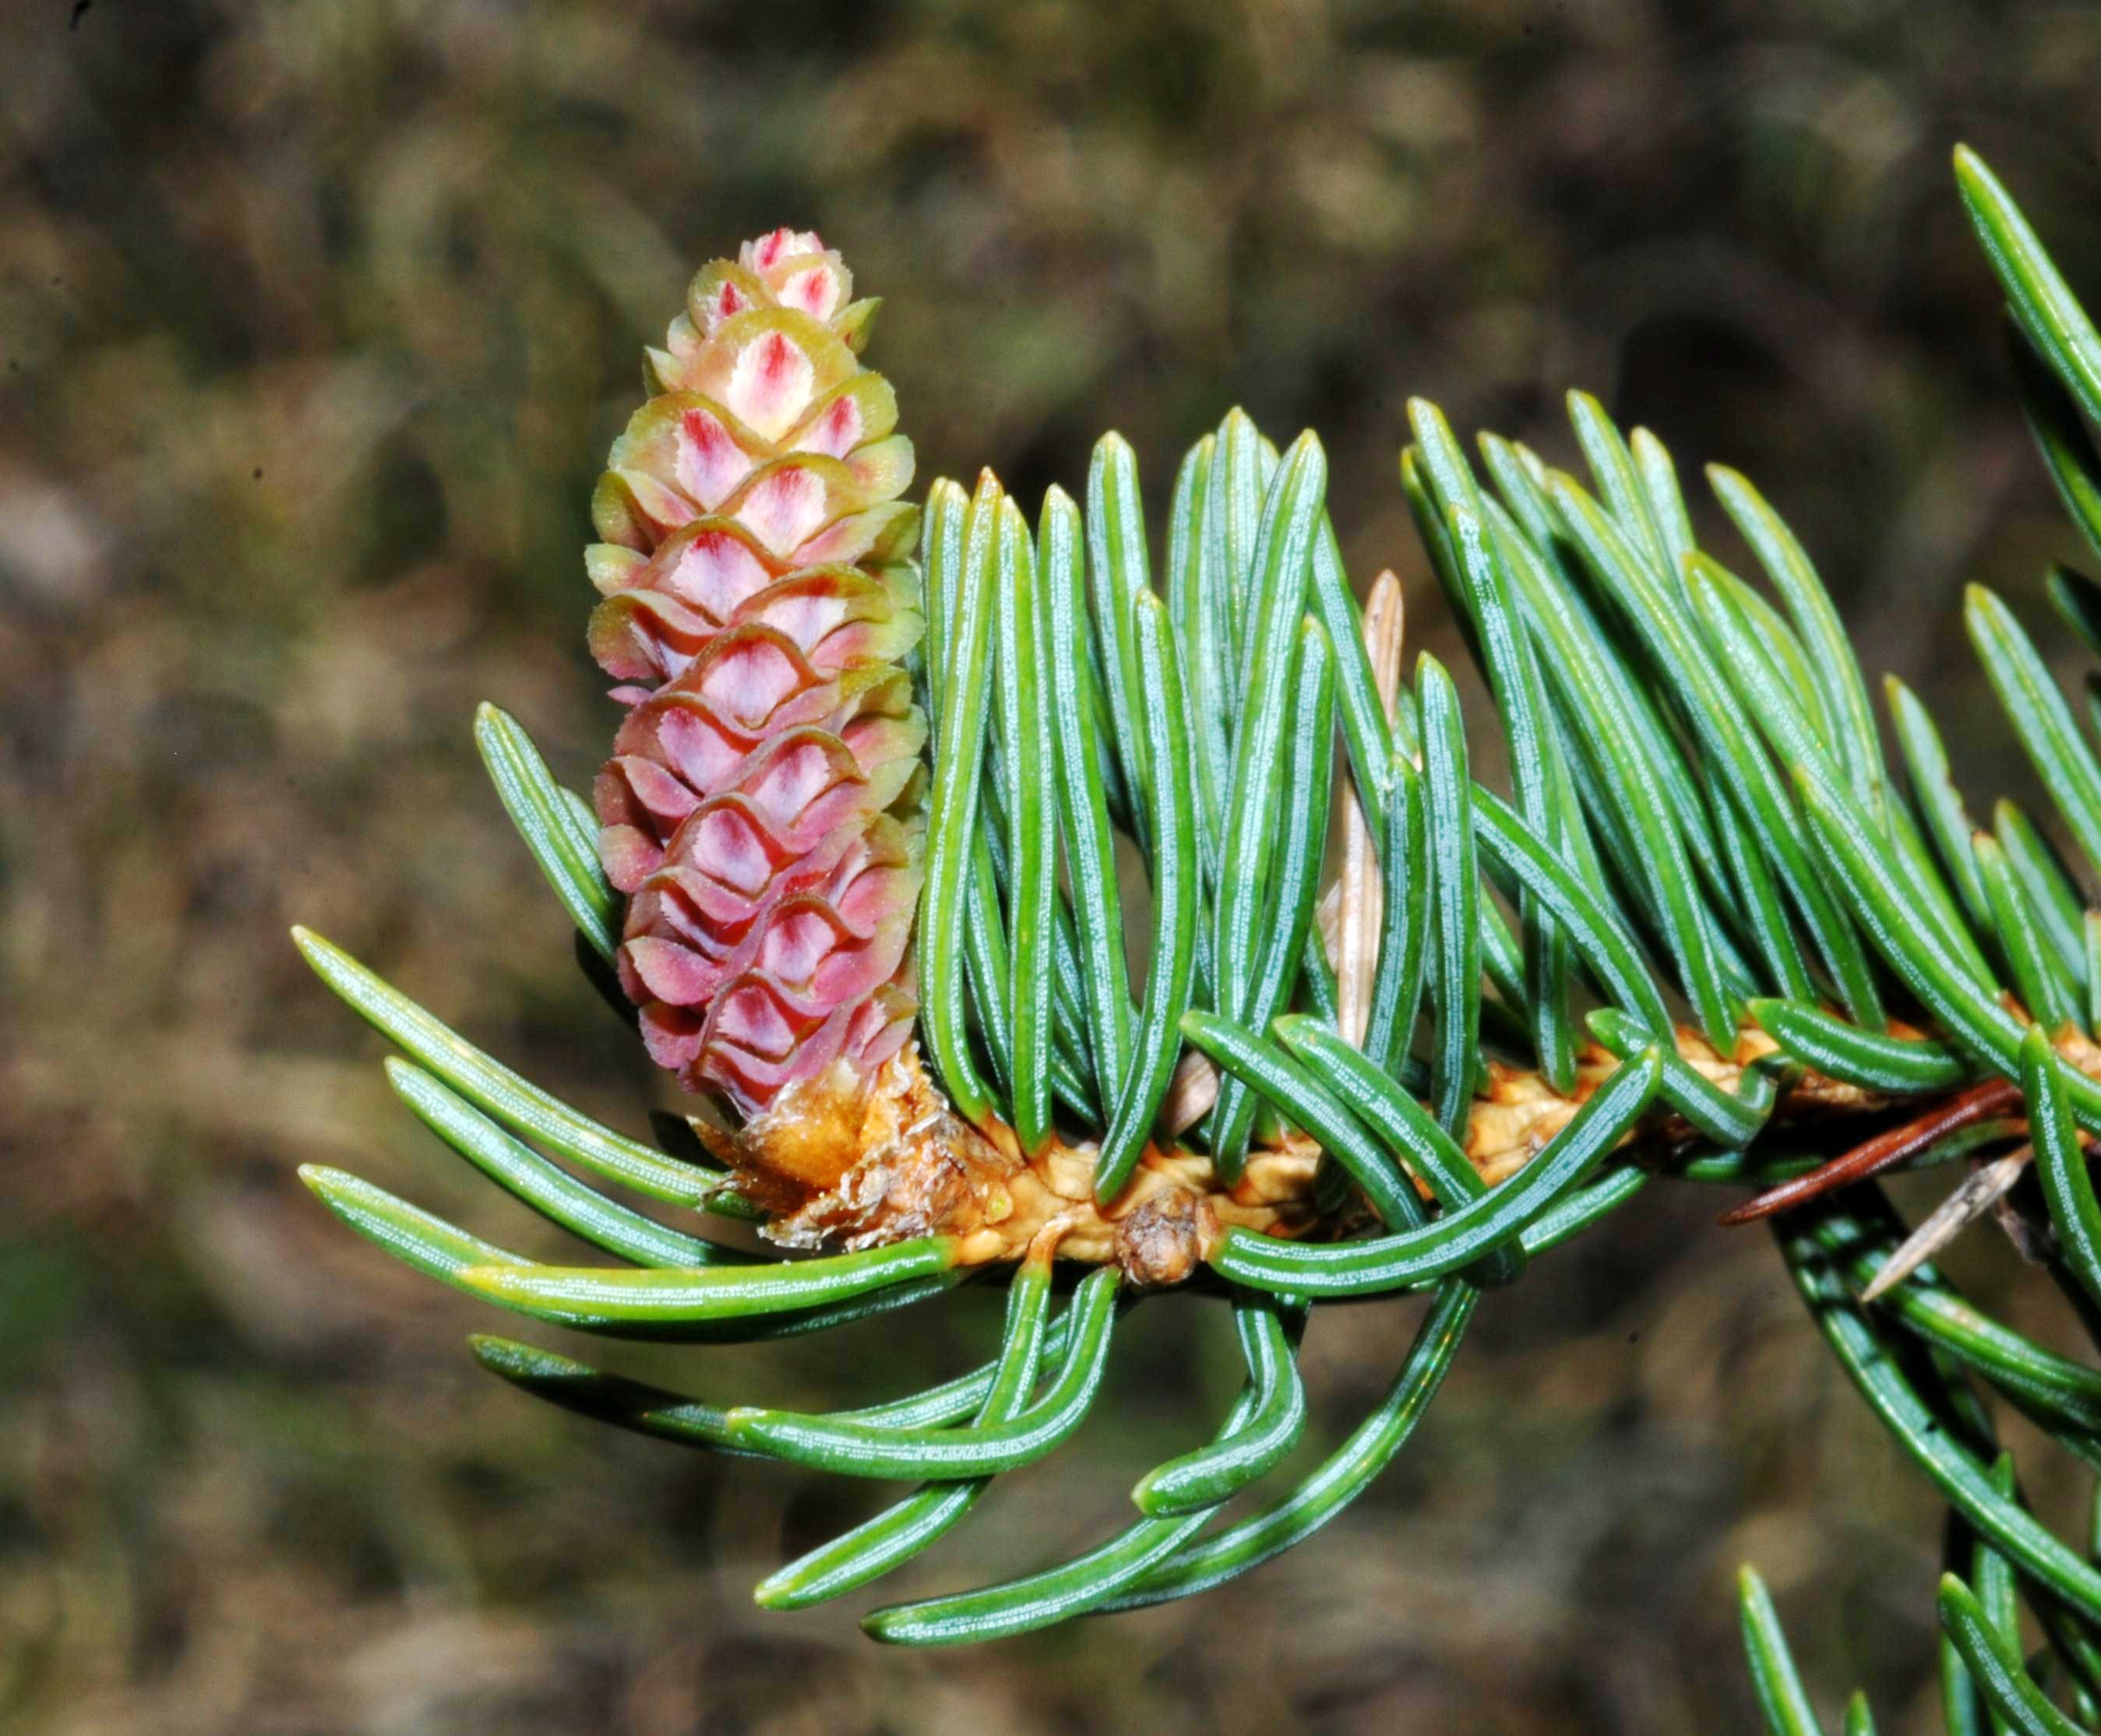
TREES
This group includes woody, perennial species that normally attain tree form and size; occasionally a few of them may be encountered as large shrubs on severe or impoverished sites.
Collection, handling and germination procedures vary among the members of this group; details for each species are given in the individual species notes.
To return to the Species List for this group, Click on the Trees box above.
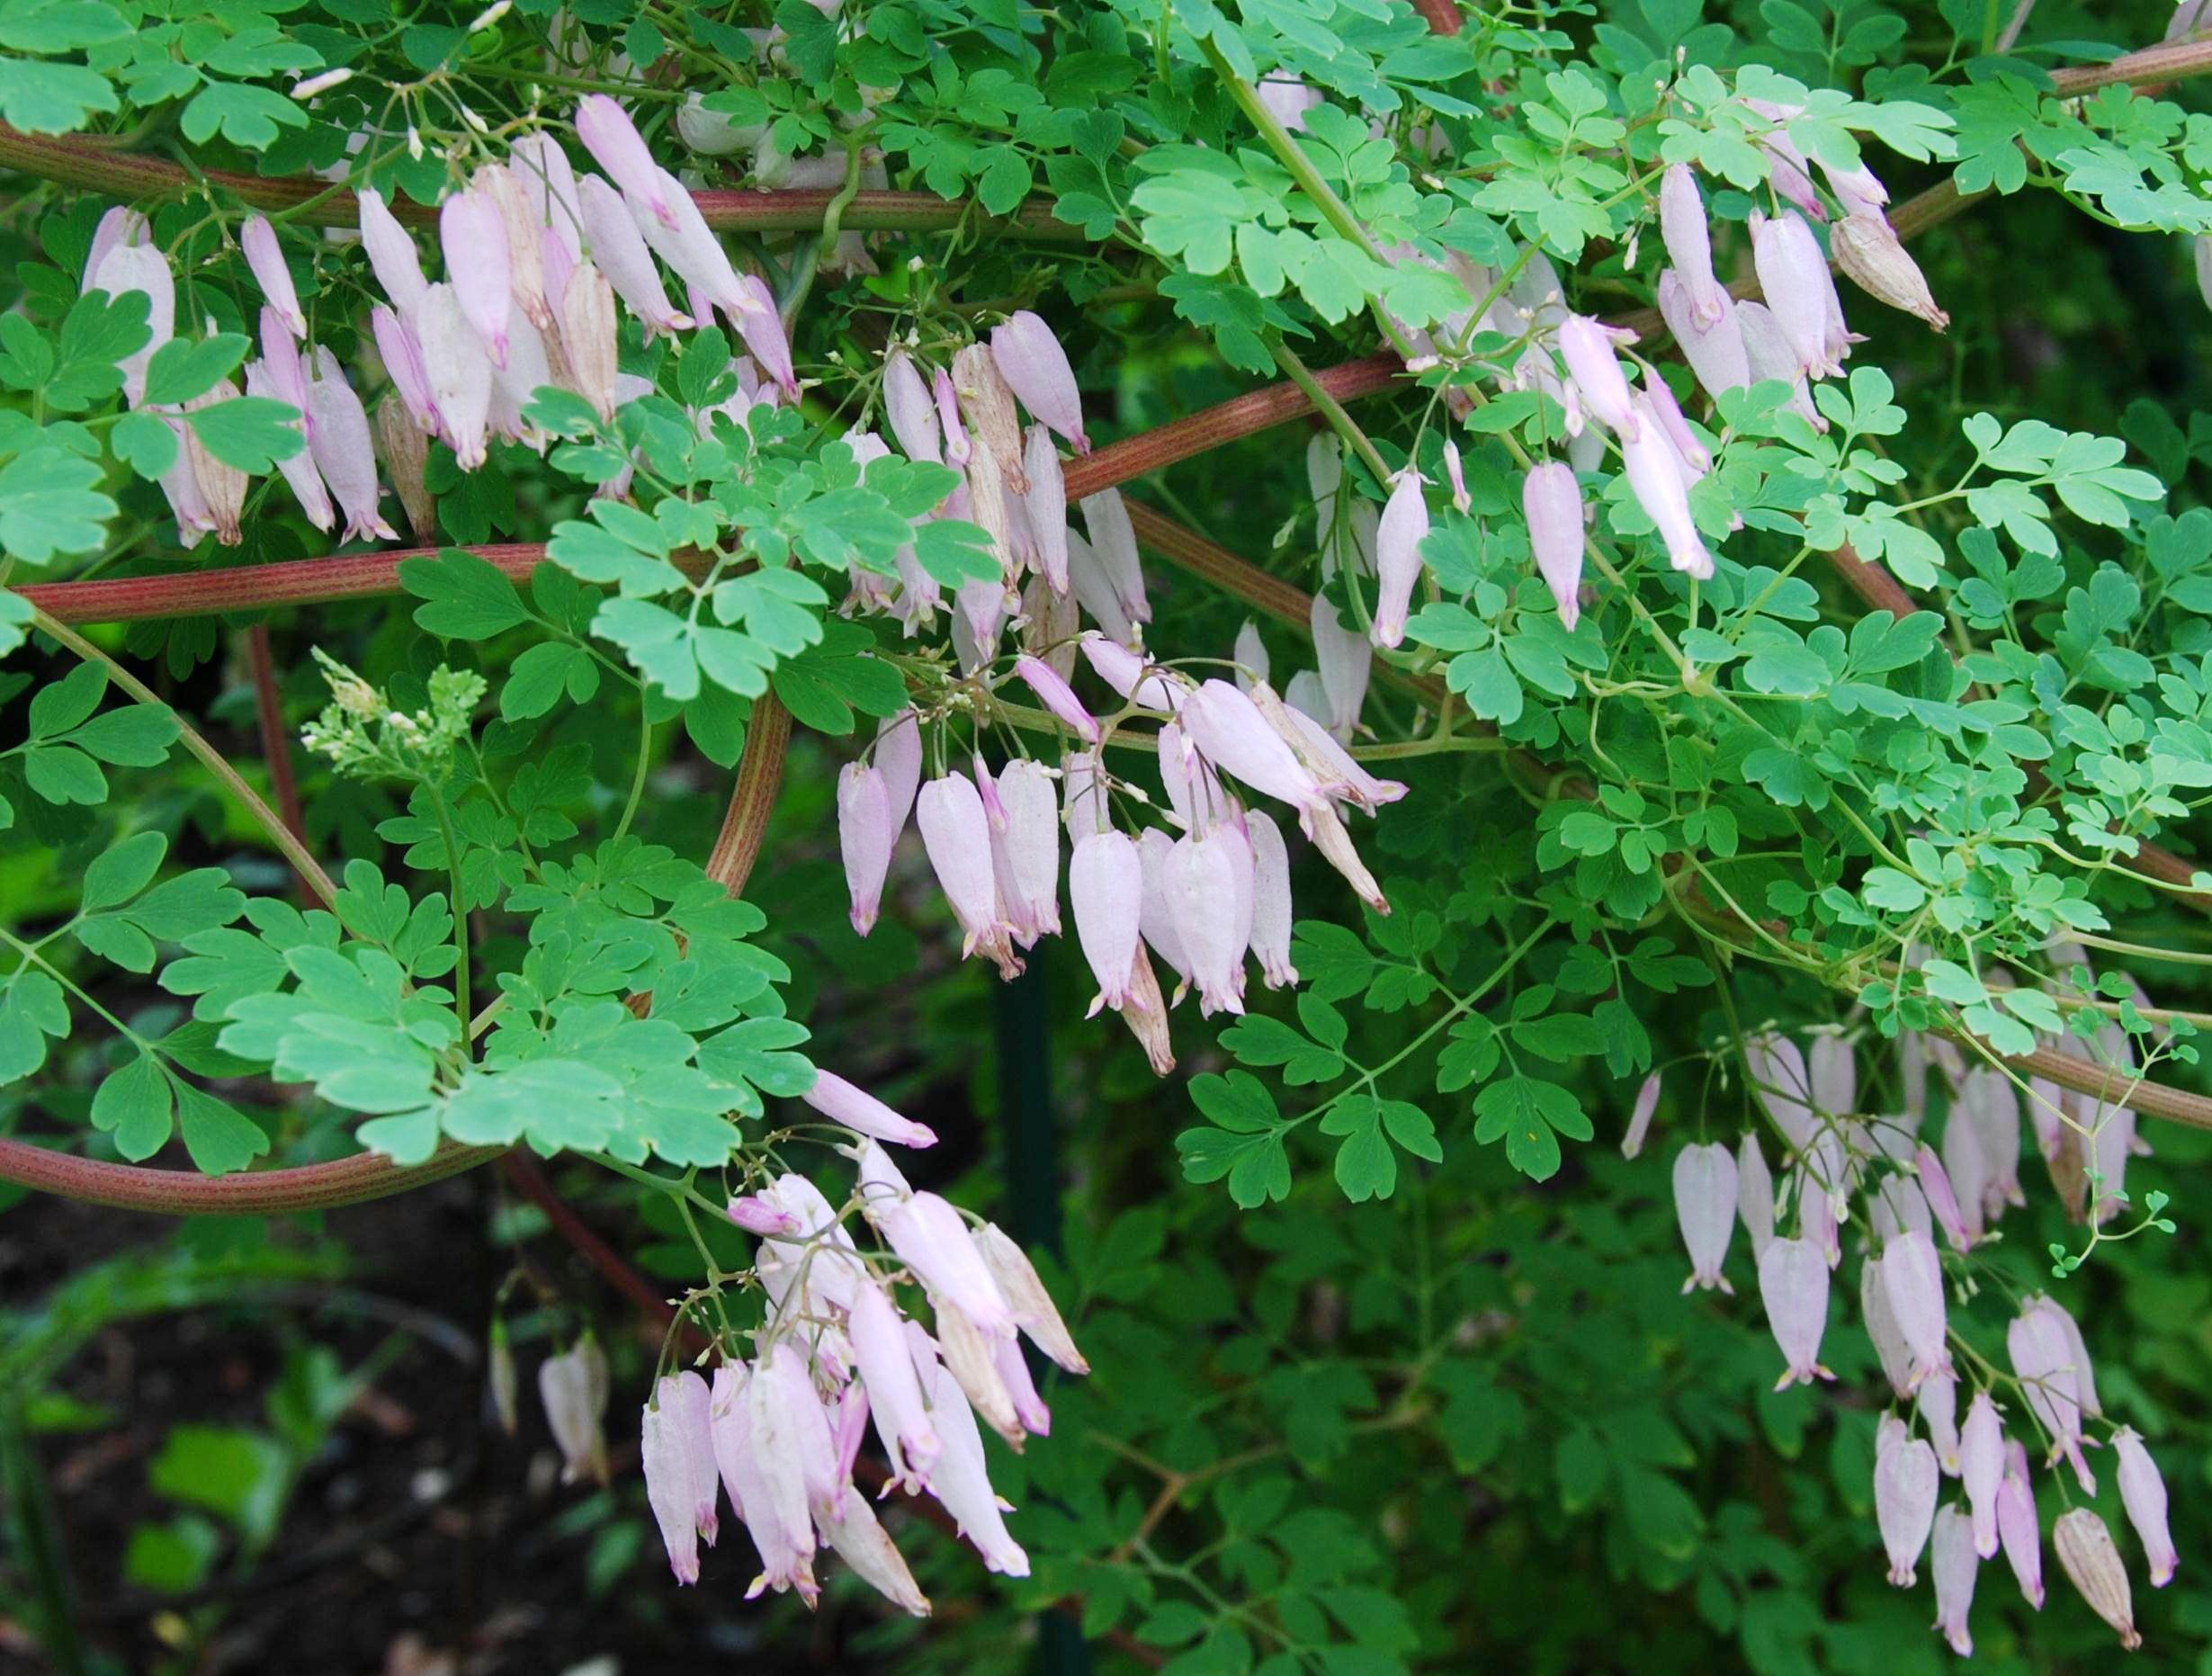
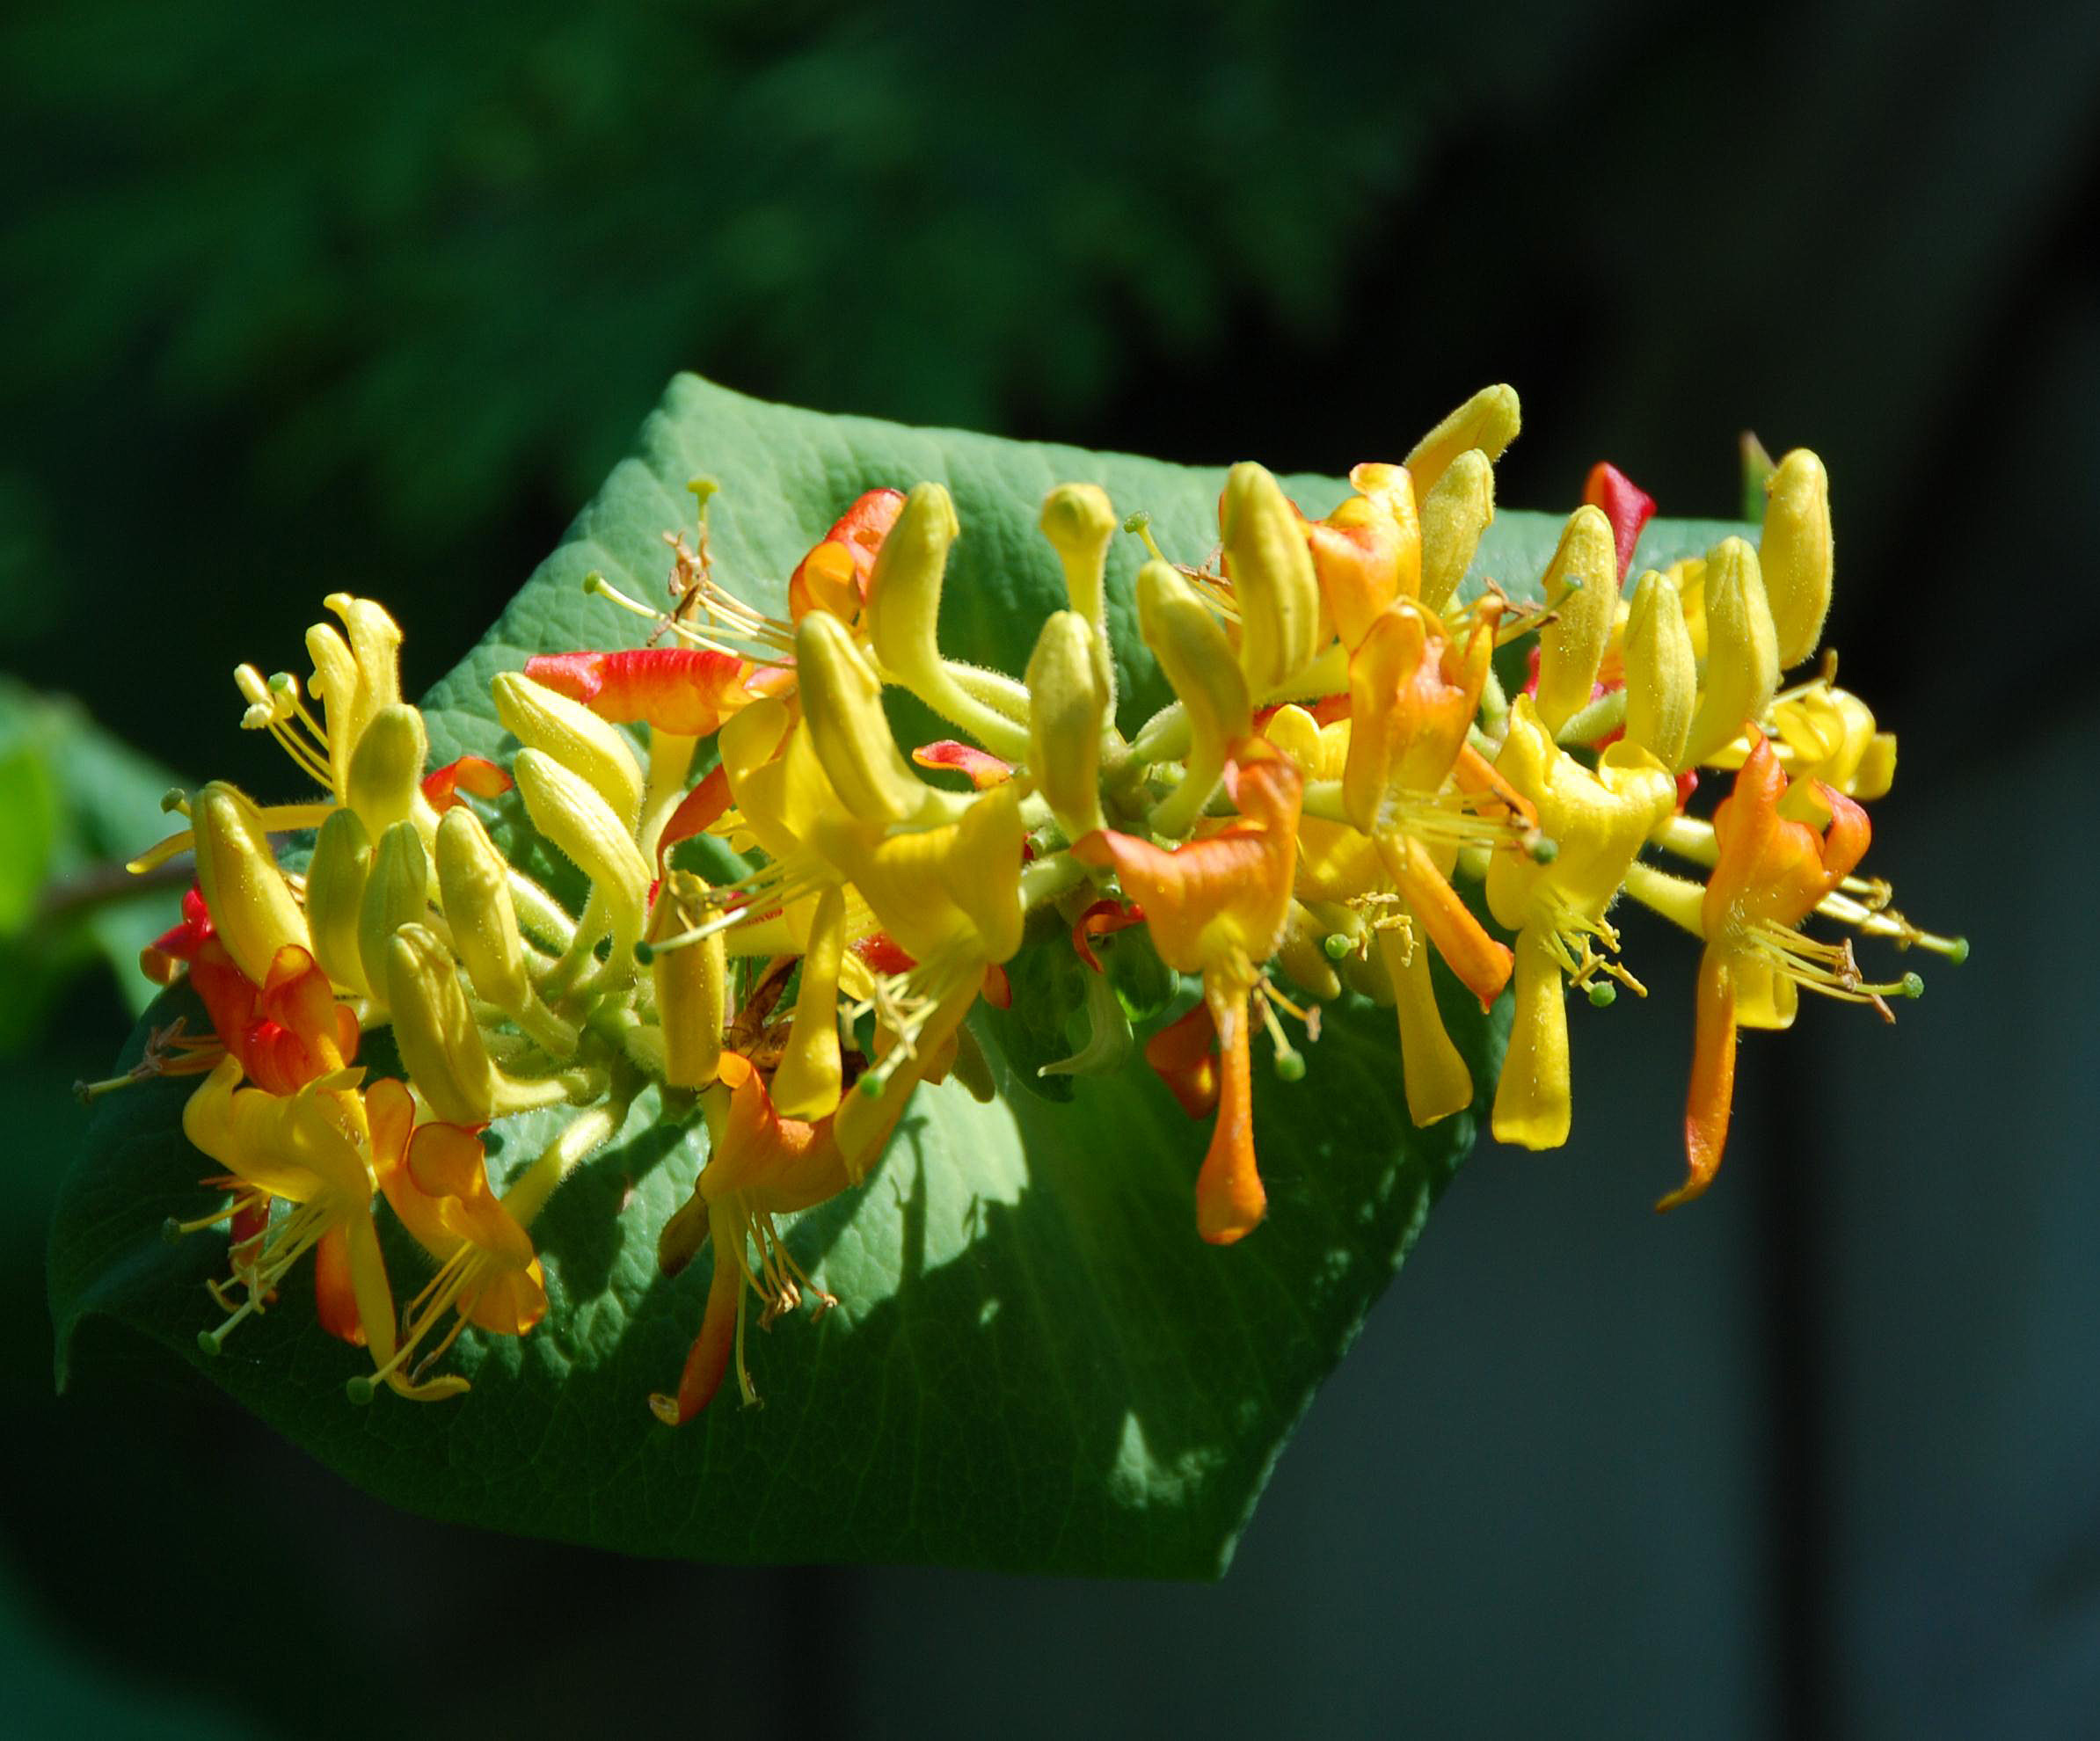
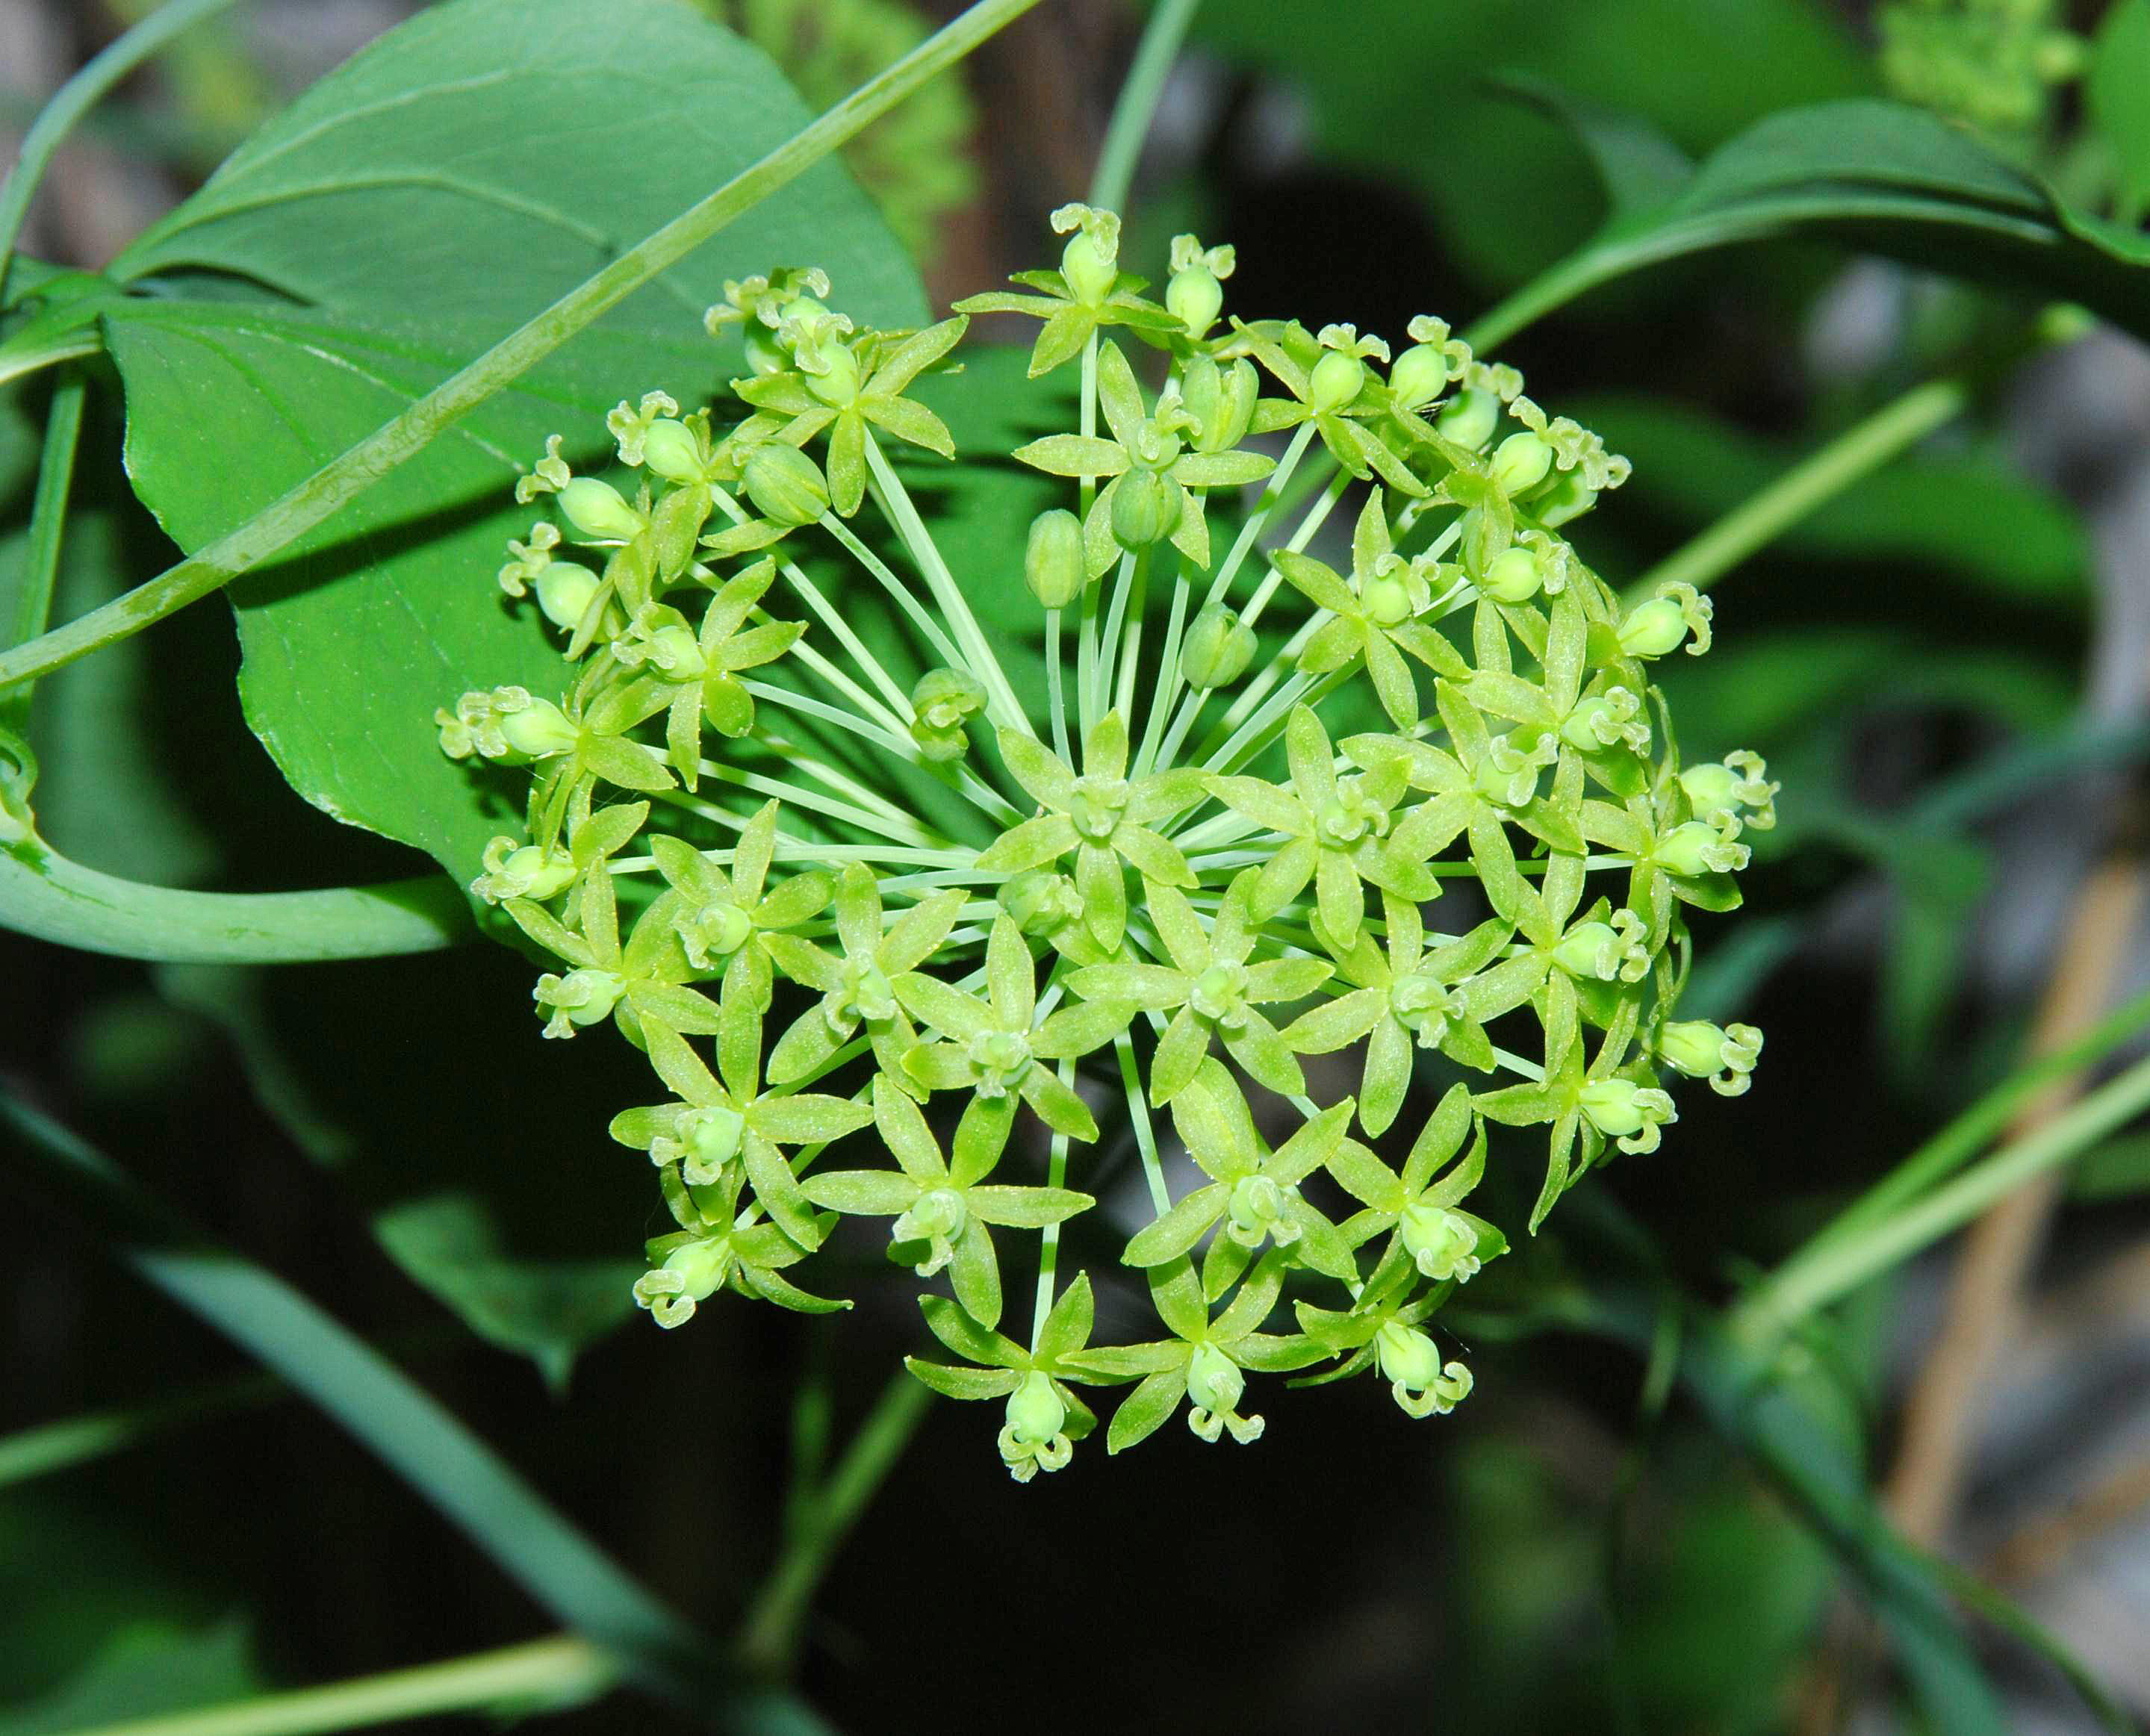
VINES
This group includes annual, biennial and perennial, woody and herbaceous species that climb and/or scramble on other plants or on landscape features, by a variety of means including twining, adhesive discs and rootlets, and tendrils.
Collection, handling and germination procedures vary among the members of this group; details for each species are given in the individual species notes.
To return to the Species List for this group, Click on the Vines box above.